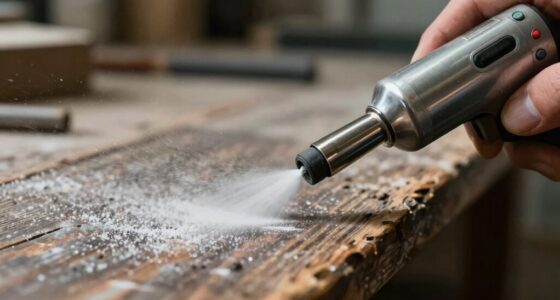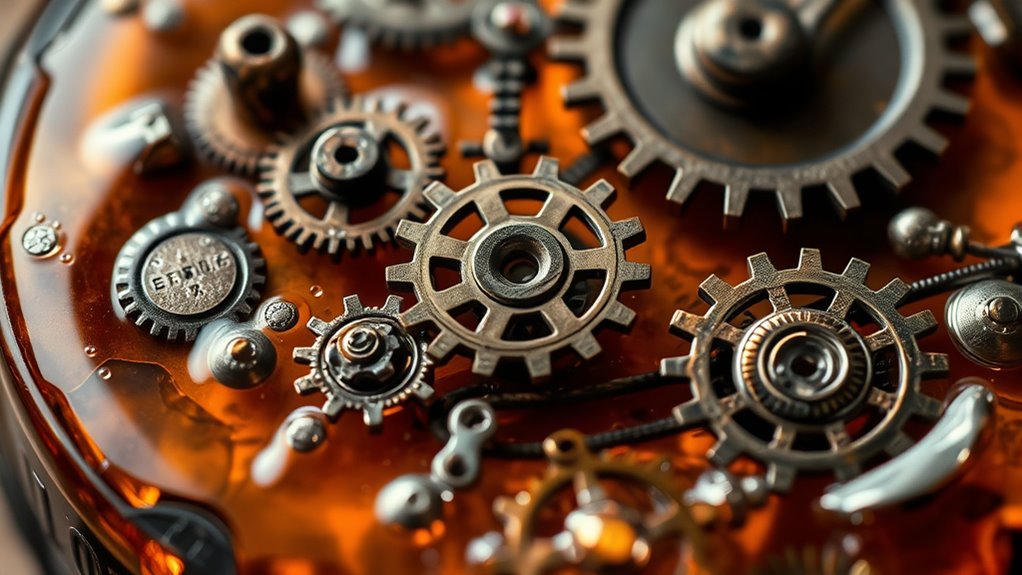
Using resin and epoxy in steampunk crafts helps you achieve glossy, durable finishes that showcase intricate metal accents and vintage details beautifully. You can embed gears, cogs, or metallic flakes inside the resin to create a layered, three-dimensional look that adds depth and complexity. Color tinting with metallic pigments or inks further enhances their authentic, aged appearance. If you explore more, you’ll discover how these techniques can transform your projects into professional, eye-catching pieces.

Get art and craft supplies delivered free with Prime
- Fast, free delivery on millions of items
- Prime Video, Amazon Music and more included
- Member-only deals all year
Key Takeaways
- Embed metal gears and accents within epoxy to create durable, glossy, and visually striking steampunk designs.
- Use tinted epoxy with metallic pigments for authentic brass, copper, or iron finishes.
- Build layered resin effects with embedded elements to add depth and complexity to your projects.
- Protect metal embellishments from tarnish and environmental damage with a clear, durable resin coating.
- Achieve a professional, polished look by combining resin layering, coloring, and embedded metallic details.
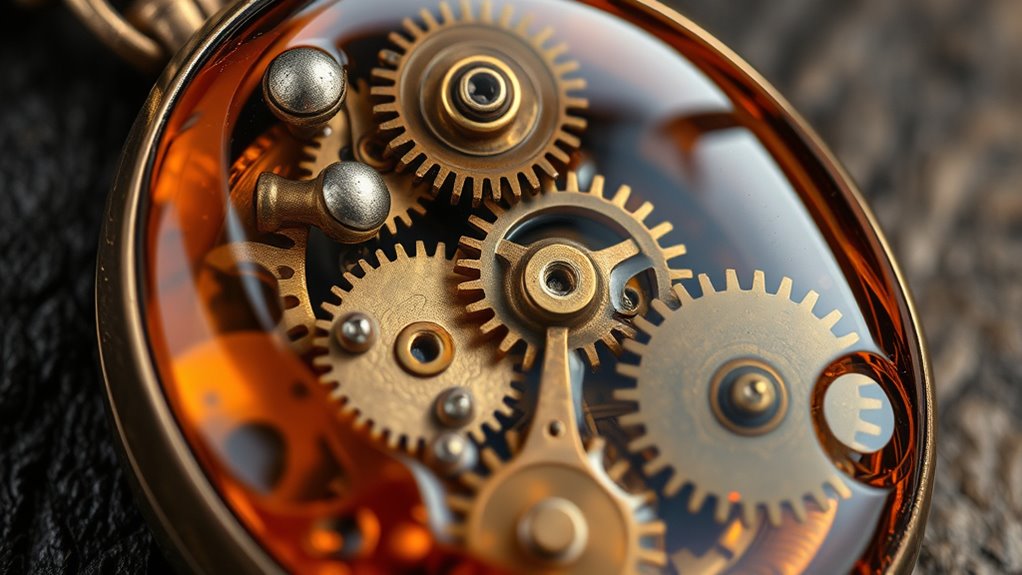
Resin and epoxy have become essential materials for steampunk crafters looking to add a glossy, durable finish to their projects. These versatile substances allow you to encapsulate intricate details, preserve vintage elements, and create eye-catching surfaces that truly stand out. When working with steampunk designs, you often incorporate metal accents and gear embellishments to evoke the industrial, Victorian-inspired aesthetic. Resin and epoxy serve as the perfect mediums to enhance these features, making them pop and adding a professional, polished look.
Resin and epoxy enhance steampunk designs with glossy, durable finishes that highlight metal accents and gear embellishments.
To start, you can embed metal accents directly into your resin or epoxy layers. Position your metal pieces—whether they’re small gears, clock parts, or decorative hardware—inside a mold or on a project surface before pouring the resin. As the resin cures, it bonds securely to the metal, creating a seamless, glossy finish that protects the embellishments from wear and tarnish. This technique not only enhances the visual appeal but also prolongs the lifespan of your metal details. Gear embellishments, in particular, benefit from this process, as the clear, hard surface accentuates their intricate teeth and industrial charm, making them stand out against other elements.
Applying resin or epoxy over gear embellishments also allows you to create a layered, three-dimensional look. You can build up multiple resin layers, each with different embedded elements or effects, to add depth and complexity to your design. For example, you might embed gears at varying heights or surround them with decorative inclusions like tiny cogs, metallic flakes, or vintage clock parts. Once cured, the resin forms a smooth, glass-like surface that highlights the metallic sheen of your embellishments while providing a protective barrier against scratches and environmental damage.
Additionally, you can tint or color your epoxy to complement the metal accents and gear motifs. Metallic pigments, inks, or dyes can be mixed into the resin to mimic the aged brass, copper, or iron tones typical of steampunk aesthetics. When combined with the clarity of epoxy, these colors enhance the richness and authenticity of your project. Whether you’re creating jewelry, decorative plaques, or functional art pieces, the use of resin and epoxy with metal accents and gear embellishments elevates your work, giving it a professional finish that’s both striking and durable.
Popular right now

Samsung 48 4K OLED Smart TV (2026) with WireLogic 8ft Ultra High Speed HDMI Cable

Breville Bambino Espresso Machine, Brushed Stainless Steel
Vitamix 5200 Blender with 64 oz. Container, Black
As an affiliate, we earn on qualifying purchases.
Frequently Asked Questions
How Long Does Resin Typically Take to Fully Cure?
Resin typically takes 24 to 72 hours to fully cure, but curing time can vary based on the product and conditions. You should always check the manufacturer’s instructions. Temperature effects are significant; warmer environments speed up curing, while cooler temperatures slow it down. For the best results in your steampunk crafts, maintain a stable, warm temperature and avoid disturbing the resin during the curing process.
Can Epoxy Be Painted or Decorated After Curing?
Yes, you can paint or decorate epoxy after it fully cures. Once cured, epoxy provides a smooth, durable surface perfect for resin pigmentation and detailed painting. To guarantee good adhesion, lightly sand the surface first. You can then add epoxy layering or acrylic paints for decorative effects. Just make sure the epoxy is completely cured, usually 24-72 hours, to prevent any damage or peeling of your steampunk design.
Is Resin Safe to Use Indoors Without Ventilation?
Resin isn’t entirely safe to use indoors without ventilation because its odor can be strong and potentially harmful. You should always work in a well-ventilated area or use a fume extractor to minimize exposure. Proper indoor ventilation helps disperse the resin odor and reduces the risk of inhaling harmful fumes. Wearing a mask and gloves adds extra protection, ensuring your craft space stays safe while working with resin.
What Are Common Mistakes to Avoid With Resin Projects?
You’d think mixing resin was as simple as stirring tea, but improper mixing is a common mistake that leads to resin discoloration and cloudy finishes. Avoid rushing through steps or skipping measurements, as it can ruin your beautiful steampunk piece. Keep your workspace well-ventilated and follow instructions carefully. Remember, patience and precision prevent those pesky bubbles and uneven cures, making your project look professional instead of a DIY disaster.
How Do I Remove Bubbles From Cured Epoxy?
To eliminate bubbles from cured epoxy, focus on air bubble removal during the curing process. Use a heat gun or torch to gently pass over the surface, which helps pop small bubbles. Also, guarantee proper curing time tips like mixing slowly and covering the project with a dust cover to minimize air exposure. Patience is key—allow enough curing time to achieve a smooth, bubble-free finish.
Conclusion
So, after all this talk about resin and epoxy, you might think you’re finally ready to craft your steampunk masterpiece. Ironically, it’s these modern materials that lend that vintage feel, blurring the lines between old-world charm and contemporary innovation. Who knew that a little synthetic magic could elevate your steampunk vision while giving it that authentic, timeless look? Embrace the paradox—your creation will look both ancient and cutting-edge, proving craftsmanship is truly timeless.