
To build a steampunk airship, start by creating a detailed miniature steam engine as the heart of your model, focusing on accurate pistons, cylinders, and pipes for realism. Incorporate vintage brass fittings to connect mechanical parts, and use lightweight materials like balsa wood or plastic for the hull. Pay close attention to assembly precision, adding gears, rivets, and gauges for authentic detail. Continuing will reveal essential tips to perfect your craftsmanship and capture the steampunk aesthetic beautifully.
Key Takeaways
- Design a detailed miniature steam engine with pistons, cylinders, and pipes for an authentic steampunk core.
- Incorporate brass fittings for decorative and structural elements, securely attaching pipes, gauges, and mechanical parts.
- Use lightweight materials like balsa wood or plastic for the hull, contrasting with metallic fittings to enhance visual appeal.
- Assemble components precisely, ensuring realistic interaction between engine parts, fittings, and mechanical details.
- Add weathering, paint, gears, rivets, and decorative panels to evoke aged industrial charm and craftsmanship.

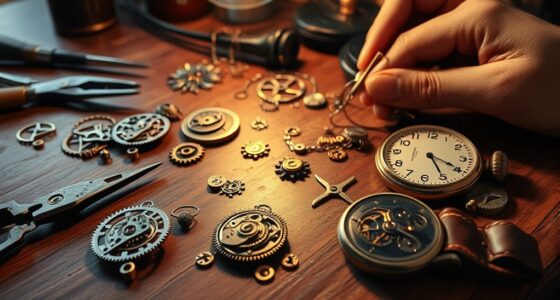
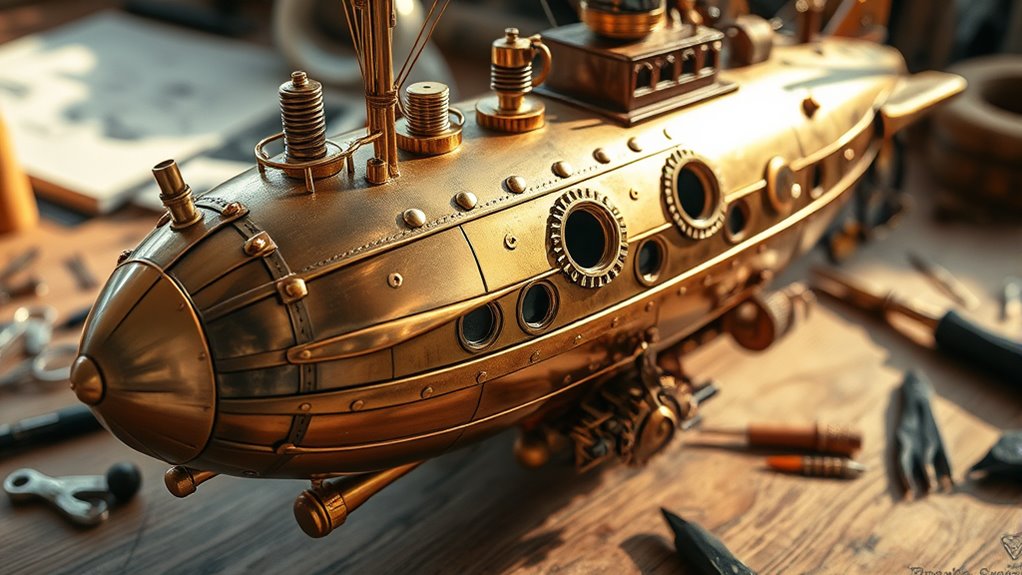
Building a model steampunk airship is a rewarding project that combines creativity with craftsmanship. When you start, you’ll want to focus on creating a realistic and detailed steam engine, which serves as the heart of your design. The steam engine is what gives your airship its authentic steampunk vibe, so pay close attention to the smaller parts and how they fit together. Using miniature brass fittings will help you achieve that vintage, industrial look characteristic of the genre. Brass fittings aren’t just decorative; they also add structural integrity, making your model more durable and visually appealing. These fittings can be used to connect pipes, gauges, and other mechanical components, giving your airship a complex, realistic appearance.
As you assemble the steam engine, you’ll notice that brass fittings come in various shapes and sizes, allowing you to customize your model’s details. Take your time to select pieces that match the scale of your project and fit seamlessly into the overall design. Securing these fittings with tiny screws or adhesive ensures they stay in place, especially when handling or displaying your finished model. When constructing the steam engine, consider how the components will interact—think about how the pistons, cylinders, and pipes will look when assembled. The goal is to create a convincing, functioning miniature engine that looks as if it could power your airship in a Victorian fantasy.
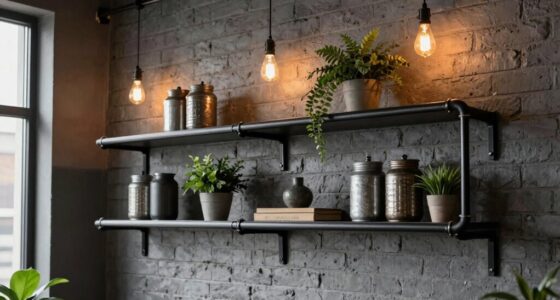
In addition to the engine, pay attention to the materials you use for the rest of your model. Many hobbyists prefer lightweight materials like balsa wood or plastic for the hull and structural elements, which contrast nicely with the metallic sheen of the brass fittings. Painting or weathering these parts can enhance the steampunk aesthetic, giving your airship that aged, industrial charm. Be sure to incorporate gears, rivets, and decorative panels to emphasize the mechanical, vintage feel. You might even add small gauges and dials to the control panel, further emphasizing the steam-powered theme.
Throughout the process, precision matters. Carefully measure and trim each piece, ensuring everything fits perfectly before gluing or screwing it into place. Patience will pay off when you see the intricate details come together. As you assemble your model, remember that the combination of a functional-looking steam engine and well-chosen brass fittings will give your steampunk airship an authentic look. Incorporating vetted materials and components ensures safety and durability in your finished model. When finished, your model will not only be a showcase of your craftsmanship but also a enthralling tribute to a fantastical, steam-powered world.

FUNPOLA LED 3D Wood Puzzle Fantasy Airship Model – Steampunk DIY Craft Kit with LED Lights – Intricate Wooden Airship Model Building Set for Teens and Adults(Gray)
【Steampunk Fantasy Airship Design】Experience the wonder of the sky with this 3D wooden airship puzzle. Inspired by the…
As an affiliate, we earn on qualifying purchases.
As an affiliate, we earn on qualifying purchases.
Frequently Asked Questions
What Are the Best Materials for Weatherproofing the Model?
You should use waterproof coatings like clear acrylic or polyurethane to protect your model from moisture. Sealant options such as silicone or caulk can fill gaps and prevent water penetration. Apply these materials carefully to all joints and surfaces, ensuring the model stays weatherproof. Regularly check and reapply sealants as needed to keep your steampunk airship looking great and functioning well in various weather conditions.
How Can I Add LED Lighting to Enhance the Steampunk Aesthetic?
Think of your airship as a night sky ready to be painted with stars. You can add LED lighting by carefully placing LEDs along the hull, rigging, and propellers for dramatic effects. Use warm amber or vintage-style LEDs to evoke a steampunk glow. Incorporate lighting effects like flickering or dimming to create an atmospheric, enchanting glow that brings your model to life, transforming it into a floating masterpiece.
What Safety Precautions Should I Take During Assembly?
When assembling your model, always wear safety glasses and work in a well-ventilated area. Handle small parts carefully to avoid choking hazards or losing pieces. When working with adhesives, use them in a well-ventilated space, and avoid skin contact. Keep a clean workspace to prevent accidents, and store sharp tools safely. Taking these precautions guarantees your project stays safe and enjoyable from start to finish.
How Do I Balance the Weight Distribution for Flight Stability?
Think of your airship as a delicate dance, where every move must be precise. To achieve flight stability, you need to carefully adjust the weight balance, ensuring the center of gravity sits just right—neither too high nor too low. Distribute heavier components low and near the center to keep it steady. Test and tweak as you go, like tuning an instrument, until your steampunk vessel gracefully soars through the skies.
Can I Customize the Design for Historical Accuracy?
Yes, you can customize your model for greater design authenticity by incorporating historical details into its design. Focus on accurate materials, period-specific ornamentation, and authentic color schemes to enhance its realism. Research vintage airships and steampunk influences to guarantee your modifications reflect true craftsmanship. Personalize the model while respecting the historical context, creating a more immersive and authentic steampunk airship that highlights your attention to detail and passion for history.

Steam Engine Model – Mini Steam Engine – DIY 2 in 1 Stationary Beam Steam Engine Model with Boiler and Lamp Scene, Build Engine That Runs with Centrifugal Regulator Full Metal Kit
Lifelike Mini Steam Engine: Witness the magic of steam power with our highly restored and fully functional model….
As an affiliate, we earn on qualifying purchases.
As an affiliate, we earn on qualifying purchases.
Conclusion
As you put the finishing touches on your steampunk airship, you’ve crafted a vessel that soars like a phoenix reborn from gears and brass. This model isn’t just a toy; it’s a proof of your creativity and patience. Just as a ship needs a sturdy hull to navigate storms, your craftsmanship has built a sturdy foundation for adventure. Now, with wings of imagination, you’re ready to launch into a world where dreams take flight on steam and steel.

iDili Brass Nails Ship Model Making Brass Nails – 0.7mm x 10mm Fine Pointed Pins for Wooden Model Boats, Ships, Hull Planking (1000 PCS) – Brass Craft Nails for Model Building
【PREMIUM BRASS MATERIAL】 Crafted from high-quality brass, these nails offer excellent corrosion resistance and a timeless antique gold…
As an affiliate, we earn on qualifying purchases.
As an affiliate, we earn on qualifying purchases.

BXQINLENX Professional 8 PCS Model Tools Kit Modeler Basic Tools Craft Set Hobby Building Tools Kit for Gundam Car Model Building Repairing and Fixing(A)
● FUNCTION—EASY TO USE—The modeler basic tools set is suitable for a beginner and advanced modeler as well.You…
As an affiliate, we earn on qualifying purchases.
As an affiliate, we earn on qualifying purchases.