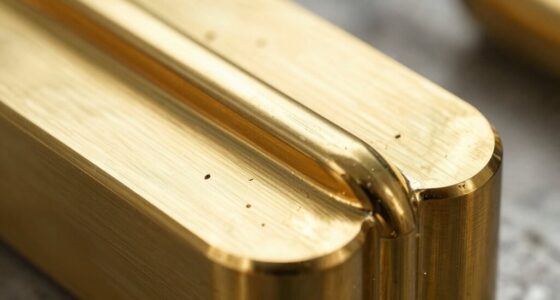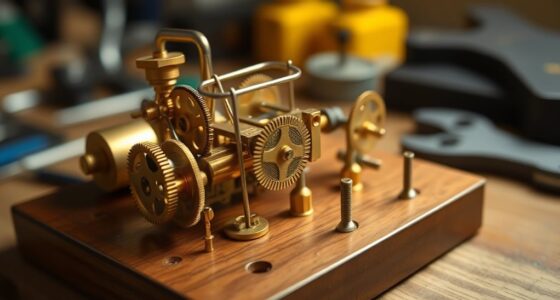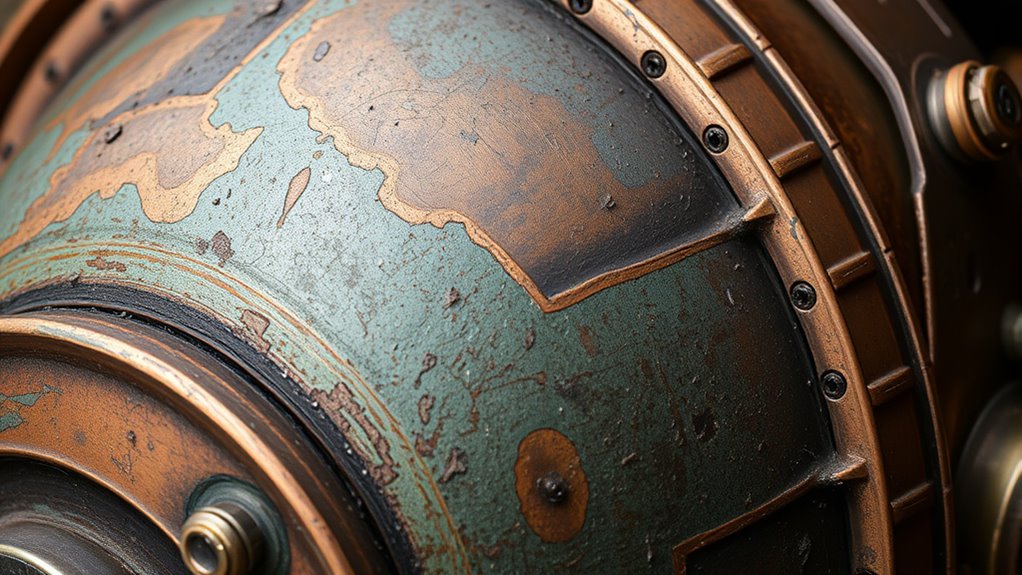

To create authentic steampunk props, start by applying base metallic colors like copper or brass. Use dry brushing and sponging to add rust, dirt, and paint chips, focusing on edges and fasteners for natural wear. Incorporate washes and layered glazes to build depth, and add tarnish or corrosion effects with rust-colored pigments. Finishing with a matte varnish enhances realism. Keep experimenting with these techniques, and you’ll discover more ways to achieve an aged, convincing look.

Get art and craft supplies delivered free with Prime
- Fast, free delivery on millions of items
- Prime Video, Amazon Music and more included
- Member-only deals all year
Key Takeaways
- Use dry brushing with dark or earth tones to emphasize edges, rivets, and recessed details for a weathered metallic appearance.
- Apply sponging or stippling techniques with rust-colored paints to create realistic rust patches and paint chipping effects.
- Incorporate washes and diluted inks into crevices to add depth, shadows, and a naturally aged look on surfaces.
- Layer metallic paints with patinas or alcohol inks to simulate tarnish, verdigris, and corrosion for authentic metallic finishes.
- Focus on weathering areas like edges and fasteners, balancing grime and paint wear to achieve subtle, convincing aging effects.
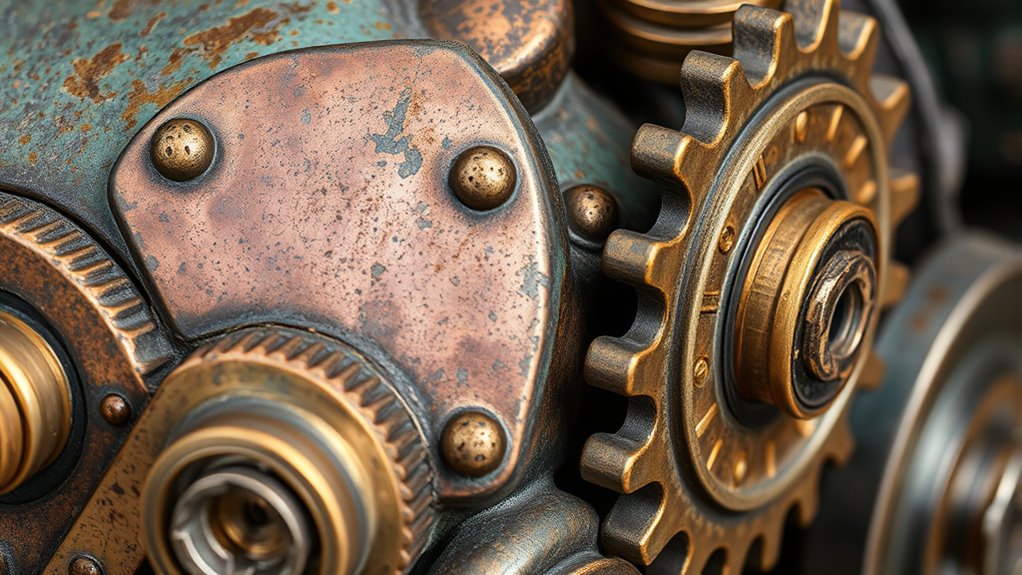
Creating authentic steampunk props requires more than just assembling parts; it’s about bringing them to life with convincing aged and weathered finishes. To achieve this, you need to master weathering effects and metallic finishes that give your pieces a genuine vintage look. Weathering effects help simulate years of wear, exposure to the elements, and rough handling, making your props look like they’ve been through adventures. Metallic finishes, on the other hand, add depth and realism to metal surfaces, giving them a believable patina, rust, or tarnish.
Master weathering and metallic finishes to craft convincingly aged steampunk props with authentic vintage charm.
Start with weathering effects by applying a variety of techniques to mimic dirt, grime, and corrosion. Use dry brushing with dark or earthy tones to highlight crevices and edges, which naturally accumulate dirt over time. Sponging or stippling can add random patches of rust or paint chipping, giving your prop an uneven, used appearance. To deepen the aged look, consider using washes—diluted paint or ink that flows into recesses—creating shadows and enhancing the depth of details. These effects make your prop look like it’s been exposed to the elements for years, rather than just freshly painted.
Metallic finishes are essential for achieving that authentic steampunk aesthetic. Start by selecting a base metal color—copper, brass, or iron—then build layers to simulate aging. You might use metallic paints or foils, but to really sell the effect, layering with patinas or alcohol inks can produce realistic tarnishes, verdigris, and rust streaks. Use dry brushing with metallic paints to highlight raised surfaces, giving the illusion of polished edges or worn areas. For rust effects, apply a combination of orange, brown, and red pigments, then blend with a soft brush or sponge to create natural-looking corrosion spots. Seal your work with a matte or satin varnish to protect the finish while maintaining an aged appearance.
Blending weathering effects with metallic finishes is where you truly bring your props to life. Focus on areas that would naturally see more wear—edges, bolts, rivets—adding layers of grime, tarnish, and chipped paint. Don’t be afraid to experiment; layering different techniques allows you to create complex, realistic surfaces. Remember, the key is subtlety. Overdoing it can make your prop look artificially aged, so step back periodically and assess whether each layer enhances the realism. With patience and practice, your steampunk props will look convincingly aged, weathered, and metallic, capturing that perfect vintage industrial charm.
As an affiliate, we earn on qualifying purchases.
Frequently Asked Questions
What Are the Best Brushes for Detailed Steampunk Painting?
For detailed steampunk painting, you should choose fine-tipped brushes like 000 or 1, which excel in precision. Synthetic brushes work well for their durability and control, making them ideal for detail techniques. Flat or round brushes with fine points help you achieve intricate designs, highlights, and weathering effects. Always opt for high-quality brushes to guarantee smooth application and better control, making your steampunk prop stand out with crisp, detailed finishes.
How Can I Prevent Paint From Chipping Over Time?
To prevent paint from chipping over time, you should first make certain proper surface preparation by cleaning and sanding your prop. Then, apply a high-quality paint sealant to protect the finish. Sealants create a durable barrier that guards against wear and environmental damage. Reapply the sealant periodically for extra protection. This combination of surface prep and sealing helps your steampunk props stay vibrant and intact longer.
Which Materials Are Most Durable for Aging Effects?
Did you know metal patinas and weathering powders can last up to 10 years when applied correctly? For aging effects, these materials are the most durable because they chemically bond with surfaces, resisting chipping and fading. Metal patinas add authentic color variations, while weathering powders create realistic grime and rust. Using these guarantees your steampunk props stay looking aged and durable over time, withstanding handling and environmental exposure.
How Do I Fix Mistakes in Aged Paint Finishes?
To fix mistakes in aged paint finishes, start with gentle touch-up methods to avoid disrupting the overall look. Use fine brushes to carefully blend the corrected areas with blending techniques that match the existing textures and colors. Lightly feather the edges of the touch-up, and if needed, reapply small amounts of aging glaze or paint to seamlessly integrate your corrections. This approach keeps your steampunk prop looking authentic and well-crafted.
Can These Techniques Be Applied to Non-Metal Surfaces?
Yes, you can apply metal patinas and faux rust techniques to non-metal surfaces like wood, plastic, or resin. You’ll want to prepare the surface with a primer suitable for your material, then use your patina or rust paints to create authentic aging effects. These techniques work well on various textures, giving your non-metal props a realistic, weathered look that enhances their steampunk appeal.
As an affiliate, we earn on qualifying purchases.
Conclusion
Now that you’ve mastered these painting and aging techniques, your steampunk props will look like they’ve traveled through time itself. With just a little effort, you can transform ordinary materials into breathtaking masterpieces that could outshine even the most legendary inventors’ creations. Keep experimenting and pushing your skills—your props will become so stunningly authentic, they might just steal the show at any event. Get ready to wow everyone with your incredible steampunk craftsmanship!
weathering techniques for metal props
As an affiliate, we earn on qualifying purchases.
As an affiliate, we earn on qualifying purchases.
steampunk prop painting supplies
As an affiliate, we earn on qualifying purchases.
As an affiliate, we earn on qualifying purchases.
Halloween Picks
halloween
As an affiliate, we earn on qualifying purchases.