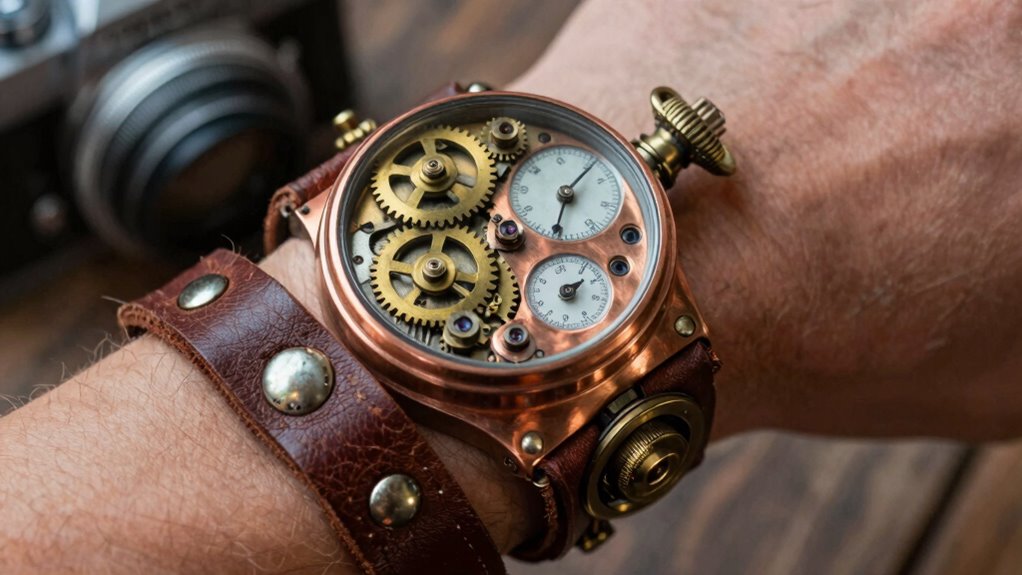

To create a DIY steampunk wrist communicator, start with a vintage leather or faux leather band and add ornate Victorian details like brass studs or filigree. Incorporate small gears, cogs, and miniature levers, attaching them securely with adhesive or tiny screws for realism. Use metallic paints to age and weather the components, and consider adding tiny control panels or a clear window to showcase inner workings. If you keep going, you’ll discover more tips to perfect your mechanical masterpiece.

Get art and craft supplies delivered free with Prime
- Fast, free delivery on millions of items
- Prime Video, Amazon Music and more included
- Member-only deals all year
Key Takeaways
- Use vintage leather or faux leather bands with ornate brass studs and Victorian embellishments for authentic aesthetics.
- Attach small gears, cogs, and levers asymmetrically to mimic complex Victorian machinery.
- Paint mechanical parts in aged copper, brass, or silver with weathered effects for realism.
- Incorporate lace, decorative stitching, and miniature chains into the strap for steampunk elegance.
- Ensure all components are securely fixed, comfortable, and functional for wearable cosplay use.
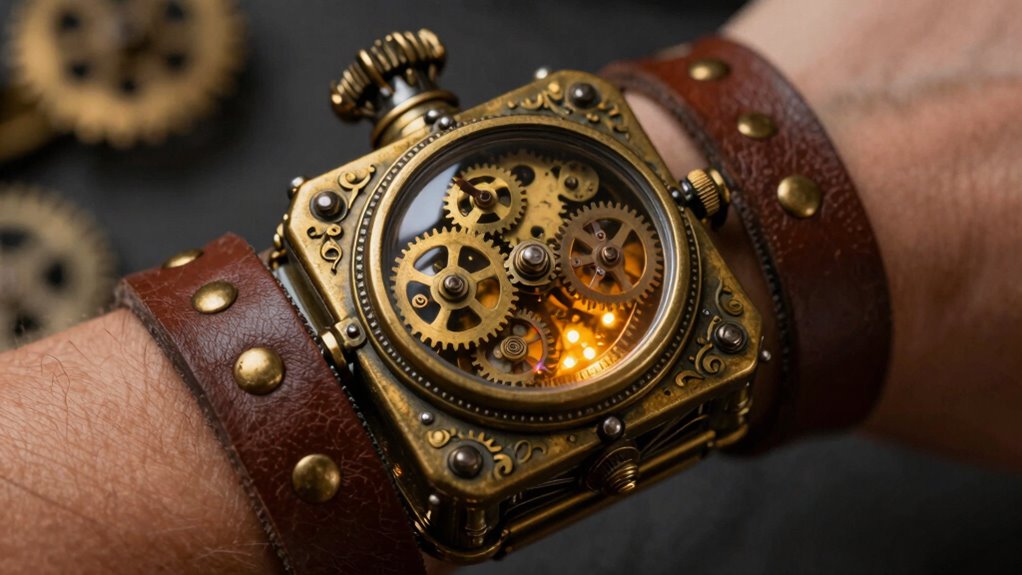
If you’ve ever dreamed of owning a unique steampunk accessory, creating your own wrist communicator prop is a fun and rewarding project. This piece allows you to blend Victorian fashion elegance with intricate mechanical details, giving your costume authentic flair. The key is to focus on craftsmanship that emphasizes both style and function, making your wrist communicator a true conversation starter.
Start by selecting a sturdy base for your wristpiece. You can repurpose an old watch band or craft one from leather or faux leather for that authentic Victorian look. Victorian fashion is marked by ornate details and rich textures, so adding embellishments like brass studs, rivets, or filigree patterns will instantly elevate the design. These mechanical details should feel deliberate, enhancing the illusion of a vintage communication device. Think of it as combining form and function—each mechanical element should look like it serves a purpose, even if it’s purely decorative.
Once your base is ready, gather your mechanical parts. Small gears, cogs, and miniature levers are perfect for creating an authentic steampunk aesthetic. You can find these at craft stores or salvage them from old clocks and watches. Attach these components carefully using strong adhesive or small screws. Arrange them asymmetrically or in a layered pattern, mimicking the complexity of Victorian machinery. Incorporating tiny dials or faux control panels, and considering mechanical intricacies can further enhance the realism of your design. Consider adding a small, clear plastic window to display inner workings—this adds a dynamic, high-tech feel while maintaining Victorian elegance. Mechanical details are essential to achieving the authentic steampunk look. Additionally, paying attention to the aesthetic harmony of the components will help ensure your piece looks cohesive and well-crafted. Incorporating historical influences can further enhance the Victorian-meets-mechanical aesthetic, making your prop stand out even more.
To complete the look, paint your mechanical details with metallic shades like copper, brass, or aged silver. Use a fine brush to add weathered effects, giving your wrist communicator a well-worn, antique appearance. For the strap, choose materials that evoke Victorian fashion—think of textured leather or velvet, perhaps with lace trim or decorative stitching. Embellish the strap with miniature chains or charms to reinforce the steampunk vibe.
Finally, test your creation by wearing it around your wrist and adjusting the fit. Make sure all mechanical details are securely attached and that the piece is comfortable. With patience and attention to detail, your DIY steampunk wrist communicator will look like a relic straight out of a Victorian inventors’ workshop. It’s a perfect accessory for cosplay, themed parties, or just expressing your love for the Victorian-meets-mechanical aesthetic.
DIY steampunk wrist communicator kit
As an affiliate, we earn on qualifying purchases.
As an affiliate, we earn on qualifying purchases.
Frequently Asked Questions
What Materials Are Best for Authentic Steampunk Aesthetics?
You should use materials like brass accents and Victorian details to achieve authentic steampunk aesthetics. Brass gives your prop a vintage, industrial look, while Victorian details add intricate, historical charm. Incorporate gears, cogs, and ornate metalwork to enhance the steampunk vibe. Leather straps and aged finishes also help create a worn, authentic feel. These materials and details work together to make your wrist communicator truly capture the steampunk spirit.
How Do I Make the Communicator Waterproof?
To make your communicator waterproof, start by applying a waterproof coating, like clear resin or sealant, to protect the surface. Use sealing techniques such as rubber gaskets or silicone sealants around joints and openings to prevent water ingress. Make certain all electronic components are well-insulated and protected with waterproof enclosures. Regularly check and reapply the coating and seals to maintain waterproof integrity, especially after handling or exposure to moisture.
Can I Add Sound Effects to the Prop?
Yes, you can add sound effects to your steampunk wrist communicator. Start with sound integration by choosing small, lightweight speakers or sound modules that fit your design. Use audio customization software or pre-made sound effects to tailor the sounds to your preference. Secure the components inside the prop to keep them safe and guarantee they’re easily accessible. This way, your communicator will have authentic sound effects that enhance its steampunk charm.
How Long Does It Take to Build?
Building your steampunk wrist communicator is like weaving a tapestry of history and innovation. It typically takes anywhere from a few hours to several days, depending on your skill level and the intricacy of your design. Expect to encounter some DIY troubleshooting along the way, which might extend your time. Patience and attention to detail will help you craft a piece that echoes the grandeur of historical references.
Are There Any Safety Precautions to Consider?
Yes, you should prioritize safety when building your wrist communicator. Always wear safety gear like goggles and gloves to protect against sharp edges and debris. Pay close attention to electrical safety—disconnect power sources before wiring, avoid exposed wires, and use insulated tools. Work in a well-ventilated area, and keep a fire extinguisher nearby. Following these precautions helps prevent accidents and guarantees your project is safe and enjoyable.
As an affiliate, we earn on qualifying purchases.
Conclusion
With your wonderful wrist wonder, you’ve woven a world of whimsy and wonder. Your DIY steampunk wrist communicator isn’t just a prop; it’s a perfectly personalized piece of the past, infused with imagination. By blending brass, bolts, and bold creativity, you’ve built more than a costume accessory—you’ve crafted your own clockwork creation. So, step confidently into your steampunk story, and let your inventive ingenuity inspire others to dream, design, and dazzle!
As an affiliate, we earn on qualifying purchases.
As an affiliate, we earn on qualifying purchases.
Fall Picks
fall essentials
As an affiliate, we earn on qualifying purchases.