
TL;DR
Moving your rig into a closet can drastically cut noise and reflection, but proper placement and ventilation are critical. Focus on distance, sealing gaps, and strategic absorption for best results.
Ever wondered if a closet could double as a quiet, effective recording space? It can. With the right approach, you turn a small, enclosed space into a mini vocal booth—minus the hefty price tag of professional soundproofing. But in tight quarters, the devil’s in the details: placement, dampening, and airflow.
This guide is about practical, proven strategies to reduce noise, tame reflections, and keep your rig cool—without turning your closet into a hot, echo chamber. Whether you’re recording vocals or housing a noisy GPU, these tips will help you get the most out of your tiny space. Learn more about acoustic treatment strategies.
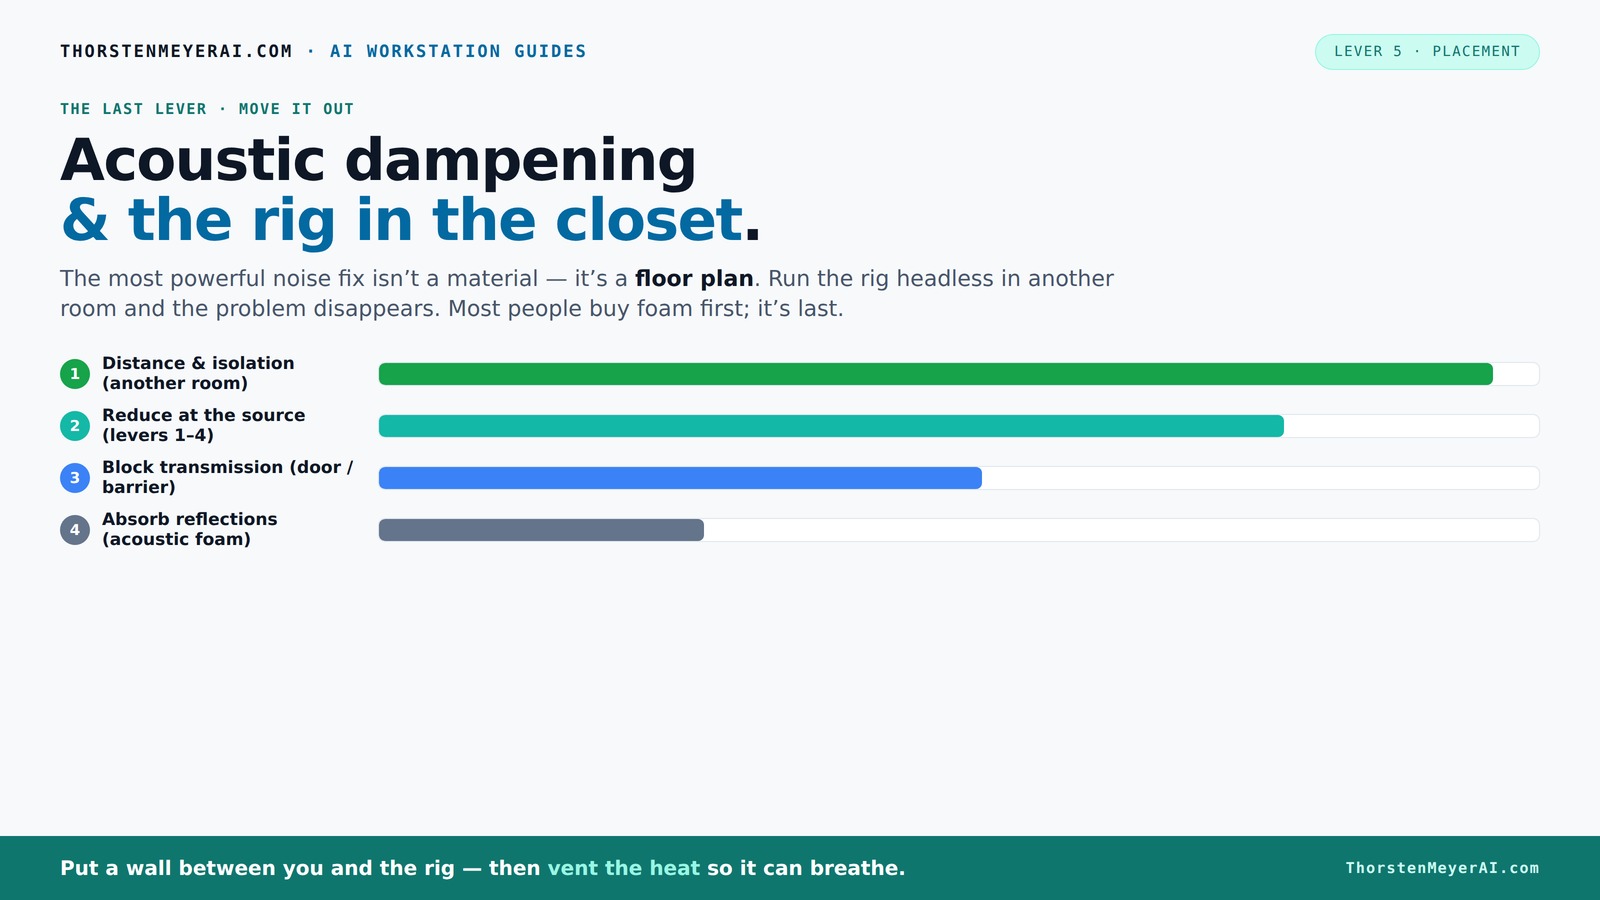
Acoustic dampening
& the rig in the closet.
The most powerful noise fix isn’t a material — it’s a floor plan. A rig you can’t hear because it’s in another room beats any amount of foam. Tap the approaches in Part 1 to see what actually works.
(another room)
(levers 1–4)
(door / barrier)
(acoustic foam)
Contain the noise, not the heat
Key Takeaways
- Distance your rig from your workspace whenever possible—it's the most effective noise reduction.
- Ensure proper ventilation—sealed closets trap heat, risking overheating and throttling.
- Layer absorption materials—blankets, foam, and panels—focusing on reflection points and corners.
- Seal gaps around doors and vents—sound leaks are the weak link in small spaces.
- Don’t overdo it—balance absorption to keep your space lively rather than dead.

Focusound 52 Pack Acoustic Foam Panels 1" x 12" x 12" Sound Proof Foam Panles Soundproofing Noise Cancelling Wedge Panels for Home Office Recoding Studio with 300PCS Double-Side Adhesive
Soundproofing - Acoustic foam panels triangular grooves structure for better noise absorption, helps to reduce and absorb unwanted...
As an affiliate, we earn on qualifying purchases.
As an affiliate, we earn on qualifying purchases.
Why Moving Your Rig Is the Best Noise Fix
The simplest way to silence your rig? Put it somewhere else. Distance is the most effective noise reducer—by far. Think of it like turning down the volume on a loud speaker. When your rig lives in another room or closet, the noise just doesn’t reach your workspace.
Imagine your GPU rig humming away in a basement or spare closet. You SSH into it, and it’s loud as a jet engine. But sitting at your desk? Silence. The noise never reaches you because it’s physically separated. All you need is a solid wired connection and good ventilation.
This approach is perfect for AI workstations, where you’re mostly talking to the machine over the network. The rig’s acoustics stop mattering once it’s in another room. Less noise, less fuss.
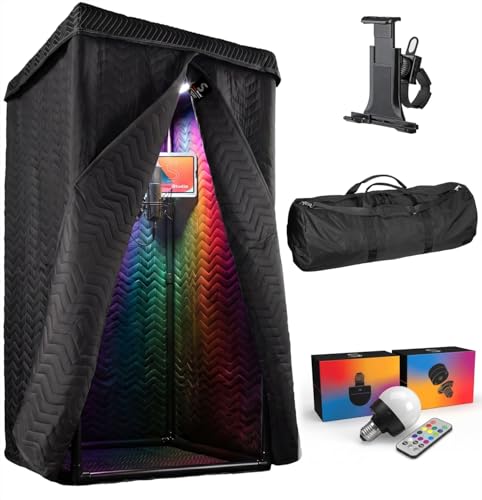
'Snap Studio' XL Portable Recording Booth | '#1 Vocal Booth' Rolling Stone | Record Crisp Dry Echo-Free Vocals at Home or On-The-Road | The Original & Best Studio Booth, Trusted By Singers & Voiceover
#1 Recommended Portable Recording Booth — Featured by Rolling Stone Magazine as the “best sound booth”, Snap Studio’s...
As an affiliate, we earn on qualifying purchases.
As an affiliate, we earn on qualifying purchases.
The 'Rig in the Closet' — How to Keep It Cool and Quiet
Placing a hot, high-power machine in a closet sounds perfect for noise reduction—until it isn’t. Sealed spaces trap heat. A 600W GPU in a tiny closet can turn it into a sauna. Temperatures spike, fans scream, and performance drops.
The secret? Ventilation. Your goal is to let hot air escape and cool air enter. Passive vents help, but a quiet exhaust fan makes a world of difference. For serious setups, consider a purpose-built soundproof cabinet with ducted airflow, combining absorption with cooling.
When you set up your closet rig, think about airflow paths. Use exhaust fans, ducting, or even an AIO liquid cooler with radiator ducted outside. Keep the space ventilated—and monitor the temperature. Too hot, and your rig throttles or overheats.
Check out the full guide on how to balance heat and noise in your setup, including options like thermostatic fans and sealed acoustic chambers with active cooling.

TroyStudio Portable Vocal Booth, Large Foldable Microphone Isolation Shield, Music Recording Studio Sound Echo Absorbing Box, Desk & Stand Use Reflection Filter with Thickened Dense Acoustic Foam
【BASIC INFO】: Inside size after setup: 8'' (L) X 10'' (W) X 12'' (H), large space for various...
As an affiliate, we earn on qualifying purchases.
As an affiliate, we earn on qualifying purchases.
How to Damp Your Closet Without Killing the Sound
Acoustic dampening in a closet isn’t about silence—it’s about controlling the echo and harsh reflections. Think of your closet as a small vocal booth. You want it to sound warm and clear, not boxy or echoey.
Start by treating the most reflective surfaces: the walls, ceiling, and door. Use a mix of foam panels, blankets, and rugs. Focus on the reflection points—places where sound bounces directly into the mic’s path.
For bass buildup, corners are key. Bass traps or extra thick panels in corners absorb those low frequencies that love to hang around. And sealing gaps around the door—weatherstripping, blankets, or acoustic seals—stops sound leaks.
Small, layered treatments outperform a single thick panel. Use moving blankets and layered curtains to cover multiple surfaces at once. In small spaces, more absorption in more places beats a single “magic” material.
Want to see how a DIY setup can turn a closet into a usable vocal booth? Check out this detailed treatment guide for strategies.

JBER 2 Pack Acoustic Isolation Pads, Studio Monitor Speaker Isolation Foam Pads, High Density Acoustic Foam Suitable for 3-4.5 Inch Speakers for Sound Improvement Prevent Vibrations (8 * 6.3 * 1.4")
【DIMENSIONS】8*6.3*1.4 inches (W x D x H) with a density of 50kg/m^3 acoustic foam. With high-density foam, JBER's...
As an affiliate, we earn on qualifying purchases.
As an affiliate, we earn on qualifying purchases.
The Best Placement and Treatment Tips for Closet Recording
Where you place your mic and how you treat your space makes all the difference. The goal: minimize reflections hitting the mic and keep your room sounding natural.
First, position the mic away from walls and corners—at least a foot or two—so it doesn’t pick up reflected sound. Aim it at the sound source—your mouth or instrument—at a slight angle to avoid direct reflections.
Second, treat the reflection points. Use acoustic panels or blankets at the first reflection spots—usually opposite the mic, on the ceiling, and nearby walls. For bass, add traps in corners.
Third, seal the door gaps with weatherstripping or blankets. Doors are weak points for sound leaks. Cover gaps with acoustic seals or heavy curtains.
Finally, experiment with placement. Small tweaks—moving the mic a few inches or shifting your position—can drastically improve sound quality. Use a mirror trick to find reflection points or just listen and adjust.
Check out the detailed placement tips in this article about home studio acoustic treatment.
Foam, Blankets, or Panels? What Works Best?
In a small closet, layering layers matter more than magic materials. Foam panels are great, but blankets and rugs often outperform them when used strategically. They absorb sound and are easy to move around.
Foam is effective for high frequencies but less so for bass. Blankets and moving quilts soak up reflections across a broad spectrum, especially when layered.
For bass frequencies, add bass traps—thick panels or dense blankets in corners. Use 2-inch panels for small booths; larger, 4-inch panels for more low-end control.
Pro tip: cover as much surface as possible. In DIY setups, layering blankets over foam panels amplifies absorption without making the space sound dead or boxy.
Don’t forget to seal gaps and door leaks—sound leaks are the biggest enemy of a clean recording. Combining dense materials with sealing tricks gives the best results.
Learn more about effective acoustic treatment in this detailed guide.
How Much Treatment Is Enough? When to Stop Adding Layers
More absorption is better up to a point. In a tiny closet, covering 70-80% of the walls with foam, blankets, or panels usually does the trick. But overdoing it can deaden the space, making it sound hollow.
Start with the reflection points, then move to corners and door gaps. Add bass traps if you notice low-end muddiness. Listen critically—if it sounds dull or boxy, step back and remove some treatment.
Remember: the goal is a balanced sound, not complete silence. A little echo can add warmth. Test with your microphone, voice, or instrument to get a feel.
In practice, you’ll find that a layered, flexible approach—adding blankets, foam, and sealing leaks—gives you control without overdamping. Explore more about acoustic dampening techniques.
Common Mistakes to Avoid When Setting Up a Closet Studio
Many folks make the mistake of sealing everything too tightly or using only foam panels. Both can backfire—tight sealing traps heat, and foam alone often doesn’t control bass or reflections well.
Another mistake: ignoring gaps around the door or windows. These weak points let sound escape or leak in, ruining your efforts.
Also, don’t forget about airflow. Sealing a closet without ventilation leads to overheating. Use passive vents or small exhaust fans to keep your gear cool.
Finally, avoid over-treatment. Adding too many layers or panels can deaden the sound and make your space sound unnatural. Test constantly and adjust as needed.
For more on common pitfalls, see [this discussion](https://gearspace.com/board/so-much-gear-so-little-time/691426-how-do-i-soundproof-5ft-5ft-closet-make-studio.html).
When a Closet Isn’t Enough—Going Bigger for Better Sound
If your closet treatment still leaves you with echo or heat issues, it’s time to consider a larger, purpose-built booth. Bigger spaces give you more room to place treatment and mic placement options.
Options include DIY sound booths, portable booths, or custom-built rooms with proper acoustic design. These allow better bass control and less reflection, making your recordings clearer and more professional.
Investing in a dedicated room or larger enclosure makes sense if you need high-quality vocals or precision recordings. But for quick, low-cost solutions, a well-treated closet can do surprisingly well.
Check out [this article](https://thorstenmeyerai.com/reduce-heat-noise-ai-workstation/) for more ideas on expanding your setup.
Frequently Asked Questions
Is a closet good enough for recording vocals?
Yes, a closet can serve as an effective vocal booth if you treat it properly. Focus on reflection points, seal gaps, and add bass traps in corners. Keep the space from echoing and avoid deadening the sound with too much absorption.
What is the best mic placement in a closet booth?
Place the mic about 6-12 inches from your mouth, slightly off-axis to reduce plosives. Position it at a 45-degree angle from reflective surfaces and avoid pointing directly at walls or corners. Moving the mic a few inches can make a big difference in clarity.
Should acoustic treatment go behind the mic or behind the singer?
Focus on the reflection points around the mic—usually the wall directly behind and opposite the source. Treating these spots reduces echoes and room tone, not just soundproofing behind the singer. Covering the whole room with absorption helps, too, but targeting reflection points is most effective.
Do I need bass traps in a tiny closet?
Yes, bass traps help control low-frequency buildup, which is common in small, enclosed spaces. Place them in corners or along the floor and ceiling junctions. They prevent muddy, boomy recordings and keep your sound tight and clear.
How thick should acoustic panels be for a small booth?
2-inch panels are usually enough for high frequencies in small spaces, but for better low-frequency absorption, go for 4-inch or thicker panels. Layering panels and blankets can also improve overall sound quality.
Conclusion
Your closet can be a surprisingly effective soundproofed studio, but only if you treat it with purpose. Focus on strategic placement, proper ventilation, and layered absorption. This way, you turn a tiny, noisy space into a quiet haven for voice or gear.
Remember: the best setup is the one that balances noise, heat, and sound quality. Your perfect closet studio is just a few tweaks away.