
For advanced Steampunk leatherworking projects, you'll blend intricate design with mechanical elements. Start by mastering embossing techniques and incorporating tools like gears and cogs for added flair. Experiment with advanced dyeing methods to achieve unique colors and textures. Perfect your stitching with double-needle techniques and consider decorative elements for a polished finish. Lastly, refine your pieces with professional touches like burnishing edges and sealing finishes. There's so much more to explore in crafting your perfect creation.
Key Takeaways
- Utilize advanced embossing techniques to create unique textures and patterns that enhance the Steampunk aesthetic in leather projects.
- Incorporate mechanical elements like gears and cogs, using brass and copper for hardware to elevate visual appeal and functionality.
- Experiment with advanced dyeing techniques such as oil and aniline dyes to achieve rich colors and finishes suitable for Steampunk designs.
- Master stitching and assembly methods, incorporating decorative stitches and high-quality materials for durability and a polished look.
- Focus on finishing touches, including edge burnishing and protective sealing, to ensure a professional appearance in your Steampunk leatherwork.

Wonvoc Leather Stamping Tools, 75 Pcs Leather Carving Tools, Letters and Numbers Patterns, Leather Carving Mallet, Leather Carving Kit, Leather Stamping Tools Geometric, Leathercraft Stamping Tools
LEATHER STAMPING TOOLS: The ideal package for different leather crafting needs. This comprehensive set includes two sets of…
As an affiliate, we earn on qualifying purchases.
As an affiliate, we earn on qualifying purchases.
Designing Complex Leather Gadgets
When you dive into designing complex leather gadgets, you'll find that mastering various techniques can elevate your creations to new heights.
Start with embossing to create unique raised patterns using heat tools and die stamps. Tooling and carving with swivel knives allow you to add intricate details, giving your gadgets a personalized touch. Incorporating embossing techniques can imitate natural leather textures, enhancing the visual appeal of your designs. Additionally, natural elements in your design can further enhance the overall aesthetic.
Don't forget to sculpt leather by soaking it, shaping it into three-dimensional forms, and letting it dry to maintain structure. For precision, laser engraving achieves detailed designs and varied effects.
Layering leather not only enhances durability but also adds depth to your work. By combining these methods, you'll craft stunning, functional pieces that stand out in the steampunk realm.
Steampunk leather gear hardware
As an affiliate, we earn on qualifying purchases.
As an affiliate, we earn on qualifying purchases.
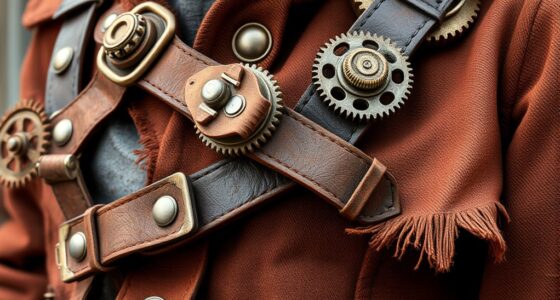
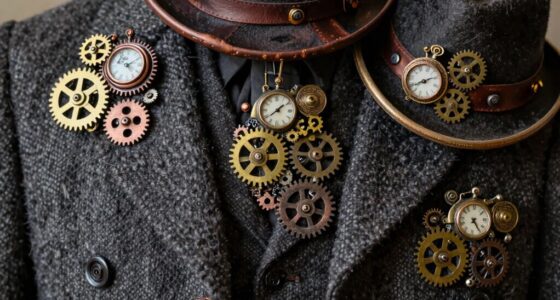
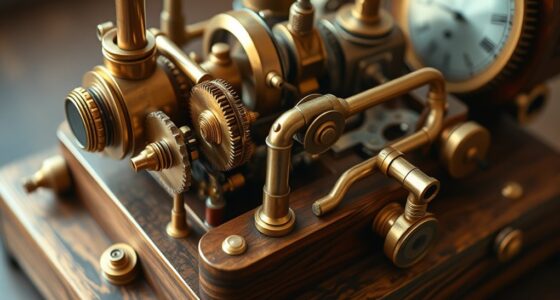
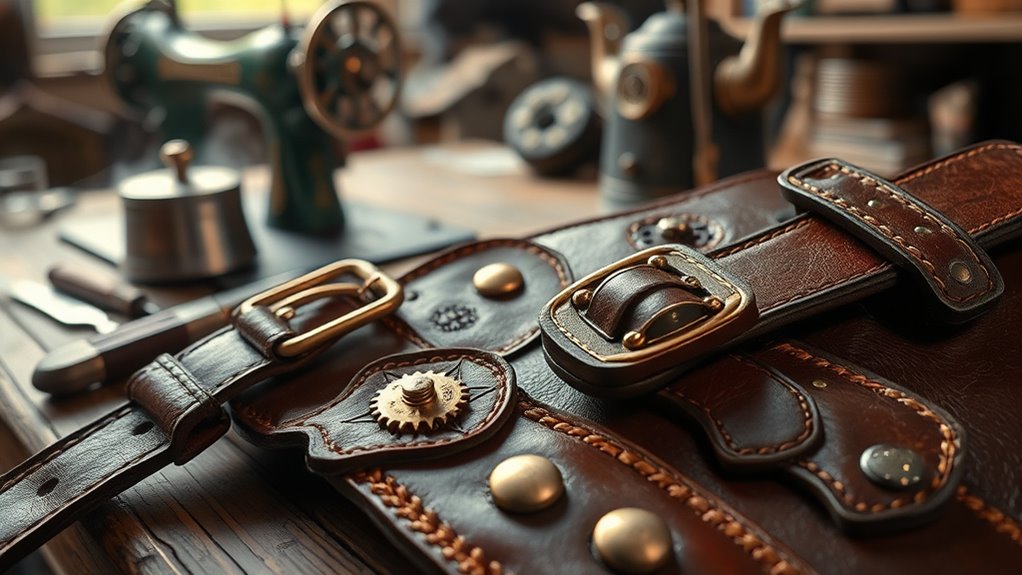
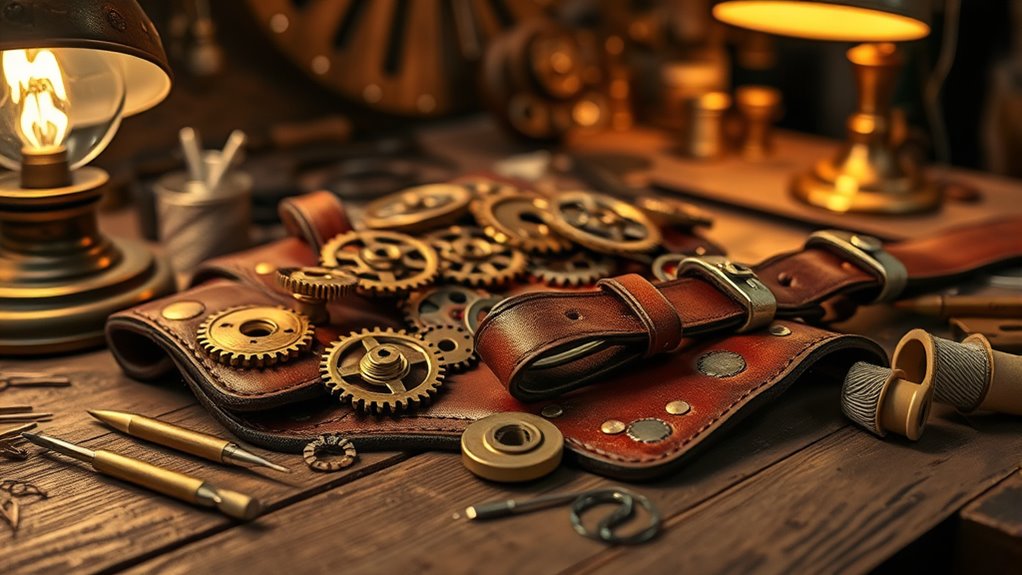
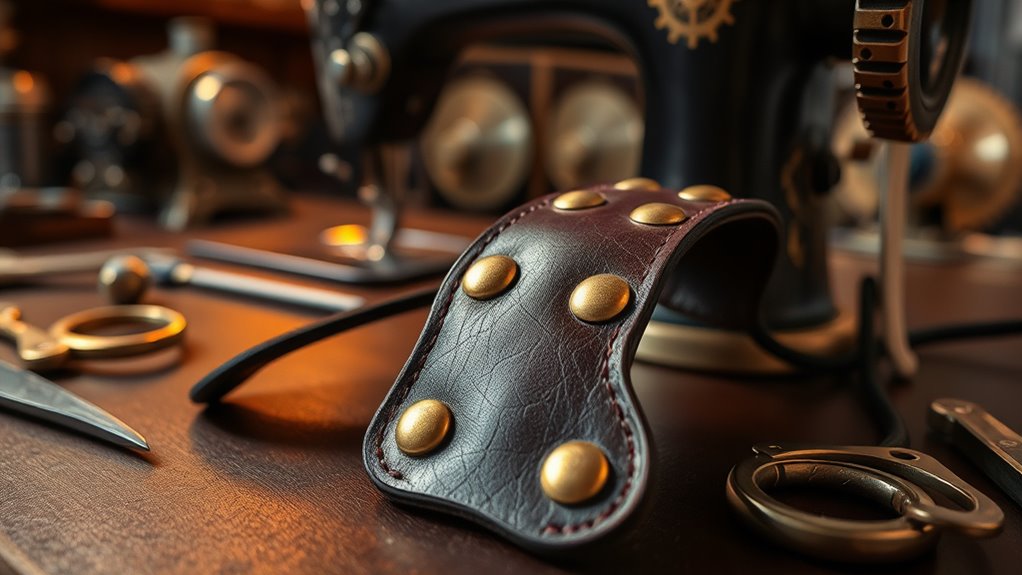
Incorporating Mechanical Elements
Incorporating mechanical elements into your leatherworking projects not only enhances their visual appeal but also embraces the essence of Steampunk design. By adding gears, cogs, and other mechanical parts, you create that signature aesthetic. Eucalyptus oil can be used in your workspace to help clear your sinuses, allowing you to focus on your intricate designs without distraction. Additionally, consider the performance tuning of your tools for optimal efficiency, similar to how BMW tuning can enhance vehicle capabilities.
Utilize brass and copper for hardware to elevate your pieces, while combining smooth leather with rough elements for textural contrast. Attach components using rivets and grommets, ensuring functionality alongside style. Leather can be moulded, carved, dyed, embellished, stamped, and sewn, allowing for a wide range of creative possibilities. Additionally, consider exploring smart shopping techniques to find high-quality materials at the best prices.
Consider integrating moving parts or adjustable straps for practicality. Tooling and embossing techniques can depict intricate designs, making your work truly unique. Lastly, don't forget to test the functionality of your mechanical components, ensuring they perform well while remaining visually captivating. Embrace innovation and let your creativity shine!

Fiebing's Pro Dye Dark Brown, 4 oz. – Professional Oil Dye for Leather
Offers a superior colorfast formula that adds the perfect rich color to natural strap and veg tanned leathers
As an affiliate, we earn on qualifying purchases.
As an affiliate, we earn on qualifying purchases.
Advanced Dyeing Techniques

Adding mechanical elements to your leather projects can create a striking Steampunk aesthetic, but the visual richness doesn't stop there.
Explore advanced dyeing techniques to elevate your work. Oil dyes offer smooth, even coats, perfect for heavy use, while alcohol dyes provide vibrant, unpredictable colors. For a natural look, try aniline dyes, and if you prefer a soft matte finish, wax dyes are your go-to, though they may fade. Most leather types can be dyed, making it essential to choose the right dye for your specific project. Additionally, energy-efficient appliances can also inspire unique design ideas for your leatherworking environment. Experiment with special effects like wax printing or slice staining for unique textures. Use brush finishes or hand-wiping for precision, and consider immersion dyeing for uniform color.
Elevate your leatherwork with advanced dyeing techniques, from smooth oil dyes to vibrant alcohol dyes and natural aniline options.
Always prepare your leather and test dyes first. Finish with protection to seal in your stunning hues!

200g Leather Edge Sealer Kit, Burnishing Gum Smooth Glossy, Becomes Clear After Drying, for Belts, Wallets, Shoes, Sofas
Smooth Leather Edges: Use our leather edge sealer to smooth and even out rough surfaces. The polishing gel…
As an affiliate, we earn on qualifying purchases.
As an affiliate, we earn on qualifying purchases.
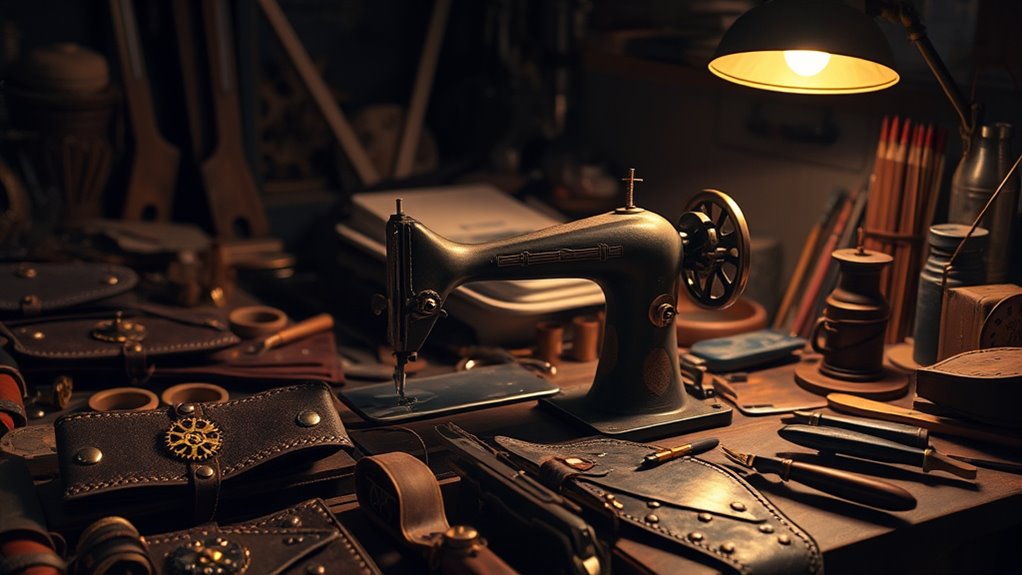
Mastering Stitching and Assembly
Mastering stitching and assembly is crucial for achieving that authentic Steampunk look in your leather projects. Start by selecting high-quality veg-tanned leather, as it accepts dye beautifully. Equip yourself with a basic tool set, including utility knives, punches, and stitching irons. Pre-punch holes in the leather to ensure easier hand-stitching. Use double-needle stitching for even tension, and manage your thread by leaving some slack. Incorporate decorative stitches to enhance visual appeal. As you assemble, integrate brass and copper hardware like gears and rivets to emphasize the Steampunk aesthetic. Additionally, consider creating stitch-holes using a four-pronged awl for precise spacing. Finally, always check for evenness and balance in your assembly before moving on to finishing touches. Your attention to detail will set your projects apart!
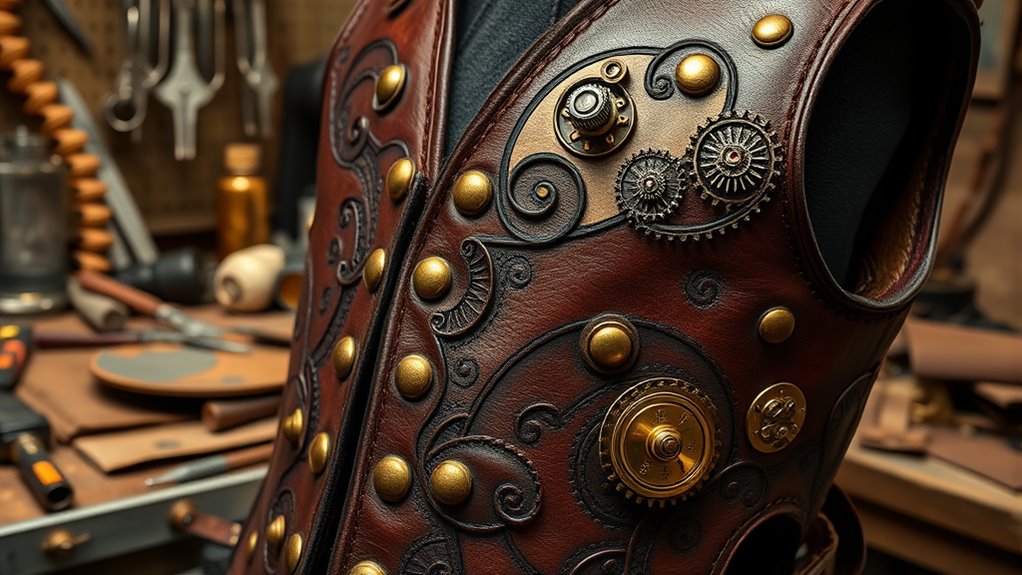
Finishing Touches for a Professional Look
After assembling your leather project with precision, the finishing touches can make all the difference in achieving a professional Steampunk look.
Start by burnishing the edges to smooth them out and prevent fraying. Next, choose your dye, layering for depth and contrast if desired. Remember that dyeing leather alters its appearance, so carefully consider your color choices before applying. Incorporating natural materials can also enhance the overall aesthetic of your project, as these materials often add a unique character similar to butter's composition in culinary applications.
For protection, consider sealing with wax or oil finishes, but remember that acrylics offer a glossier shield. Embrace embellishments like gears and studs to enhance the aesthetic, and don't shy away from contrasting materials for added interest.
Finally, polish your work to achieve a refined look, and consider creative display options that highlight your craftsmanship, such as using vintage-inspired backgrounds or strategic lighting to showcase intricate details.
Frequently Asked Questions
What Types of Leather Are Best for Steampunk Projects?
When you're choosing leather for steampunk projects, consider vegetable-tanned and full-grain leather for their durability and aesthetic appeal.
Suede can add a unique touch, while patent leather offers a glossy finish. Look for thicker options, ideally around 5 oz, as they provide strength for accessories.
You'll also want leathers that take dye well, allowing for versatile color schemes.
Ultimately, the right leather elevates your designs, making them stand out in the steampunk genre.
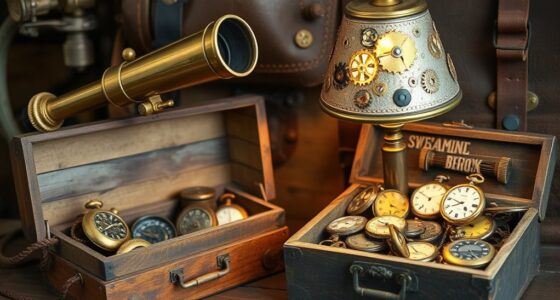
How Do I Choose the Right Hardware for My Design?
When you're diving into your design, think of it like assembling a time machine. Choose hardware that sings with vintage charm—copper, brass, and bronze are your best friends.
Imagine aged finishes that whisper tales of yesteryears. Balance the leather and hardware like a finely tuned clock, ensuring they dance together in harmony.
Can I Use Synthetic Leather for Steampunk Creations?
You can definitely use synthetic leather for your steampunk creations!
It's durable, versatile, and cost-effective, making it a great choice for various projects. Plus, you can easily dye it to match the eclectic aesthetic of steampunk.
While it might lack the depth of real leather, experimenting with textures and combining materials can enhance your designs.
Whether for accessories or costume elements, synthetic leather can help you achieve that unique steampunk look.
What Are Some Common Mistakes in Steampunk Leatherworking?
You'd think handling leather is like a walk in the park, but it's more like a stroll through a minefield!
Common mistakes include neglecting proper preparation, which can ruin your project faster than you can say "steampunk."
Choosing the wrong leather, over-manipulating, or skimping on drying time can lead to disaster.
And let's not forget about using dull tools or rushing assembly—your masterpiece might end up looking like a lopsided airship!
How Can I Maintain My Leather Projects Over Time?
To maintain your leather projects over time, start with regular dusting to prevent damage.
Deep clean them twice a year with a damp cloth, avoiding harsh chemicals.
Condition your leather at least twice yearly using natural oils to keep it moisturized.
Store your pieces in a cool, dry place, away from direct sunlight and heat.
Quick stain removal is key, and for severe stains, consider professional cleaning services when needed.
Conclusion
As you delve into these advanced steampunk leatherworking projects, remember that your imagination is your only limit. By blending intricate designs with mechanical flair, you'll create pieces that not only tell a story but also stand the test of time. With every stitch and dye, you're not just crafting leather; you're forging a unique piece of art that reflects your vision. So, roll up your sleeves, let your creativity flow, and watch your ideas come to life!