To build a steampunk periscope or telescope prop, start by combining vintage-style glass lenses with brass or copper fittings for an authentic Victorian look. Add intricate gear mechanisms, cogs, and pulleys to evoke complex machinery, and enhance the design with rivets, engraved panels, and weathered metallic finishes. Incorporate LED accents for dynamic lighting and guarantee smooth, durable movement of parts. With careful craftsmanship, you’ll create an eye-catching, functional display piece—continue to explore the detailed steps ahead.

Get art and craft supplies delivered free with Prime
- Fast, free delivery on millions of items
- Prime Video, Amazon Music and more included
- Member-only deals all year
Key Takeaways
- Use Victorian-style vintage lenses mounted in brass or copper fittings for authentic optical appearance.
- Incorporate detailed gear mechanisms, pulleys, and hand cranks to suggest steam-powered operation.
- Add decorative rivets, engraved panels, and weathered metallic finishes for an industrial Victorian aesthetic.
- Integrate LED lighting within mechanisms to enhance realism and visual interest in low-light settings.
- Select lightweight materials and ensure precise assembly for durability, portability, and a cohesive steampunk look.
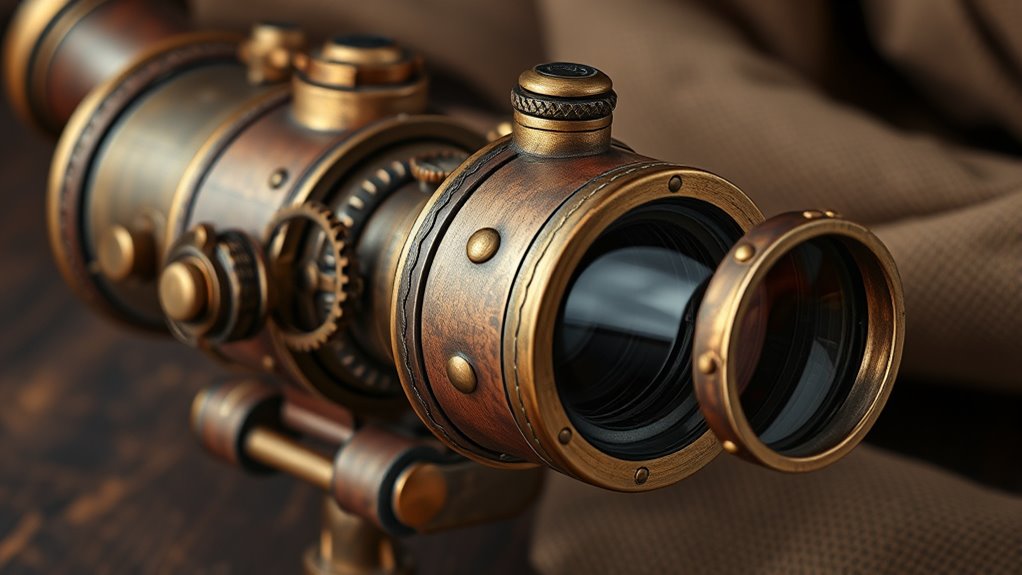
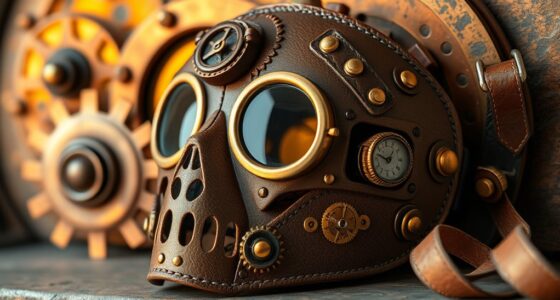
Creating a steampunk periscope or telescope prop is a fun way to bring Victorian-era industrial design into your cosplay or themed project. This involves crafting Victorian optics that combine vintage elegance with functional appeal, giving your piece an authentic, antique look. To achieve this, you’ll want to focus on sourcing or fabricating lenses that mimic the style of old telescopes, perhaps using vintage glass or acrylic with a patina finish. These optics should be carefully mounted within brass or copper fittings, emphasizing craftsmanship that looks both practical and decorative. When you’re assembling the optics, pay attention to the alignment; precise positioning ensures your prop looks realistic and functions smoothly if it’s designed to be operational.
Craft Victorian optics with vintage lenses, brass fittings, and precise alignment for an authentic steampunk look.
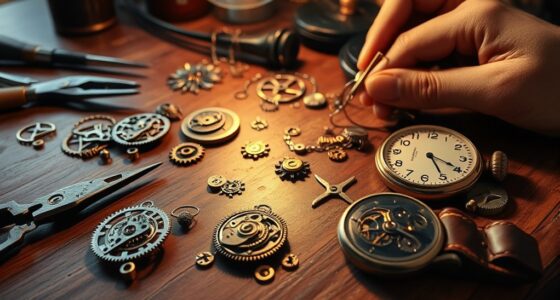
A key element in making your steampunk periscope or telescope convincing is incorporating steam-powered gear mechanisms. These gears, often made from metal or painted resin to resemble metal, should be designed to look like they could be part of a working machine. You might use small, intricately detailed gears, cogs, and pulleys linked together to give the impression of a complex, steam-driven system. These mechanisms aren’t just for show—they add visual interest and authenticity, reinforcing the Victorian industrial aesthetic. When installing the gear mechanisms, ensure they’re securely attached and can move or spin if you want your prop to have functional parts. Some creators even incorporate small hand cranks or levers, which can be manipulated to simulate steam-powered operation.
To enhance the Victorian feel, you’ll want to incorporate decorative elements like rivets, engraved panels, and metallic finishes that mimic aged brass or tarnished copper. These details can be added using paint, weathering techniques, or actual metal parts. The combination of detailed Victorian optics and steam-powered gear mechanisms creates a cohesive look, blending elegance with industrial grit. Remember that the overall design should balance form and function; even if it’s just a prop, it should feel plausible as a device from the Victorian era.
Additionally, consider adding lighting effects such as LED accents or tiny bulbs hidden within the mechanism to give your prop a more dynamic and authentic appearance, especially if it’s meant to be operational or display-worthy.
Finally, don’t forget to weigh the scale and portability of your prop. Whether you’re building a full-size periscope or a tabletop telescope, you want it to be visually impressive but still manageable. Use lightweight materials where possible, and ensure that all moving parts are smooth and durable. By focusing on these details—crafting Victorian optics with precision and integrating steam-powered gear mechanisms—you’ll create a striking, authentic steampunk piece that captures the imagination and elevates your cosplay or themed project to a new level of craftsmanship.
vintage glass lenses for steampunk props
As an affiliate, we earn on qualifying purchases.
As an affiliate, we earn on qualifying purchases.
Frequently Asked Questions
What Materials Are Best for Waterproofing the Prop?
To waterproof your prop, you should use leather sealants for any leather parts, ensuring they stay dry and protected. Apply waterproof paints on metal or wooden surfaces to create a durable, water-resistant barrier. Make sure to clean and dry the surfaces thoroughly before sealing or painting. Reapply sealants or paints as needed for ongoing protection, keeping your steampunk creation looking great and functional even in damp conditions.
How Can I Add Realistic Moving Parts to My Design?
Imagine your prop bursting to life with dizzyingly realistic moving parts! To achieve this, you’ll want to expertly integrate mechanical gears that mesh seamlessly, creating a mesmerizing dance of motion. Use hinge joints for smooth, authentic movement, mimicking real-world mechanisms. Carefully position and secure these components, ensuring they work in harmony. This attention to detail transforms your design from static to stunning, making it feel like a true vintage steampunk marvel in action.
What Lighting Options Work Well for a Steampunk Look?
You should consider using gas lamp lighting or Edison bulbs to achieve a true steampunk look. Gas lamp lighting adds a vintage, industrial feel with warm, flickering glow, while Edison bulbs provide a nostalgic, filament-style illumination. Mix these options with metallic fixtures and exposed wiring for authenticity. These lighting choices highlight your prop’s intricate details and set a perfect steampunk mood, making your design stand out.
How Do I Ensure the Prop Is Lightweight but Durable?
Think of your prop as a delicate dance between weight and strength. To keep it lightweight yet durable, choose materials like lightweight metals, PVC, or sturdy foam with a metal finish. Reinforce joints with strong adhesives and internal supports. Balance weight by avoiding overly thick parts, and test your design frequently. This way, your steampunk masterpiece will stand tall, resilient, and easy to carry, capturing that perfect vintage charm.
Can I Customize the Telescope for Different Sizes?
Yes, you can customize your telescope for different sizes with size adjustment features and custom fittings. Use adjustable joints or extendable tubes to easily modify the size, ensuring versatility for various displays or scenes. Incorporate custom fittings that allow you to swap parts or resize sections quickly. This way, your steampunk telescope remains functional and adaptable, giving you flexibility and a unique look tailored to your specific needs.
brass fittings for optical devices
As an affiliate, we earn on qualifying purchases.
As an affiliate, we earn on qualifying purchases.
Conclusion
Now that you’ve crafted your steampunk periscope or telescope, you’ve brought a piece of Victorian fantasy to life. It’s like holding a window to a bygone era, blending brass and gears into a masterpiece. Your creation isn’t just a prop; it’s a bridge between imagination and reality. With each glance through your handmade device, you’ll feel like a daring explorer, ready to uncover hidden worlds lurking just beyond the horizon.
miniature gear mechanisms for models
As an affiliate, we earn on qualifying purchases.
As an affiliate, we earn on qualifying purchases.
As an affiliate, we earn on qualifying purchases.
Halloween Picks
halloween
As an affiliate, we earn on qualifying purchases.