
To make EVA foam look like brass or copper, start with a warm base color like yellow, gold, or reddish-orange, and apply it smoothly over the foam. Use sponging or soft brushes to blend different shades while wet for a realistic metallic effect, adding subtle variations and surface imperfections with stippling. Finish with metallic or gloss varnish for shine, and experiment with highlighting techniques to enhance reflectivity. If you stick with these tips, you’ll discover how to create a convincing, authentic metallic look.
Key Takeaways
- Apply a warm base coat using yellow, gold, or reddish-orange shades to mimic brass or copper.
- Blend multiple metallic tones while the paint is wet for a realistic, reflective metal effect.
- Add surface texture with stippling or sponging to imitate natural metal imperfections.
- Use dry brushing and highlighting to enhance metallic shine and depth.
- Finish with a compatible gloss or metallic varnish for a polished, reflective surface.
Transforming EVA foam to look like brass or copper is easier than you might think. With a few simple techniques, you can give your foam projects a rich, metallic finish that mimics the real thing. The key lies in mastering color blending and surface texture, which are essential for achieving a convincing metallic appearance. When working with EVA foam, you want to focus on how the colors interact and how the surface feels under your fingertips to create an authentic look.
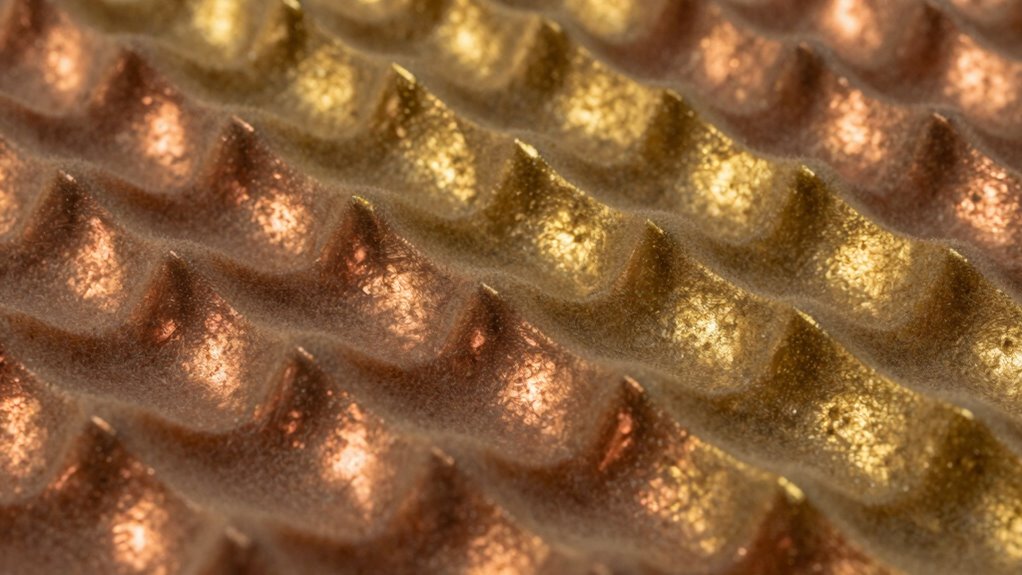
Start by selecting your base colors. For brass, you’ll need warm shades like yellow, gold, and light brown, while copper calls for reddish-orange hues. To achieve a seamless, realistic metallic look, you should blend these colors carefully. Use a sponge or soft brush to dab the paint onto your foam, gradually mixing the shades while still wet. This technique allows for smooth color blending, preventing harsh lines and creating a natural shift between shades. The goal is to mimic the subtle variations in real metal, which often have areas of reflected light and shadow. Layering different tones and blending them well will give your foam a dynamic, metallic appearance.
Blend warm tones smoothly with a sponge to create realistic, shimmering metallic effects on EVA foam.
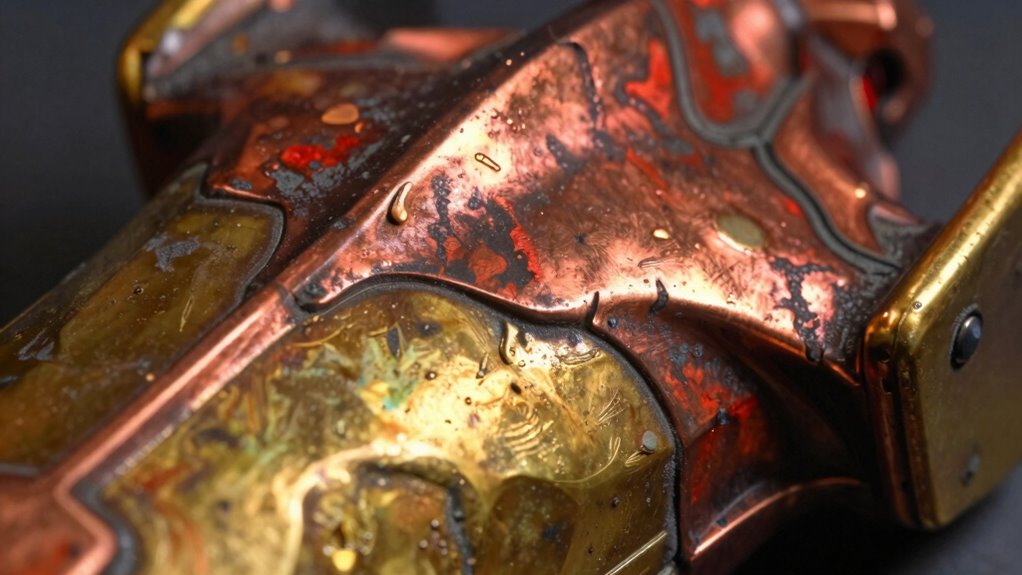
Surface texture plays a vital role in convincing the eye that your foam is metal. You want to replicate the smooth, sometimes slightly grainy surface of brass or copper. After applying your base coat and blending the colors, consider adding texture with a stippling brush or sponge. Lightly dabbing or stippling the surface creates tiny ridges and imperfections that catch light differently, mimicking the natural irregularities found in metal surfaces. If you prefer a more polished look, you can buff the surface slightly with a soft cloth after the paint dries to smooth out any rough patches. Incorporating metallic finishes can further enhance the realism of your project. Additionally, understanding how to create a convincing metallic appearance involves more than just color; it also includes understanding how light interacts with reflective surfaces. To deepen the metallic effect, experimenting with different painting techniques such as dry brushing or highlighting can also make a significant difference. Exploring metal surface textures can help you better replicate the natural irregularities and reflectivity found in real metals.
Adding a layer of reflective quality by carefully controlling the varnish application can dramatically improve the metallic illusion. Finally, to enhance realism, apply a thin layer of metallic or gloss varnish. This step adds a reflective quality that truly makes your foam resemble metal. Be sure to choose a varnish compatible with your paint and foam material. Lightly spraying or brushing on the varnish, then allowing it to dry thoroughly, will give your project that shiny, authentic finish. Remember, the combination of thoughtful color blending and textured surface work makes all the difference in transforming ordinary EVA foam into a convincing metallic replica. With patience and attention to detail, you’ll create a stunning piece that looks like real brass or copper, impressing anyone who sees it.

PlaidFX Metallic Flexible Acrylic Paint Ideal for Pliable Surfaces and Cosplay Costumes, Non-Cracking or Peeling, No-Tack, Durable, 3 oz, Golden Hour
Ideal for use on EVA foam thermoplastics and 3D printed material
As an affiliate, we earn on qualifying purchases.
As an affiliate, we earn on qualifying purchases.
Frequently Asked Questions
Can I Use Regular Spray Paint for Metal Effects?
Yes, you can use regular spray paint for metal effects, but for the best results, opt for a specialized metal paint designed for spray application. Metal paints contain metallic pigments that create a realistic brass or copper look. When applying, make sure to use smooth, even coats and allow each layer to dry thoroughly. This method guarantees a more convincing, professional finish that mimics real metal surfaces.
How Long Does the Faux Metal Finish Last?
The faux metal finish can shine beautifully for months, but its longevity depends on your care. Durability testing shows it withstands light handling, but heavy wear may dull the luster. To keep it gleaming, follow maintenance tips like avoiding harsh chemicals and cleaning gently. Think of your finish as a delicate dance—if you treat it with care, it’ll stay vibrant and striking, like a treasure that ages gracefully.
Is Special Sealing Needed After Painting?
Yes, sealing techniques are essential after painting to protect your faux metal finish. You should apply a clear sealant or topcoat to enhance durability and prevent chipping or fading. Consider durability considerations when choosing the sealant—some are better for long-term wear. Make sure to use a sealant compatible with your paint type, and apply it evenly for a smooth, protective finish that keeps your EVA foam looking great over time.
Can I Apply This Technique on Textured EVA Foam?
Yes, you can apply this technique on textured EVA foam, but be aware that textured surfaces can pose adhesion challenges. Notably, textured surfaces can reduce adhesion by up to 50%, making it trickier for paint or sealants to stick evenly. To guarantee good results, lightly sand or prime the textured surface first, then use a strong adhesive or primer designed for textured surfaces. This improves paint adhesion and gives you a smooth, realistic brass or copper finish.
What Safety Precautions Are Recommended During Painting?
You should always wear safety gear like gloves, masks, and goggles to protect yourself from fumes and paint splatters. Guarantee proper ventilation by working in a well-ventilated area or using a fan to reduce inhalation risks. Follow manufacturer instructions on paint and sealant labels, and avoid open flames or sparks near your workspace. Taking these precautions keeps you safe while achieving your desired finish on the EVA foam.
EVA foam metallic varnish
As an affiliate, we earn on qualifying purchases.
As an affiliate, we earn on qualifying purchases.
Conclusion
Now that you’ve learned how to transform EVA foam into stunning brass and copper finishes, you’re ready to let your creativity shine. Think of your project as a blank canvas waiting for a touch of metallic magic—each step bringing your vision to life. With patience and practice, your foam creations will gleam like treasures from a hidden trove. So go ahead, craft with confidence, and turn ordinary foam into extraordinary works of art that catch the eye and spark admiration.

30 Pcs Round Sponges Brush Set, Round Sponge Brushes for Painting, Paint Sponges for Acrylic, Painting Tools for Kids Arts and Crafts (4 Sizes)
WHAT YOU GET: The package includes a total of 30 pieces of wooden handle round sponge brushes For…
As an affiliate, we earn on qualifying purchases.
As an affiliate, we earn on qualifying purchases.

Rust-Oleum 249128 Painter's Touch 2X Ultra Cover Spray Paint, 11 oz, Metallic Aluminum
Ideal for use on interior/exterior surfaces including wood, plastic, plaster, metal, masonry and unglazed ceramic
As an affiliate, we earn on qualifying purchases.
As an affiliate, we earn on qualifying purchases.