
To upgrade your DIY steampunk waistcoat, start with vintage fabric like brocade or distressed leather, and plan your accessory placement carefully. Sew brass buttons, gears, and clock face accents in a balanced way, securing them with decorative stitches. Add small pockets or loops inside for functional accessories like pocket watches or cogs. Incorporate subtle weathering for a worn look, and pay attention to detail for a cohesive, industrial vintage style. Explore each step further to perfect your masterpiece.
Key Takeaways
- Select vintage fabrics like brocade or velvet in deep, muted colors for an authentic steampunk look.
- Plan accessory placement with brass buttons, gears, and clock faces for balanced industrial charm.
- Sew discreet loops or tabs inside the waistcoat to attach removable gears or pocket watches.
- Incorporate small pockets and gear embellishments to enhance both style and functionality.
- Add subtle distressing and handcrafted details for a personalized, vintage-industrial steampunk upgrade.
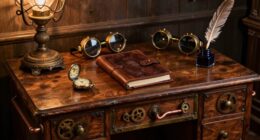
Ever wondered how to craft your own steampunk waistcoat that perfectly blends vintage charm with industrial flair? The key lies in selecting the right materials and paying attention to detail. Start with vintage fabric; it’s the foundation that gives your waistcoat that authentic, timeless appeal. Look for rich, textured materials like brocade, velvet, or distressed leather that evoke a Victorian-era aesthetic. When choosing fabric, consider the color palette—deep browns, burgundies, and muted golds work beautifully for a steampunk vibe. Once you have your fabric, measure yourself carefully to ensure a tailored fit, and cut your pieces accordingly.
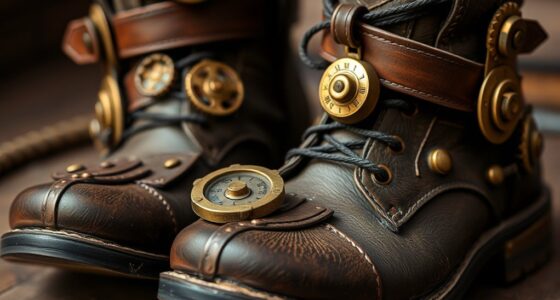
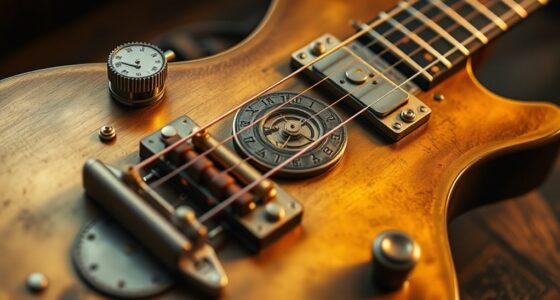
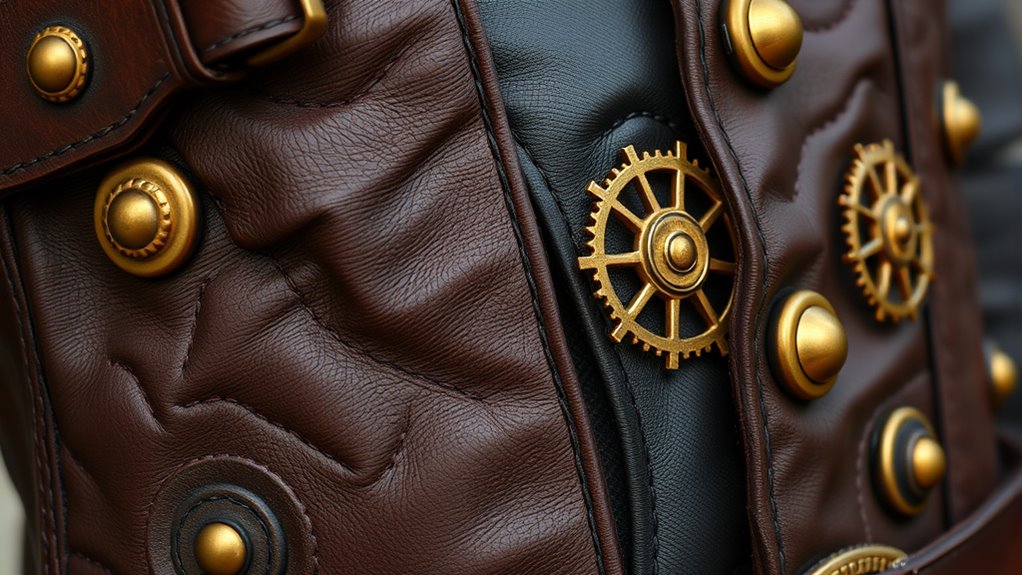
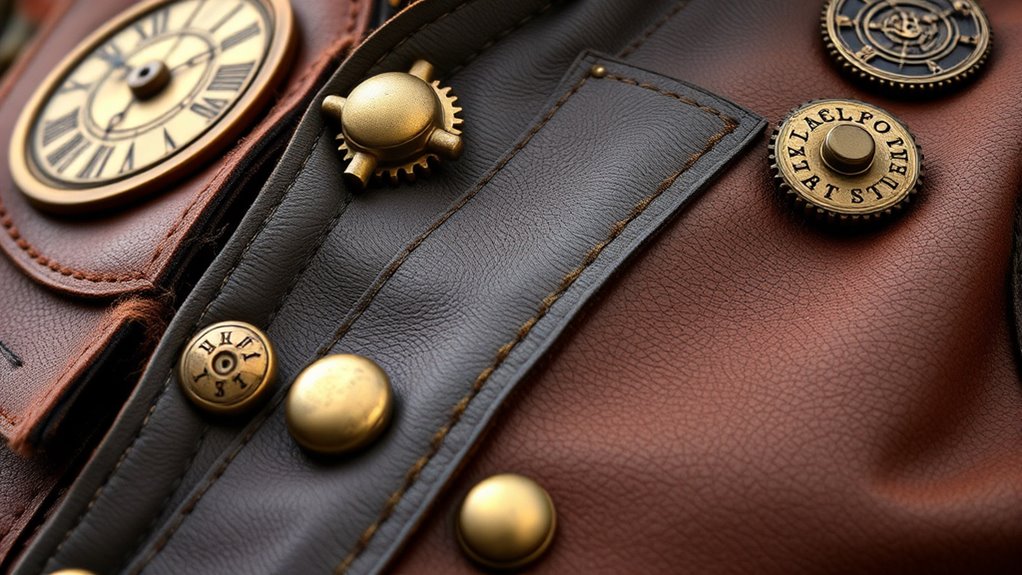
Next, focus on accessory placement. This is where you can truly personalize your waistcoat and elevate its style. Think about where to add brass buttons, gears, or clock face accents—these small details make a significant difference. Before sewing, plan out your accessory placement to create a balanced, eye-catching design. For example, positioning brass buttons along the front placket in a double-breasted style enhances the vintage look, while adding small gear embellishments on the pockets or lapels introduces that industrial touch. Use contrasting stitches or decorative topstitching to secure these accessories, ensuring they stay in place. If you’re attaching larger pieces like pocket watches or miniature cogs, consider sewing discreet loops or tabs into the waistcoat to keep them removable for versatility or cleaning.
Personalize your waistcoat with strategic accessory placement—brass buttons, gears, and pocket watches for authentic steampunk flair.
When working with vintage fabric, handle it gently to preserve its texture and integrity. Avoid stretching or pulling, and use sharp scissors for clean cuts. As you assemble the waistcoat, pay careful attention to the placement of each accessory. For instance, placing a small pocket on the chest for a vintage pocket watch not only looks stylish but also adds functional charm. You can also sew loops or small pouches inside the waistcoat to hold steampunk-inspired trinkets or tools, enhancing both form and function. Remember, accessory placement isn’t just about aesthetics—it’s about creating a cohesive look that balances vintage elegance with industrial grit.
Finally, once your waistcoat is assembled, consider adding subtle distressing or weathering to certain areas for a more authentic, worn-in appearance. This touch of imperfection will make your DIY steampunk waistcoat stand out, showcasing your craftsmanship and personal style. With thoughtful fabric choices and strategic accessory placement, you’ll craft a unique piece that’s ready for any steampunk event or cosplay.

TFCFL Retro Water Pipe Table Lamp for Bedroom, Vintage Steampunk Desk Lamp with Clock Plug-in Table Lamp Light Nightstand Lamp E26 60W Max for Living Room
💡【Table Lamp with Clock】- This desk lamp contains a clock. It can be used not only as a...
As an affiliate, we earn on qualifying purchases.
Frequently Asked Questions
What Materials Are Best for Authentic Steampunk Upgrades?
For authentic steampunk upgrades, you should choose vintage fabrics like brocade, leather, or tweed to add historical charm. Brass embellishments are perfect for hardware details such as buttons, gears, and buckles, giving your waistcoat an industrial yet classy look. These materials create a genuine steampunk aesthetic and are durable enough for customization. Incorporate them thoughtfully to elevate your vest’s style and authenticity in every detail.
How Do I Customize a Waistcoat for a Perfect Fit?
To customize your waistcoat for a perfect fit, start with proper tailoring techniques like measuring your shoulders, chest, and waist accurately. Use fabric selection that matches your style and comfort needs. Pin and try on the vest as you sew, making adjustments to the seams for a snug fit. Don’t rush—careful fitting guarantees your steampunk upgrade looks authentic and feels comfortable every time you wear it.
Can I Add Electronic Components to My Steampunk Waistcoat?
Ever thought about adding electronic components to your steampunk waistcoat? Yes, you can incorporate electronic integration and circuitry embellishments to make it truly unique. You might install small LEDs, sound modules, or even kinetic devices for a dynamic look. Just make certain your wiring is concealed and securely fastened to avoid damage or discomfort. Are you ready to transform your waistcoat into a steampunk masterpiece with some tech flair?
What Safety Precautions Should I Consider When Modifying Clothing?
When modifying clothing, you should always prioritize safety gear like gloves and eye protection to prevent injuries. Be aware of fire hazards if you’re working with electrical components or soldering. Keep your workspace well-ventilated, and avoid flammable materials nearby. Always disconnect power sources before working on electronics, and test everything carefully to minimize risks. Taking these precautions helps make sure your project stays safe and enjoyable.
How Do I Maintain and Clean My Steampunk Waistcoat Afterward?
To keep your steampunk waistcoat pristine, perform regular fabric care and gentle stain removal. Start by spot cleaning with a soft cloth and mild detergent, avoiding harsh chemicals. Always check the care label for specific instructions. To maintain its marvelous metallic accents, avoid excessive washing, and consider hand washing or dry cleaning when necessary. Proper upkeep preserves the vest’s vintage vibe and vibrant visual appeal.

LightInTheBox Rustic Industrial Tube Pipe Chandeliers, Steampunk Pendant Light Fixture 5-Light Edison Farmhouse Ceiling Lamp for Dining Room Living Room Bar
Steampunk Design: This industrial light fixture features a unique pipe design, complemented by a rustic paint finish. Its...
As an affiliate, we earn on qualifying purchases.
Conclusion
Now that you’ve upgraded your steampunk waistcoat, you’ll stand out at any event with your unique style. Did you know that DIY fashion projects like this can save you up to 60% compared to buying ready-made? Plus, customizing your own vest makes it truly one-of-a-kind. Keep experimenting with accessories and details, and you’ll create a timeless piece that reflects your personality. Enjoy showing off your craftsmanship and enjoy the compliments that come your way!

TFCFL Industrial Chandelier, 7-Light Vintage Steampunk Style Rustic Pendant Lamp Gear Metal Ceiling Hanging Lighting Fixture for Restaurant Bar Coffee Room
【Industrial Rustic Style】The wheel and gears paired well with bulb to offer a unique industrial flair, 7 condensed...
As an affiliate, we earn on qualifying purchases.

SJDHAHC Steampunk Angler Light - Vintage Iron Handmade LED Night Light, Desktop Ornament for Bedroom, Fish Collecting Decor, Creative Silicone Animal Art
Authentic Steampunk Artistry Handmade iron fish lamp with exposed gears, metallic finish, and vintage industrial details – a...
As an affiliate, we earn on qualifying purchases.