
To create a DIY steampunk ray gun, gather everyday items like cardboard tubes, plastic bottles, and foam, then paint or spray them with metallic shades such as bronze or copper for an aged look. Add mechanical details like screws, gauges, or tubing, and incorporate vintage-inspired embellishments. Enhance the prop with LED lights and weathered finishes for realism. If you continue exploring, you’ll discover detailed tips on assembly, finishing touches, and achieving an authentic steampunk aesthetic.
Key Takeaways
- Use everyday materials like cardboard, plastic, or foam and paint with metallic shades to craft an aged, industrial look.
- Incorporate Victorian steampunk details such as tubing, gauges, and vents for authentic aesthetic appeal.
- Attach mechanical parts and embellishments with hot glue, adding weathered finishes and metallic accents for realism.
- Integrate LED lights to create glowing effects and highlight mechanical features safely concealed within the prop.
- Add leather grips, custom holsters, and steampunk accessories to enhance authenticity and overall presentation.

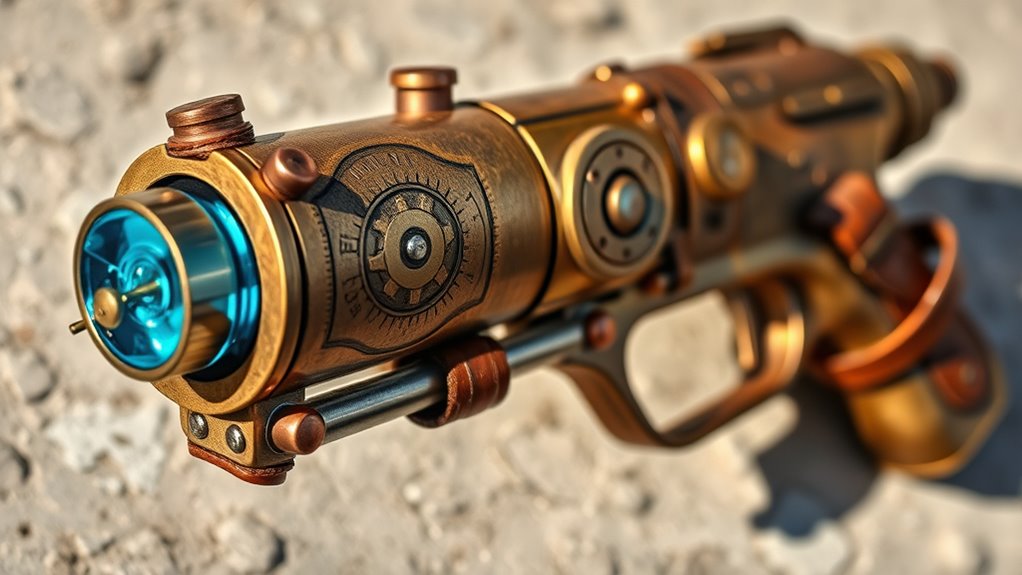
Creating your own steampunk ray gun prop is a fun and rewarding project that lets you bring a vintage-futuristic weapon to life. Whether you’re gearing up for a cosplay event or just want a unique display piece, building a ray gun allows you to showcase your creativity and craftsmanship. When designing your prop, think about how it will complement your overall cosplay costume ideas. The right steampunk accessories can make your ensemble feel authentic and cohesive, so consider incorporating gears, cogs, Victorian-style embellishments, and metallic details into your design. These elements help evoke the steampunk aesthetic, blending Victorian elegance with industrial innovation.
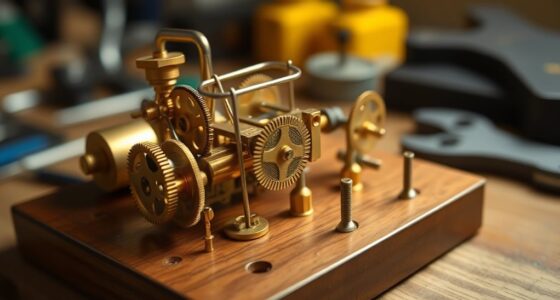
Start by gathering your materials. A basic DIY steampunk ray gun can be made from everyday items like cardboard tubes, plastic bottles, or foam. You’ll want to paint and add metallic finishes to give it an aged, industrial look. Use metallic spray paint or acrylics in bronze, brass, or copper shades to mimic vintage metal. To add depth and realism, consider dry brushing darker tones over the metallic surface to create shadows and wear. For the details, small mechanical parts like screws, washers, or jewelry components work perfectly as accents. Hot glue is your go-to adhesive for attaching these pieces securely.
Gather everyday items like cardboard tubes, plastic bottles, or foam, then paint with metallic shades for an industrial steampunk look.
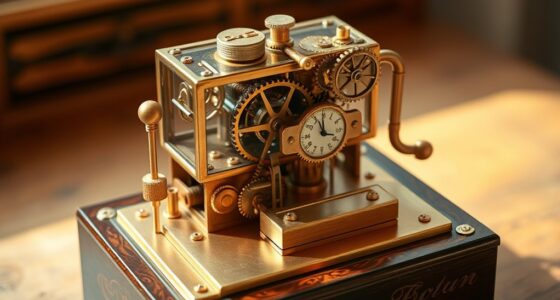
As you assemble, think about the gun’s shape and how it fits into your cosplay costume ideas. You might want a sleek, streamlined design or an elaborate, ornate weapon with lots of decorative details. Embellish your ray gun with steampunk accessories like tubing, gauges, or decorative vents to enhance its vintage-futuristic vibe. You can even incorporate LED lights to give it a glowing effect—just hide the wiring inside the body of the gun for a seamless look. Remember, the key is to balance functionality with aesthetic appeal; your prop should look convincing but also be comfortable to carry or display.
Finally, pay attention to the finishing touches. Adding faux leather straps or a worn leather grip can improve the authenticity of your prop. You might also consider creating a custom holster or displaying it on a stand with additional steampunk accessories like pocket watches or goggles nearby. The effort you put into customizing your ray gun will make it a true centerpiece of your cosplay. With patience and creativity, your DIY steampunk ray gun will not only look fantastic but also serve as a conversation starter at any event. It’s a perfect way to showcase your love for the steampunk genre while creating a one-of-a-kind cosplay accessory.
Frequently Asked Questions
What Safety Precautions Should I Take During Construction?
When building your steampunk ray gun prop, you should always wear safety gear like goggles, gloves, and a mask to protect against dust and fumes. Make sure you work in a well-ventilated area to avoid inhaling harmful particles or fumes from paints, glues, or solvents. Keep your workspace organized, follow instructions carefully, and take breaks to prevent accidents. Safety always comes first to enjoy your project without risks.
What Materials Are Best for a Lightweight Design?
Imagine if Da Vinci had access to modern lightweight materials—you’d want the best for your steampunk ray gun. Use materials like foam, balsa wood, or plastic for a lightweight design, ensuring easy handling. These materials maintain structural integrity without adding unnecessary weight. Combining them with metal accents or gears can enhance authenticity. Opt for sturdy yet light options so your prop feels solid while being comfortable to carry all day.
How Can I Make the Prop Look More Authentic?
To make your steampunk ray gun look more authentic, focus on applying metal finishes that mimic real aged metal, like bronze or tarnished brass. Use weathering techniques such as dry brushing, washes, and rust effects to add depth and wear. These methods give your prop a realistic, vintage look. Carefully layering these finishes will make your ray gun appear genuinely aged and well-used, elevating its authenticity and visual appeal.
Are There Recommended Tools for Detailed Embellishments?
You should use fine detail brushes and precision tools for your embellishments, along with embellishment adhesives to securely attach small parts. For intricate designs, airbrushing techniques can add depth and realism, blending colors seamlessly. Take your time with each detail, layering paints and adhesives carefully. This approach guarantees your steampunk ray gun looks authentically crafted, with crisp lines and well-adhered embellishments that enhance its vintage, mechanical aesthetic.
How Can I Customize the Color Scheme?
You can customize your steampunk ray gun’s color scheme by choosing from various color palette options that match your desired aesthetic. Start by selecting a base color, then add accent color application with metallic paints or weathering techniques to highlight details. Experiment with contrasting or complementary shades, like bronze and deep red or copper and teal, to create a unique, eye-catching look that truly reflects your style.
Conclusion
Now that you’ve mastered the magic of making your own steampunk ray gun, you’re ready to showcase your craftsmanship and creativity. With patience, passion, and a pinch of ingenuity, you’ve produced a perfect prop that’s sure to impress. So, step into the steampunk scene with style, and let your new creation become the centerpiece of your costume collection. Remember, the more you tinker, the more your talent transforms into a timeless treasure!