
To craft a DIY steampunk mask or respirator, start by shaping a base from cardboard or craft foam, cutting eye and mouth openings. Decorate with metallic paints, gears, cogs, and vintage embellishments like clock parts for an authentic look. Secure everything with hot glue, add straps for comfort, and weather the finish for a worn effect. Incorporate small tubes or wires for added industrial detail. Keep exploring to discover detailed steps for creating an eye-catching steampunk accessory.
Key Takeaways
- Use lightweight materials like cardboard or craft foam to craft the mask’s base and ensure comfort.
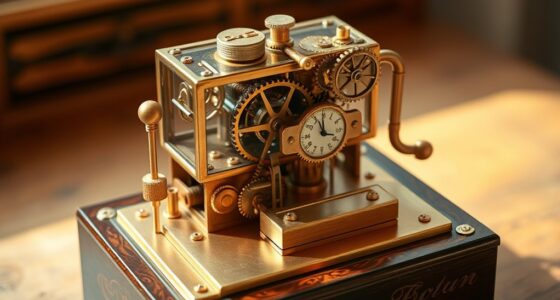
- Incorporate vintage gears, cogs, and clock parts for authentic steampunk detailing.
- Apply metallic paints and weathering techniques to create a worn, industrial look.
- Attach small tubes, wires, or filters for added mechanical authenticity and visual interest.
- Secure straps or leather fittings for a comfortable, adjustable fit during wear.
Ever wondered how to craft a unique steampunk mask or respirator that stands out? If you’re diving into steampunk fashion, you know that accessories are key to achieving that distinctive, vintage-industrial look. Creating your own DIY costume accessories allows you to add personalized flair and ensure your mask complements your overall outfit perfectly. Whether you’re gearing up for a cosplay event, a costume party, or just want to embrace the steampunk aesthetic, building your own respirator is both a fun and rewarding project.
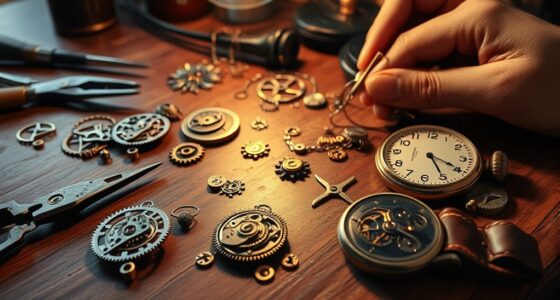
Start by gathering the essential materials. Cardboard or craft foam work well for the base structure, providing a lightweight yet sturdy foundation. You’ll also want metallic paints, gears, clock parts, and other vintage-looking embellishments to give your mask that authentic steampunk vibe. Don’t forget to have hot glue, scissors, and a utility knife on hand for shaping and assembling your pieces. As you plan your design, think about how the mask will fit your face comfortably while maintaining the detailed, industrial look characteristic of steampunk fashion.
Gather lightweight materials and vintage embellishments to craft an authentic steampunk mask.
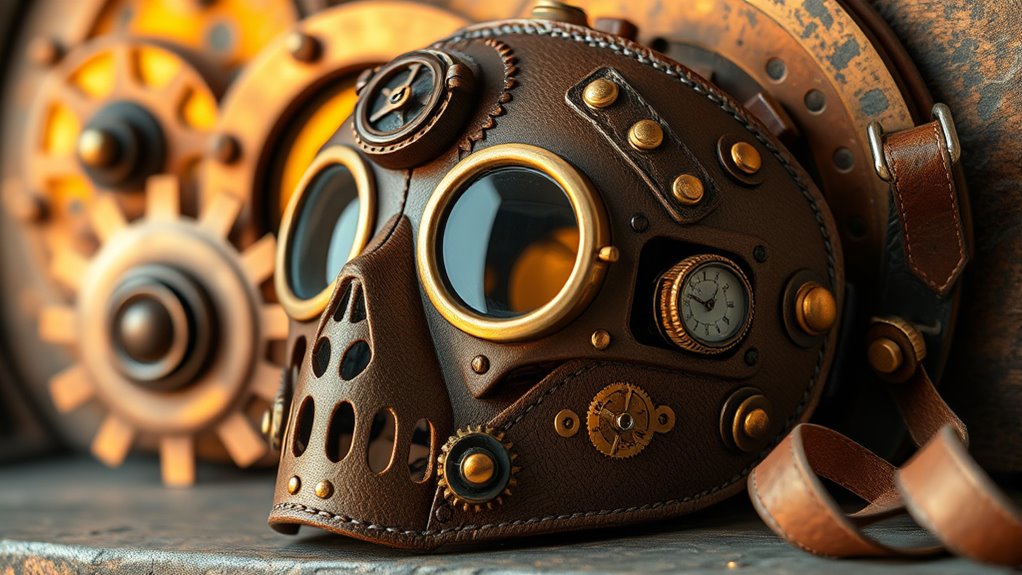
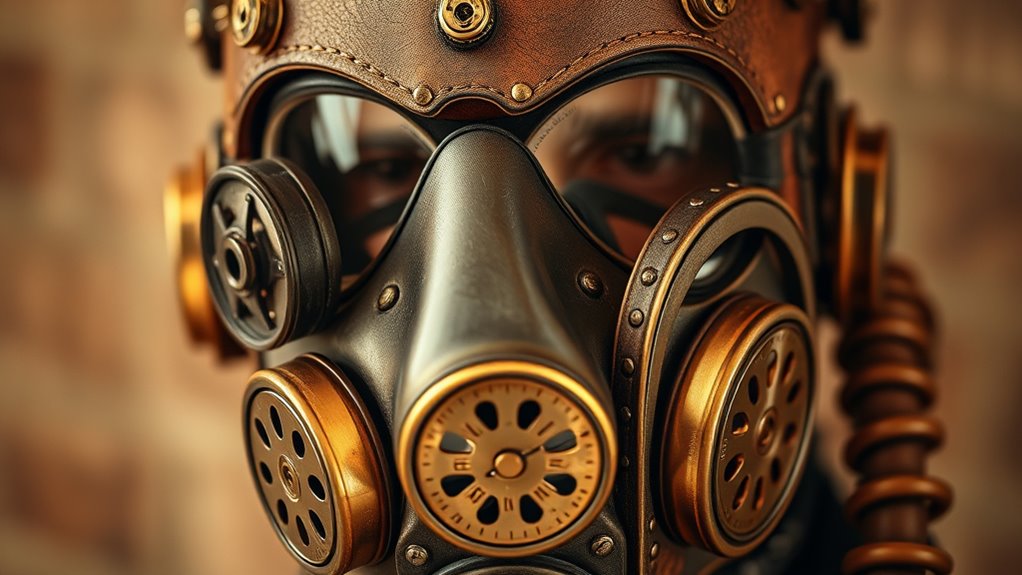
Once you’ve drafted your design, cut out the main shape from cardboard or foam. Cut openings for the eyes and mouth, ensuring they’re comfortable and functional. To add depth, layer additional pieces—perhaps a cylindrical filter or breathing apparatus—using smaller cutouts glued onto the main structure. Use metallic paints or metallic spray to give your mask that aged, tarnished appearance, and add embellishments like mini gears, cogs, or vintage clock parts. These small details truly bring the steampunk aesthetic to life and make your DIY costume accessories stand out.
When attaching your decorative elements, hot glue is your best friend. Be meticulous, ensuring each piece is securely affixed and positioned symmetrically for a polished look. For a more authentic feel, consider using leather or faux leather straps to secure the mask around your head. You can also incorporate small tubes or wires to mimic the look of a functioning respirator, giving your creation a more industrial, mechanical feel. Painting or weathering your mask with a bit of rust-colored paint or patina can add a vintage, well-worn look that’s quintessential to steampunk fashion.

Blurap 83pcs Therian Mask Kit, Cat Mask Base Kit, DIY Furry Masks to Paint, Therian Mask Base Arts Crafts Cat Masks for Halloween Christmas Cosplay Party
[Cat Mask & New Therian Mask Kit]: This therian cat mask kit set includes 6 blank white masks…
As an affiliate, we earn on qualifying purchases.
As an affiliate, we earn on qualifying purchases.
Frequently Asked Questions
Can I Use Recycled Materials for My Steampunk Mask?
Yes, you can definitely use recycled materials for your steampunk mask. Recycled materials support sustainable crafting and give your project a unique, eco-friendly touch. Look for items like cardboard, metal scraps, old gears, or fabric from worn-out clothes. Just make certain these materials are clean and safe to work with. Using recycled components not only reduces waste but also adds authentic, vintage charm to your steampunk creation.
What Tools Are Essential for Building a Steampunk Respirator?
You’ll need pliers and a screwdriver to assemble your steampunk respirator. For example, imagine attaching metal gears to a leather strap frame – these tools help you firmly fasten components. Essential tools like a drill, metal snips, and a hot glue gun also come in handy. With these, you can shape metal, attach gears, and make certain everything stays in place, creating a durable, authentic look for your mask.
How Do I Ensure My Mask Is Breathable and Comfortable?
To guarantee your mask is breathable and comfortable, focus on breathability enhancements like adding adjustable vents or mesh panels. Incorporate comfort modifications such as padded straps and lining materials that suit your skin. Test the fit regularly, making sure it’s snug but not tight. Use lightweight materials and consider adding filters that don’t restrict airflow. This way, your mask stays wearable for longer periods without sacrificing comfort or breathability.
Are There Safety Concerns With Using Certain Adhesives?
Did you know that over 15% of adhesive-related injuries involve toxicity or allergy risks? When choosing adhesives for your project, you should be cautious about adhesive toxicity, which can cause skin irritation or respiratory issues. Always read labels carefully, guarantee proper ventilation, and test a small area first. Using non-toxic, skin-safe adhesives reduces allergy risks and makes your DIY steampunk mask safer and more comfortable to wear.
How Can I Customize My Mask for a Better Fit?
To personalize your mask for a better fit, start by adjusting the strap tension until it feels snug but comfortable. Add padding for comfort in areas where the mask presses against your face, like the nose or cheeks. You can use foam or soft fabric for padding. Regularly check the fit while wearing it to make certain it stays secure and comfortable during use.

RechicGu Style A Watch Clock Clockwork Hand Gear Cog Steampunk Necklace Vintage Golden Color and Silver
Recommended Age : 3-12 Years old. SIZE: Neck Chain:About 68cm(26.8inch),Pendant: 12x7cm (4.7×2.7in).Package:1pc Necklace
As an affiliate, we earn on qualifying purchases.
As an affiliate, we earn on qualifying purchases.
Conclusion
Creating your own steampunk mask or respirator is like forging a piece of wearable art from your imagination. With a little creativity and some handy materials, you can craft something truly unique that not only protects but also tells a story. Remember, your DIY masterpiece is a reflection of your style—bold, inventive, and one of a kind. So, put on your goggles and start building; your steampunk adventure awaits, waiting to unfold like a clockwork symphony.
Rust-Oleum 340647 Specialty Metallic Spray Paint, 11 oz, Metallic Gold
Creates a rich metallic shine on interior surfaces including wood, metal, plaster and more
As an affiliate, we earn on qualifying purchases.
As an affiliate, we earn on qualifying purchases.

Fun Express Superhero Foam Mask Craft Kit – VBS Vacation Bible School Supplies/Decor – Makes 12 – DIY Crafts for Kids and Home, Party Activities
Looking for the perfect addition to your superhero costume. These superhero masks are guaranteed to complete your outfit.
As an affiliate, we earn on qualifying purchases.
As an affiliate, we earn on qualifying purchases.