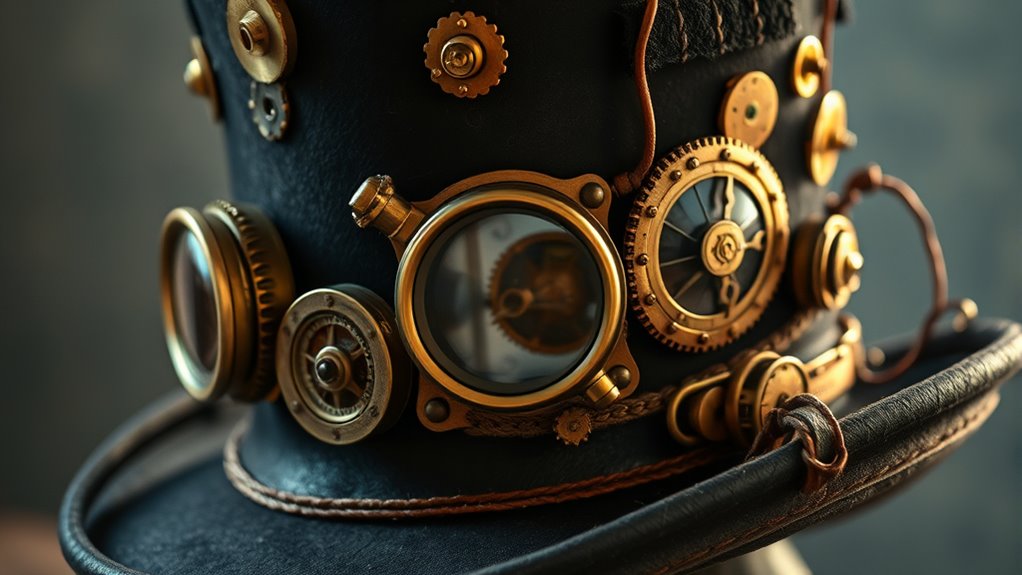
To transform an old hat into a steampunk masterpiece, start by gathering materials like textured fabrics, embellishments, and crafting tools. Conceptualize your design inspired by Victorian styles and industrial elements. Shape the hat using cardboard and flexible materials for comfort. Add flair with iconic goggles, feathers, and gears. Paint with rich colors for a vintage look, ensuring everything is securely attached for stability. Want to discover more about showcasing your unique creation? Keep exploring!
Key Takeaways
- Start with a sturdy base like an old top hat and reinforce it for stability using balsa wood or thick cardboard.
- Choose textured fabrics, such as faux leather or burlap, to cover the hat and enhance its steampunk aesthetic.
- Incorporate decorative elements like gears, goggles, feathers, and vintage buttons to add flair and character.
- Use brown and gold acrylic paints to create a distressed, vintage look, layering for depth and uniqueness.
- Securely attach all embellishments with a hot glue gun or Gorilla glue for durability and a polished finish.
Gathering Materials and Supplies
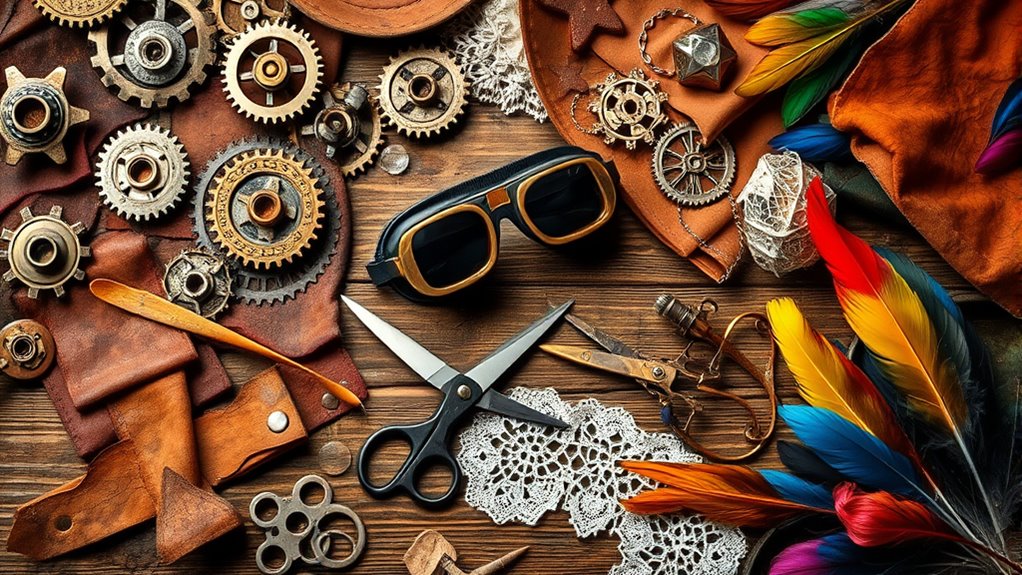
When you're ready to create your DIY steampunk hat, gathering the right materials is crucial for a successful project. Start with a sturdy base like a plastic bucket or heavy cardboard.
Next, choose fabrics such as faux leather or burlap to add texture and style. Don't forget about embellishments—gears, compasses, and skeleton keys can give your hat that authentic steampunk flair. Recycled materials can enhance your design by providing unique elements that fit the steampunk aesthetic.
Choose textured fabrics like faux leather or burlap, and enhance your hat with gears, compasses, and skeleton keys for that true steampunk vibe.
You'll also need adhesives like hot glue or contact cement to bond everything together. Consider adding unique decorations like Christmas beads, feathers, and silk flowers for extra flair.
Gather your crafting tools, including scissors, a craft knife, and a hot glue gun, to make the process smooth and enjoyable.
Conceptualizing Your Steampunk Design
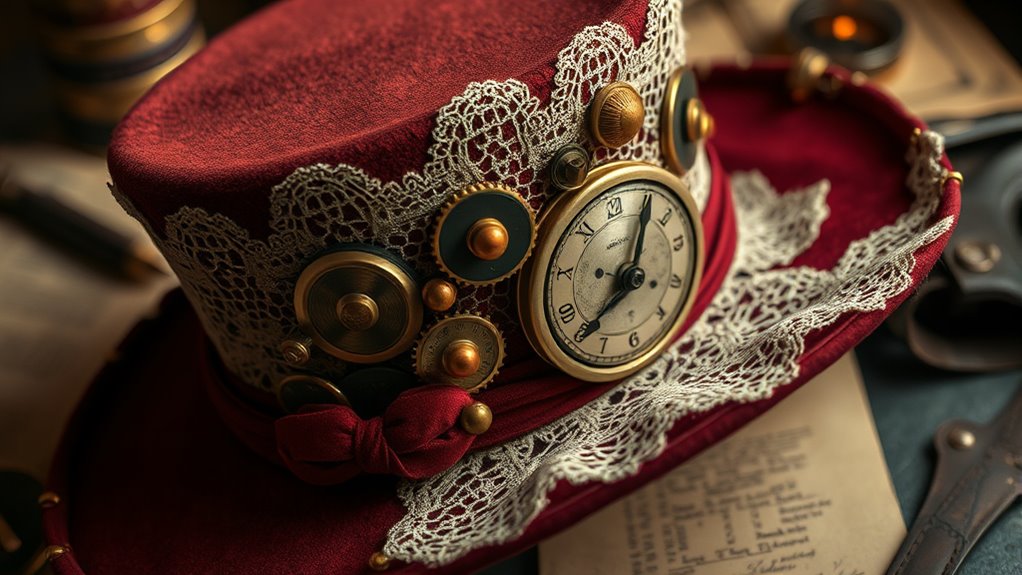
As you dive into conceptualizing your steampunk design, let your imagination roam freely through the fascinating intersections of history and fantasy.
Draw inspiration from Victorian literature and the intriguing elements of the Industrial Revolution—think gears, cogs, and steam-powered machines. Vintage clothing, like top hats and corsets, can spark ideas, while pocket watches add a touch of timeless elegance. Steampunk fashion encourages a creative exploration of unique styles that blend the past with imaginative elements. Additionally, consider how basic carpentry skills can enhance your design by allowing you to craft custom embellishments for your hat. The allure of supernatural lore can also be woven into your design, adding a layer of intrigue and mystery. Incorporating global culinary delights can inspire unusual motifs that reflect diverse cultural influences. Many steampunk enthusiasts also enjoy smart shopping to find unique materials and accessories at great prices.
Attend steampunk conventions or cosplay events for fresh perspectives and creative flair. Consider incorporating military uniform styles, such as lancer's hats, for a bold statement.
Emphasize the steampunk aesthetic by using metallic materials like brass and copper, along with distressed finishes that evoke a sense of adventure and history.
Your design should be a unique fusion of these captivating elements.
Creating Patterns and Shaping the Hat
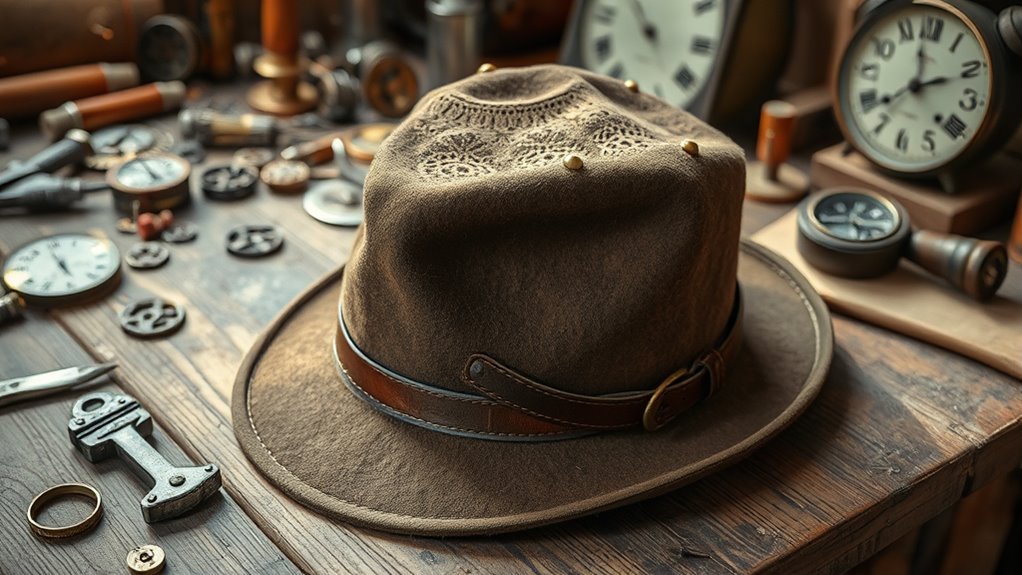
To create a stunning steampunk hat, you'll need a solid foundation, and that starts with crafting the right patterns and shapes.
Begin by gathering materials like cardboard, foam sheets, and old top hats. You can either purchase commercial patterns or make your own using cardboard mockups. Use a craft knife for precise cuts, and apply mod podge to secure layers for durability. The foam selected for construction is not only light and flexible but also adds comfort, making it a great choice for your hat.
Gather materials like cardboard and foam sheets, or repurpose old top hats to create unique steampunk designs.
For shaping, items like plastic buckets can help create the desired form. Ensure a comfortable fit by incorporating flexible materials like foam.
Cut a large cardboard circle for the brim, cover it with fabric, and secure it with glue. This foundational work sets the stage for your masterpiece's unique design.
Adding Decorative Elements for Flair
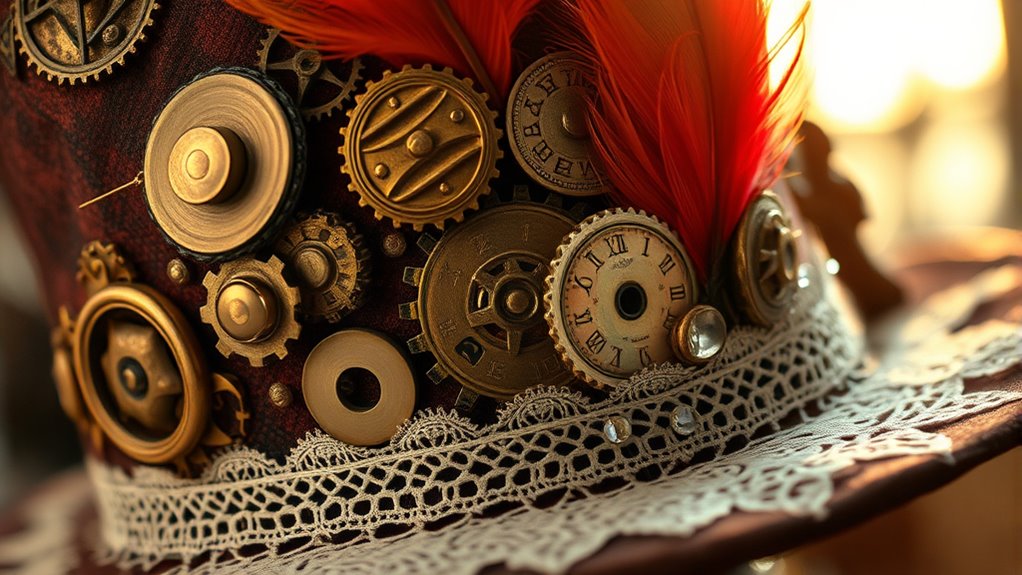
Adding decorative elements to your steampunk hat can elevate its aesthetic and showcase your unique style.
Start with iconic goggles, which add an industrial chic vibe. Consider incorporating feathers or ribbons for a splash of color and elegance. Metal cogs and gears symbolize the steampunk aesthetic, while chains and buckles contribute a rugged look. Be sure to utilize repurposed materials as these can enhance the overall theme and creativity of your design. Additionally, using essential oils can create a memorable sensory experience when wearing your hat.
Don't forget vintage buttons, like bee buttons, for that special touch. To enhance texture, use meet-like trim made from faux leather or burlap. Salvaged items like old keys can provide a vintage feel.
Add beaded accents for extra visual interest, and include flowers or lace for a whimsical effect. Finally, copper wax highlights can bring a metallic shine to your masterpiece, making it truly stand out.
Assembling Your Steampunk Hat
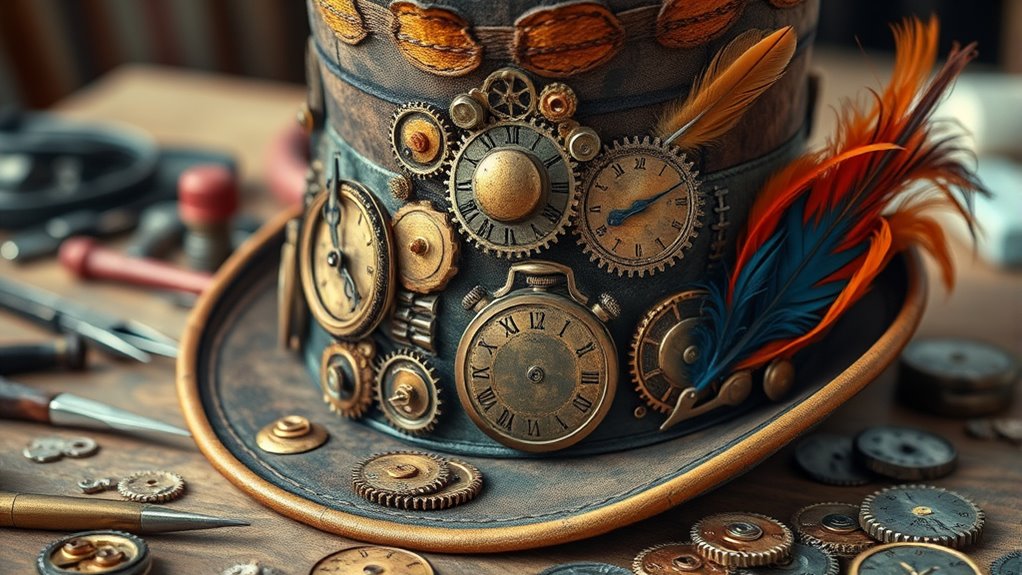
Once you've gathered your materials, assembling your steampunk hat becomes an exciting adventure.
Start with a sturdy base, like a foam, bucket, or cardboard. Shape the crown using your chosen base and attach a brim template you've created from cardboard or plastic canvas. Secure the crown to the brim with contact cement or by sewing.
For added flair, design a wavy sideband that captures the steampunk aesthetic. Ensure the headband fits comfortably by adjusting its size. If you're using leather, steam it to achieve the desired curves. As you align and press the brim and headband sections together, remember to apply contact cement evenly along both edges for a secure bond.
Finally, reinforce the structure with adhesives, ensuring everything bonds securely. With each step, you'll see your vision transform into a unique masterpiece ready for embellishments!
Painting and Finishing Touches
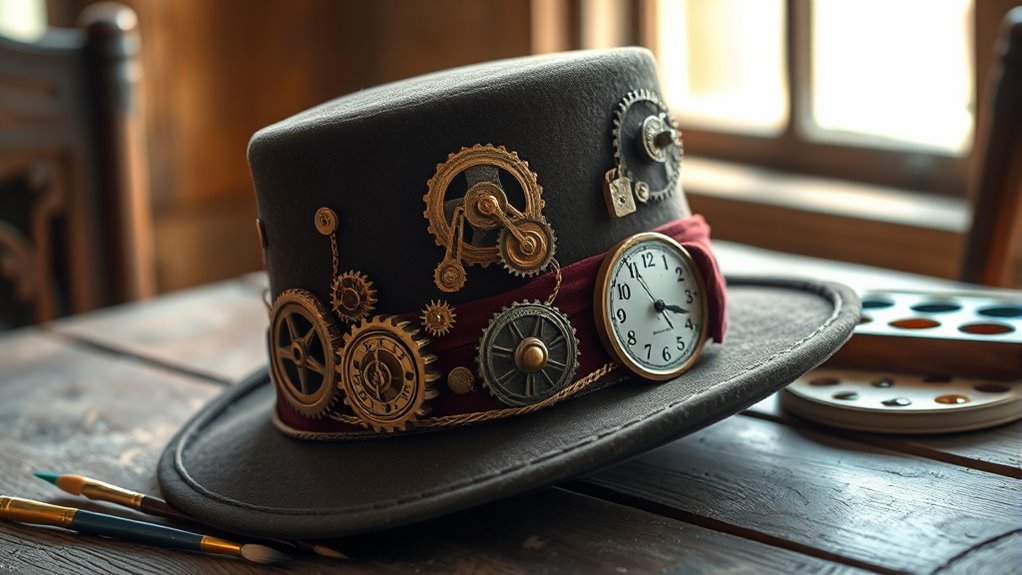
With your steampunk hat assembled and ready for creativity, it's time to focus on painting and finishing touches that will bring your design to life.
Start by dabbing brown and gold acrylic paints with a crumpled paper towel for a textured, vintage look. Use flat black paint as a base to enhance any metallic decorations later. Mix different shades to create a unique, aged appearance, and consider layering for depth. Additionally, consider using EVA foam for added durability and visual interest in your design. Incorporating essential oils can also help maintain a pleasant aroma while you work on your masterpiece. It's important to use reusable options for your painting tools to minimize waste and enhance your eco-friendly efforts. Be mindful that the use of scented candles can add an aromatic ambiance to your workspace. To elevate the aesthetic, consider integrating natural materials that align with the steampunk theme, such as wood or metal accents.
For added texture, apply paste over stencils and use materials like mesh from vegetable sacks or corrugated cardboard. Attach your decorative items, like gears and old keys, securely with Gorilla glue.
Finally, don't forget to highlight details with metallic accents for that authentic steampunk shine!
Showcasing Your Unique Creation
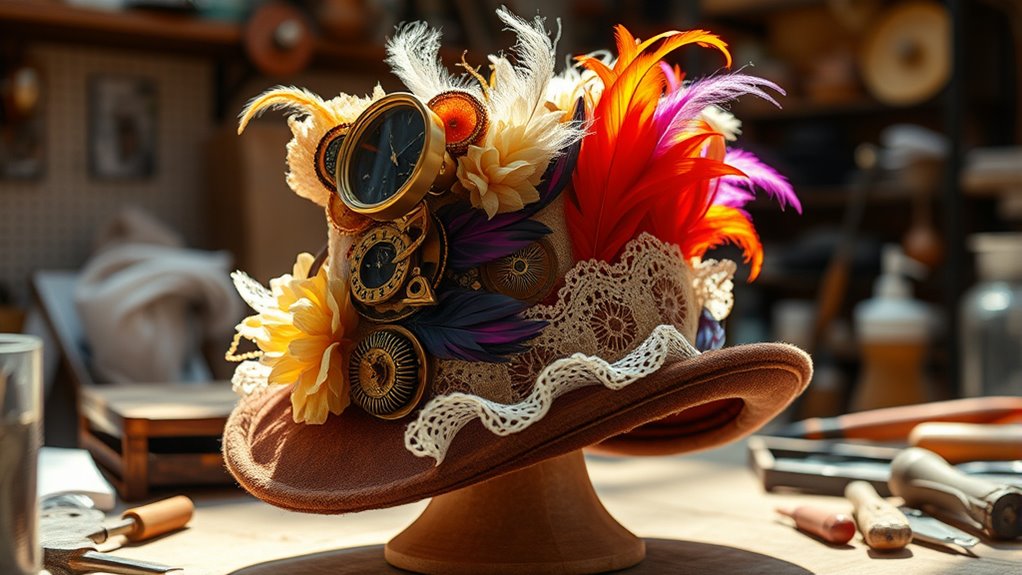
Your steampunk hat is more than just an accessory; it's a statement piece that showcases your creativity and craftsmanship.
To highlight your unique creation, choose a solid base—like a plastic bucket or a tall container—and reinforce it with balsa wood or thick cardboard. Layer textures using mixed media elements, such as burlap, mesh, and even Christmas beads for added depth. Incorporating a whimsical propeller can add an engaging touch to your design.
Don't shy away from incorporating recycled items like old keys and broken jewelry to embody the steampunk aesthetic. When constructing the brim, use cardboard covered with faux leather for a polished look.
Finally, experiment with stencils and paints to add intricate patterns, ensuring your hat truly reflects your artistic vision. Show off your masterpiece proudly!
Frequently Asked Questions
Can I Use Any Old Hat for This Project?
Yes, you can use any old hat for this project, but not all hats are equally suitable.
Look for hats with sturdy bases, like felt or straw, that can handle added decorations. Ensure it fits comfortably and has a shape that complements steampunk designs.
Consider the texture and color, too, as these can enhance your creative options. A versatile hat makes it easier to adapt to your unique style and vision.
What Tools Do I Need for Cutting Materials?
Did you know that over 90% of crafters use a variety of cutting tools to enhance their projects?
For cutting materials, you'll need a Cricut Maker for precision, craft knives for detailed cuts, and scissors for thinner materials.
A sewing machine is essential for fabric components, while hand saws come in handy for thicker materials.
Don't forget to consider metal cutters and X-Acto knives for intricate work, ensuring you achieve the best results!
How Do I Ensure My Hat Fits Properly?
To ensure your hat fits properly, start by measuring your head circumference accurately.
Use a template to cut out pieces that match your measurements. Create a paper model to test the fit before cutting your materials.
Leave room for adjustments so it's not too tight or loose. Compare your measurements with a well-fitting hat to guide you.
Finally, consider adding adjustable bands or padding for extra comfort and a perfect fit.
Are There Any Safety Tips for Using Adhesives?
When using adhesives, it's crucial you prioritize safety.
Make sure your workspace is well-ventilated to avoid inhaling harmful fumes. Always wear appropriate personal protective equipment like gloves and goggles to protect your skin and eyes.
Read the manufacturer's instructions carefully and label all containers clearly. Keep your area organized to prevent accidents, and if something goes wrong, know the emergency procedures for skin or eye contact, and inhalation.
Stay safe!
Can I Sell My Finished Steampunk Hats?
Absolutely, you can sell your finished steampunk hats!
In fact, many creators find success in niche markets. Start by exploring platforms like Etsy or local craft fairs to reach enthusiasts.
Make sure you're aware of copyright laws and local regulations while setting up your business. Engaging with the steampunk community through social media can also help promote your unique creations.
Conclusion
You've taken an old hat and transformed it into a stunning steampunk masterpiece! With your creativity and attention to detail, your unique creation stands out as a testament to your artistic flair. So, what's stopping you from wearing it to your next event and turning heads? Embrace your imagination and let your hat tell a story that captures the essence of a bygone era, all while showcasing your personal style. Wear it with pride!
