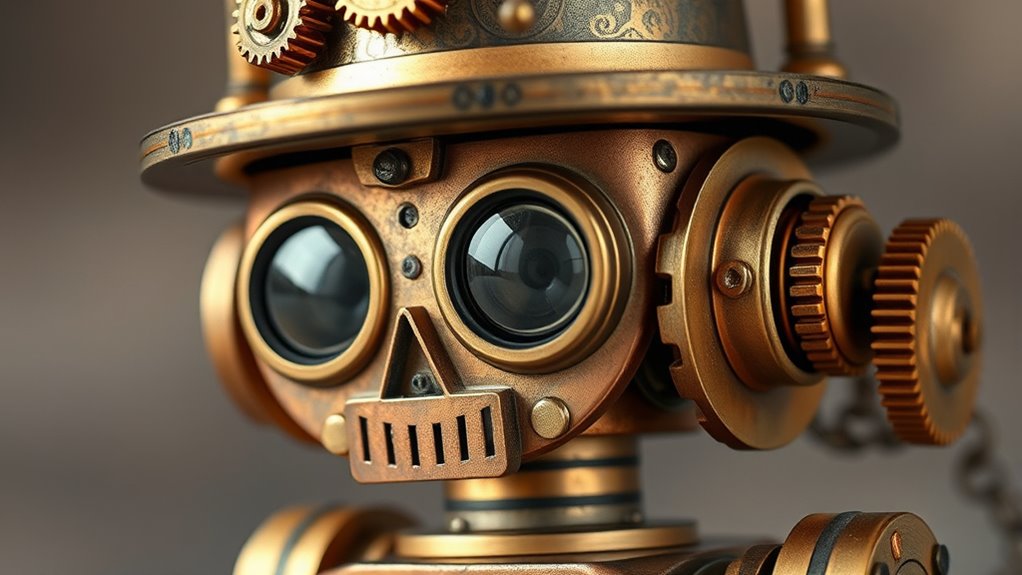

To craft a DIY steampunk automaton toy, start by designing a vintage mechanical framework using brass, copper, and steel parts. Focus on creating steam-powered mechanisms like small boilers, pistons, gears, and valves that drive movement. Assemble these components with attention to gear alignment and steam flow control, adding weathered finishes and intricate details for a vintage look. Balancing craftsmanship with functionality, you’ll produce a unique, mechanical marvel—continue to explore the steps to bring your steampunk creation to life.
Key Takeaways
- Gather vintage-inspired materials like brass, copper, steel, and small steam components such as mini boilers and valves.
- Sketch detailed mechanical designs emphasizing gear systems, pistons, and steam flow pathways for accurate assembly.
- Assemble the boiler, connect pistons with gear mechanisms, and install steam valves for functional movement.
- Add aged finishes, weathered paint, and decorative engravings to enhance the steampunk aesthetic.
- Test the automaton’s steam flow and mechanical parts, then fine-tune for smooth operation and artistic appearance.

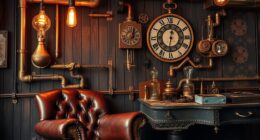
Creating your own steampunk automaton toy is a rewarding project that combines craftsmanship, creativity, and a love for vintage aesthetics. At its core, building such a toy involves understanding and implementing steam powered mechanisms, which serve as the heart of many steampunk devices. These mechanisms mimic the operation of old-fashioned engines, using pressure and movement to bring your automaton to life. You’ll want to carefully select components like small boilers, pistons, valves, and gears that work together smoothly, reflecting the ingenuity of vintage mechanical designs. This focus on steam powered mechanisms not only enhances the authenticity of your creation but also deepens your appreciation for the engineering marvels of the past.
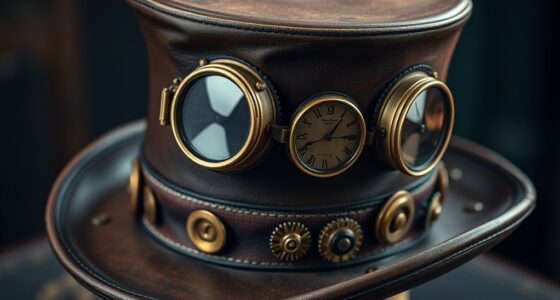
Craft a vintage-inspired steampunk automaton using steam mechanisms, gears, and aged materials for authentic craftsmanship and aesthetic charm.
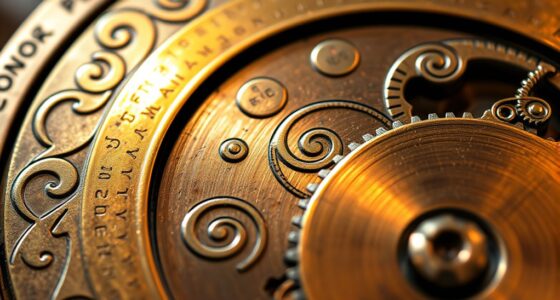
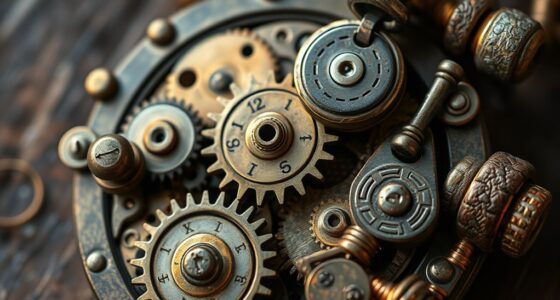
To start, you should familiarize yourself with vintage mechanical designs, which emphasize intricate gear systems, cogs, and levers. These designs are the foundation of many steampunk automata, allowing for complex movements with simple, timeless parts. You’ll need to sketch out your design, paying close attention to how each gear interacts and how the steam powered mechanisms will drive movement. Precision is key here; even small misalignments can cause your automaton to malfunction. Use durable materials like brass, copper, or steel, which not only look authentic but also stand up to the mechanical stresses involved. Incorporating vintage mechanical designs means embracing the beauty of exposed gears and pistons, which add visual interest and showcase the craftsmanship behind your toy.
Next, you’ll assemble your steam powered mechanisms with care. Start by constructing the boiler and ensuring it can generate enough pressure to power the automaton. Attach pistons and connect them with rods to the gears, creating a synchronized system that mimics vintage engines. Consider how you’ll control the steam flow—using valves or regulators—that allows you to turn your automaton on and off smoothly. As you build, pay attention to details like decorative rivets, engraved patterns, or aged finishes, which amplify the steampunk aesthetic and give your automaton a truly vintage feel.
Throughout the process, don’t rush. Test each component as you go, making adjustments for ideal performance. Remember that the charm of a steampunk automaton isn’t just in its functionality but also in its appearance. Balance mechanical precision with artistic touches—adding weathered paint, faux rust, or intricate embellishments—to create a piece that’s both mechanically impressive and visually captivating. In the end, your effort will culminate in a unique, handcrafted toy that pays tribute to the vintage mechanical designs and steam-powered ingenuity that define the steampunk genre.
Top picks for "steampunk automaton"
Open Amazon search results for this keyword.
As an affiliate, we earn on qualifying purchases.
Frequently Asked Questions
What Safety Precautions Are Necessary During Assembly?
You should always wear safety goggles and glove protection during assembly to prevent injuries. Make sure your workspace is well-ventilated and free of clutter to avoid accidents. Use tools carefully, following instructions, and keep sharp or hot components away from your skin. Be cautious when handling small parts or adhesives, and wash your hands afterward. These precautions help keep you safe while building your steampunk automaton toy.
Can I Customize the Automaton’s Movements?
Think of your automaton as a blank canvas waiting for your creative brushstrokes. Yes, you can customize its movements; advanced programming options let you choreograph intricate actions. With some tinkering, you’re the master conductor, guiding its mechanical symphony. Explore different configurations, tweak the gears, and bring your unique vision to life. Your automaton isn’t just a toy; it’s a reflection of your ingenuity and craftsmanship.
What Tools Are Essential for Building?
You’ll need essential tools like power tools for cutting and shaping metal parts, and soldering equipment to join components securely. A precision screwdriver set helps with assembly, while pliers and tweezers assist in handling small pieces. Don’t forget safety gear such as goggles and gloves. These tools make building your automaton smoother and safer, ensuring you can customize and assemble each part with precision and confidence.
How Long Does the Entire Project Typically Take?
The assembly timeline for building a steampunk automaton toy usually takes about 10 to 20 hours, depending on your experience and project complexity. You might find that breaking the project into smaller steps helps manage the overall project duration. If you’re meticulous and enjoy detailed craftsmanship, expect to spend extra time perfecting each part. Planning ahead and gathering all your tools can streamline the process and reduce your total project duration.
Are There Any Recommended Beginner Kits Available?
Yes, there are beginner kits available that focus on mechanical gears and vintage aesthetics. These kits usually include simplified components and clear instructions, making it easier for you to assemble your steampunk automaton toy. They’re perfect for newcomers and help you learn the basics of mechanical movement and design. Look for kits labeled as beginner-friendly or starter sets to guarantee a smooth and enjoyable crafting experience.
Conclusion
Now that you’ve built your steampunk automaton, you’ve created more than just a toy—you’ve crafted a piece of art. Did you know that the DIY automaton market has grown by over 30% in the past five years? That means more people are embracing this creative, nostalgic craft. So, keep experimenting and refining your design. Who knows? Your next project might just inspire others to bring their own vintage-inspired inventions to life.