To attach gears to fabric without ruining it, start by carefully planning gear placement and lightly marking the spots with fabric chalk or washable marker. Use pins or clips to secure gears before sewing or gluing, working slowly to prevent overstretching or puckering. Sew with sturdy thread and even stitches, or apply thin glue to the edges carefully. Managing fabric tension carefully during attachment helps keep the surface smooth and professional-looking. For more tips, keep exploring how to perfect your technique.
Key Takeaways
- Use pins or clips to position gears securely before permanent attachment to prevent shifting or damage.
- Sew with small, even stitches and a sturdy needle to avoid puckering or pulling the fabric.
- Apply a thin, even layer of glue around gear edges and press firmly, avoiding excess that can stain or warp fabric.
- Reinforce delicate or stretchy fabrics with interfacing or stabilizer to maintain shape and prevent tearing.
- Carefully press the fabric after attachment, avoiding direct contact on gears, to smooth out wrinkles and secure placement.
Attaching gears to fabric can seem tricky at first, but with the right tools and techniques, you can achieve a secure and professional look. The key is understanding how to properly handle gear placement and fabric stretching throughout the process. Before you start, gather sharp scissors, a ruler or measuring tape, pins or clips, and a sturdy adhesive or stitching supplies. Having these on hand makes the task more manageable and helps prevent mistakes.
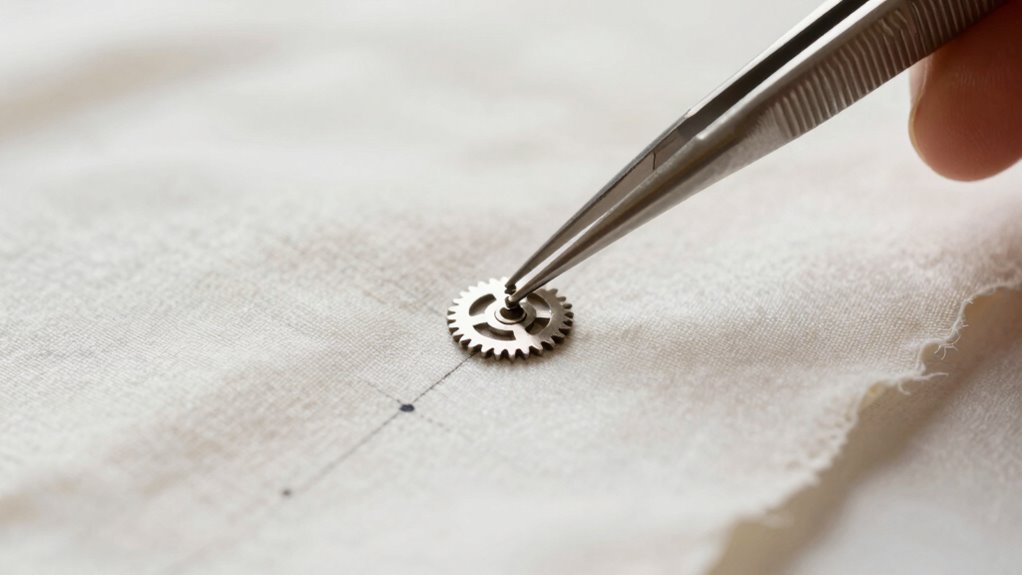
Begin by carefully planning where you want each gear to sit. Mark the placement points lightly with a fabric chalk or a washable marker. Precise gear placement is essential to guarantee even distribution and a balanced appearance. Once you’ve marked the spots, consider how the fabric responds when you manipulate it. You want to avoid overstretching or sagging, so gently stretch the fabric around each marked area to see how it reacts. This step is fundamental because fabric stretching can cause misalignment if not controlled properly.
Plan gear placement carefully, mark lightly, and test fabric response to avoid misalignment and distortion.
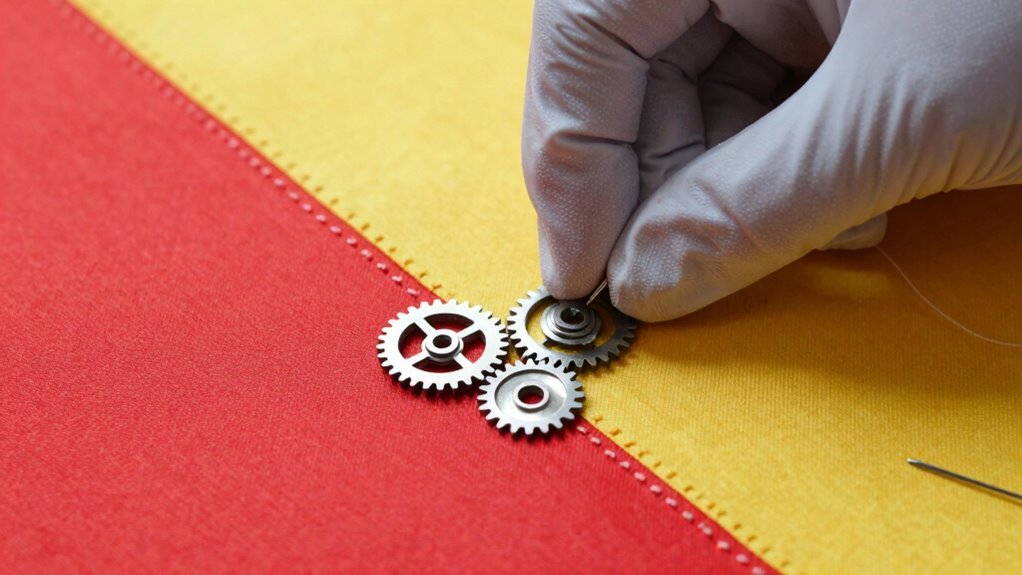
When attaching the gears, start by pinning or clipping each gear in place. This allows you to double-check the placement before permanent attachment. Keep in mind that fabric tends to stretch when you sew or glue, so work slowly and evenly. If you’re sewing, use a sturdy needle and matching thread, and sew around each gear with small, even stitches. For gluing, apply a thin, even layer of adhesive around the edges of each gear, pressing firmly to secure. Whichever method you choose, guarantee that the gear is firmly attached without puckering or warping the fabric. To ensure durability, consider reinforcing the fabric behind the gears, especially on delicate or stretchy materials. Understanding fabric behavior is crucial to avoid fabric distortion and achieve a clean, professional look.
Throughout the process, pay close attention to fabric stretching. If you notice the fabric pulling too tightly around a gear, pause and gently release the tension. This prevents distortion and helps maintain a smooth, flat surface. Additionally, understanding how fabric responds to tension can help you avoid fabric distortion and achieve a cleaner finish. If you’re working with stretchy or delicate fabrics, consider reinforcing the area behind the gear with interfacing or stabilizer. This extra support helps prevent puckering and keeps the gear securely in place over time.
Once all gears are attached, give the fabric a gentle press with an iron if needed, but avoid pressing directly on the gear to prevent shifting. Double-check that each gear is securely fastened and that the fabric remains smooth and intact. With patience and precision, you can attach gears to fabric without ruining it, resulting in a polished, professional finish that lasts.

PLANTIONAL Upholstery Repair Sewing Kit, Heavy Duty Sewing Kit with Sewing Awl, Seam Ripper, Leather Hand Sewing/Stitching Needles, Sewing Thread for Car/Sofa/Backpack/Shoe, Craft DIY, 10 Color, 47Pc
【Heavy Duty Sewing Kit】- This comprehensive sewing kit includes 32 leather sewing needles, 10 leather sewing threads (30…
As an affiliate, we earn on qualifying purchases.
As an affiliate, we earn on qualifying purchases.
Frequently Asked Questions
What Types of Fabrics Are Best for Attaching Gears?
You’ll want to choose sturdy fabrics like denim, canvas, or leather for attaching gears, as they hold up well under stress. Before attaching, prepare the fabric by cleaning and possibly reinforcing the area. Select gears with a size and weight appropriate for your fabric’s strength. Proper gear selection and fabric preparation guarantee your gears stay securely attached without damaging or stretching the material.
Can I Attach Gears to Stretchy or Delicate Fabrics?
Attaching gears to delicate or stretchy fabrics is like gently placing a vintage gear embellishment on fragile glass—you need care. Use small, secure stitches for decorative gear accents and opt for fabric glue designed for stretch fabrics if needed. Consider using interfacing or backing to add stability. This way, your vintage gear embellishments stay secure without tearing or distorting your fabric’s delicate nature.
How Do I Prevent Gears From Wobbling or Rotating?
To prevent gears from wobbling or rotating, focus on secure gear placement and wobble prevention. Use strong, precise stitches around the gear’s edges, ensuring it’s firmly attached without gaps. Consider adding a small drop of fabric glue or fray check before sewing to keep it steady. Also, choose the right gear size and placement, and sew through the gear’s holes or teeth to lock it in place, reducing movement during use.
What Tools Are Essential for Gear Attachment?
You need essential tools like fabric adhesives and proper sewing techniques to attach gears securely. Use fabric adhesives for a strong bond without sewing, guaranteeing the gear stays in place. For more durability, incorporate sewing techniques like hand stitching or machine sewing, which provide extra security. Gather a clean workspace, sharp scissors, and pins to hold gears in position while attaching. These tools help prevent wobbling and guarantee a professional, lasting finish.
How Do I Remove Gears Without Damaging the Fabric?
When removing gears, think of gently peeling delicate stickers from your favorite fabric. Carefully loosen the gear’s edges, working slowly to avoid tearing. Use a seam ripper or tweezers to lift the gear without pulling on the fabric. Remember, proper fabric reinforcement around gear placement keeps your material strong, so when you remove the gear, it leaves behind a clean surface, like a whisper of your craftsmanship.

FITTDYHE Fabric Glue Permanent, 60 ML Washable Clear Clothing Glue, Super Fabric Glue for Rhinestones, Patches, Clothes, Denim, Leather, Polyester, Fabrics, Doll Repair, Flannel, Cotton
Work With Fabric: Our fabric glue is suitable for all types of fabrics, including cotton, flannel, denim, leather,…
As an affiliate, we earn on qualifying purchases.
As an affiliate, we earn on qualifying purchases.
Conclusion
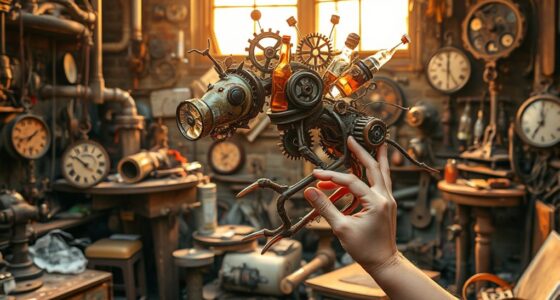
Just like a skilled artisan, you’ve learned to attach gears to fabric without tearing or damaging it. Remember, patience and precision are your best tools—like the clockmaker who carefully sets each gear in harmony. When you handle your project with care, you’re weaving more than fabric; you’re creating a masterpiece that’s as resilient as time itself. Trust in your skills, and let your craftsmanship turn simple materials into something extraordinary.

9 Pcs Heavy Duty Hand Sewing Needles Kit,Leather Sewing Needles with 5 Leather Hand Sewing Needle and 4 Curved Needle for Home Upholstery,Leather Needles for Hand Sewing,Carpet Canvas Repair…
[Leather Needles for Hand Sewing]: The leather sewing needle set includes 9pcs needles of various sizes and shapes….
As an affiliate, we earn on qualifying purchases.
As an affiliate, we earn on qualifying purchases.

WHCOOL Slim-Fit Ankle Brace for Sprained Ankle, Quick Lace Up Ankle Support for Women Men with 2 Auto-Shaped Pads, Air Fabric Cool Ankle Stabilizer for Injury Recover, Running,Sports, L(13”-14”)
[Please measure your ankle size before purchasing. If you have wide foot or swelling, pls size up] 2…
As an affiliate, we earn on qualifying purchases.
As an affiliate, we earn on qualifying purchases.