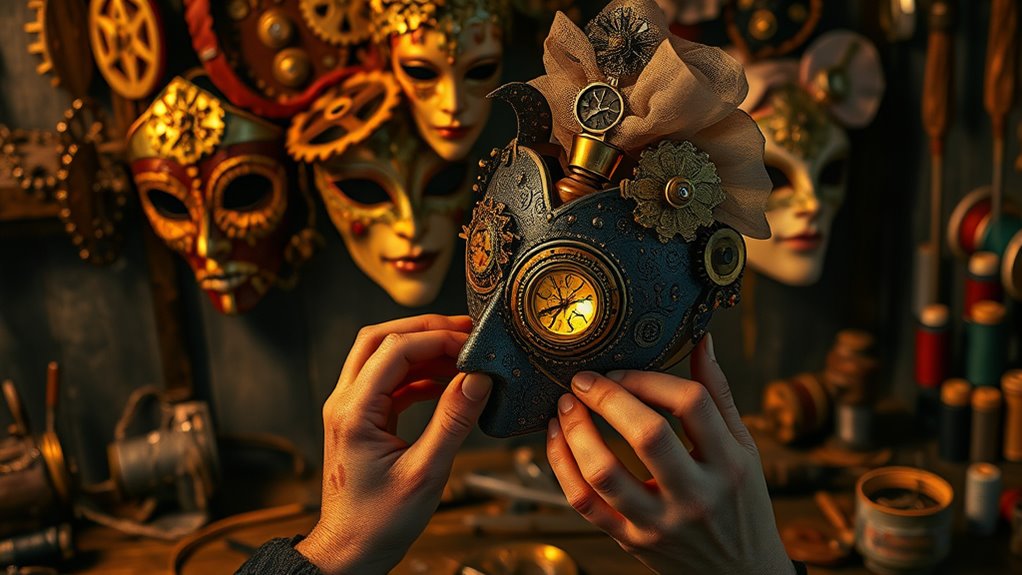
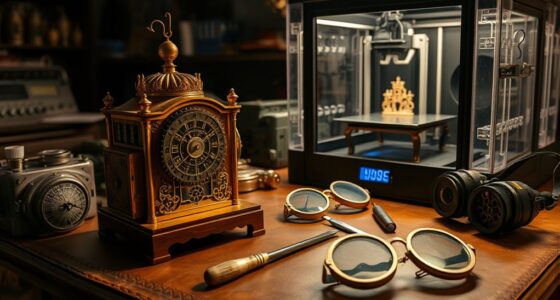
To make steampunk masks for masquerades, gather materials like plaster of Paris, leather, metal pieces, and duct tape. Start by designing your mask, incorporating Victorian elements and gears. Use techniques like paper mache or craft foam for structure. Once built, embellish with gears, goggles, and paint them in metallic shades for an industrial look. Don't forget comfort features like adjustable straps. Keep exploring for more tips on showcasing your unique creation at your next event!
Key Takeaways
- Gather essential materials like plaster of Paris, leather, goggles, and embellishments to create a unique steampunk mask.
- Design your mask with Victorian and industrial elements, incorporating gears, vintage tools, and a metallic color palette.
- Use techniques like paper mache or plaster molds to construct a lightweight, comfortable mask that fits well.
- Decorate with metallic paints, leather straps, and repurposed items to achieve an authentic steampunk aesthetic.
- Prioritize comfort and functionality with adjustable straps and breathable designs for enjoyable wear at masquerade events.
Materials Needed for Crafting Steampunk Masks
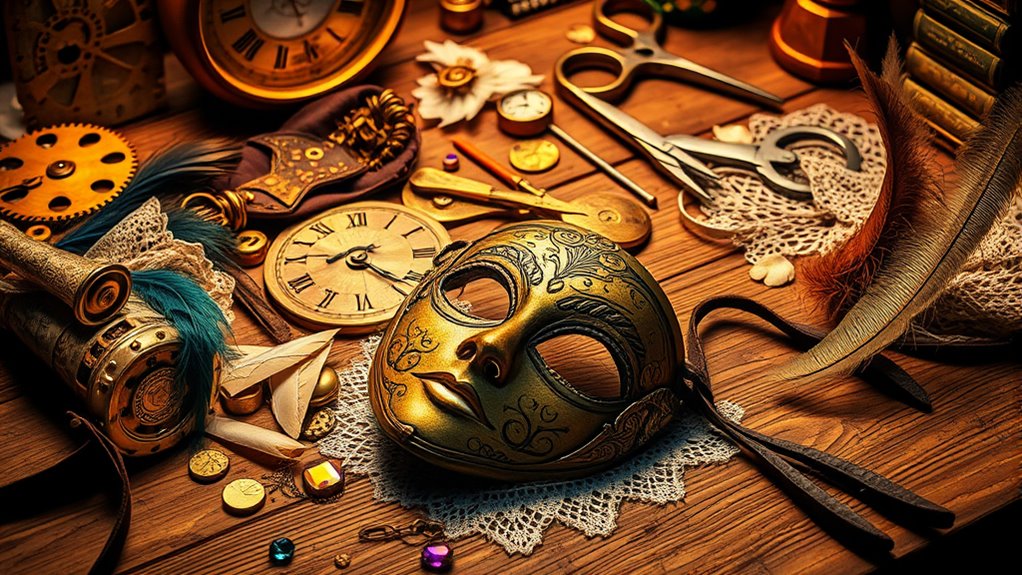
When you dive into crafting steampunk masks, you'll find a variety of materials that can help bring your imaginative vision to life. Start with a base using plaster of Paris or plaster strips for structure. You can cover it with gesso for a smooth finish. Leather adds a rugged touch, while metal pieces and decorative aluminum sheets inject that industrial vibe. Incorporating leather and metal is essential for achieving an authentic steampunk look. Don't forget black and silver duct tape for easy accents. For functionality, incorporate goggles made from plastic cups and gear-like pieces for a unique flair. To adhere everything, a hot glue gun with glue sticks works wonders. Finish your masterpiece with paints in brown, gold, and silver, topped off with a clear coat spray for durability.
Designing Your Unique Steampunk Mask

How do you envision your perfect steampunk mask? Start by drawing inspiration from Victorian and industrial elements, blending them with sci-fi and fantasy themes.
Sketch your design to visualize its unique shape and features. Consider incorporating gears, clockwork mechanisms, and vintage scientific tools for that authentic steampunk flair. Additionally, think about adding air extraction fans to enhance both functionality and comfort while wearing your mask. Adding natural elements can also promote a sense of tranquility in your design. Keep in mind that color accuracy in your materials can significantly enhance the overall visual appeal of your mask. To further enrich your design, consider incorporating wood stove decor elements that create a cozy and inviting atmosphere. Implementing quality assurance practices in your crafting process can help ensure the durability and safety of your mask.
Choose a color palette with metallic shades like bronze and copper, combined with earthy tones for depth. To enhance the aesthetic, add textures like rivets and leather, or even lights for a technological touch.
Don't forget about vintage accessories—clock parts and goggles can elevate your design. Ultimately, your mask should reflect a story, connecting historical influences with your creative vision. Make it truly yours!
Techniques for Building the Mask Structure

To create a sturdy and unique steampunk mask structure, you'll want to choose the right base materials that suit your design.
Consider starting with aluminum foil to mold the contours of your face, then cover it with paper mache for added strength. For a lightweight option, craft foam is great, especially if you're aiming for a gas mask style. If you prefer a smoother finish, use plaster of Paris over Saran wrap to protect your skin. You can also purchase blank white masks as a base, allowing you to build upon them easily. Don't forget to reinforce your structure with wood glue or hot glue, ensuring everything stays securely in place while you work on your masterpiece! Additionally, applying paper mache will enhance the stability of your mask's structure.
Adding Decorative Embellishments
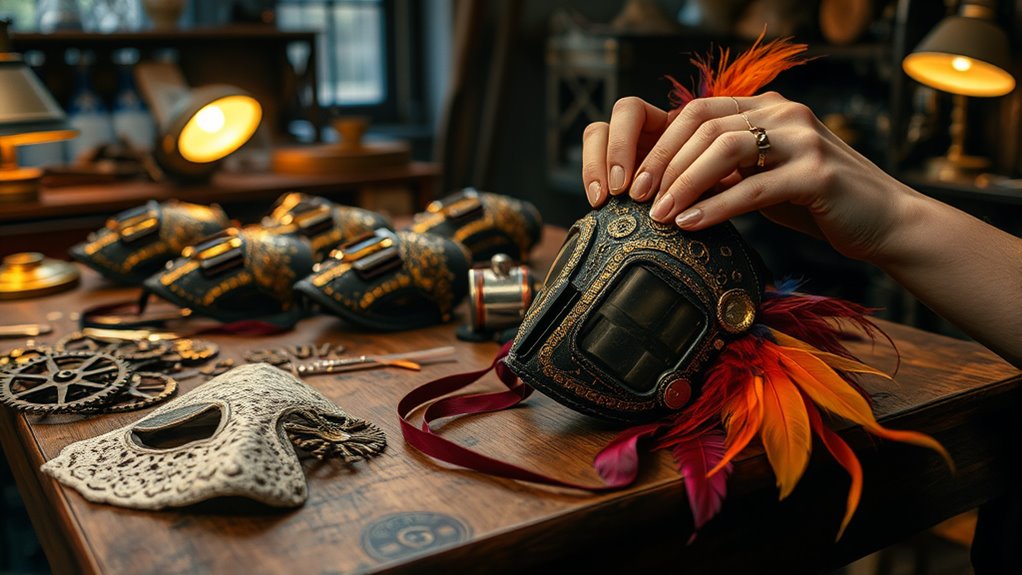
As you dive into adding decorative embellishments to your steampunk mask, consider how each piece will enhance your design and theme. Metallic decorations like gears and cogs evoke a mechanical vibe, while leather straps add rustic charm. You can also repurpose materials like bottle caps for that unique industrial look. Think about incorporating elements inspired by the Victorian era or gothic styles, such as ornate filigree or gas masks for a darker twist. Steampunk masks can enhance both personal style and event decor, making them a great canvas for your creativity. Techniques like hot glue help secure these embellishments, while craft foam can create depth. Don't shy away from creativity—mix futuristic elements with retro aesthetics to make your mask truly stand out at any masquerade. Each detail should reflect your unique vision!
Painting and Finishing Your Mask
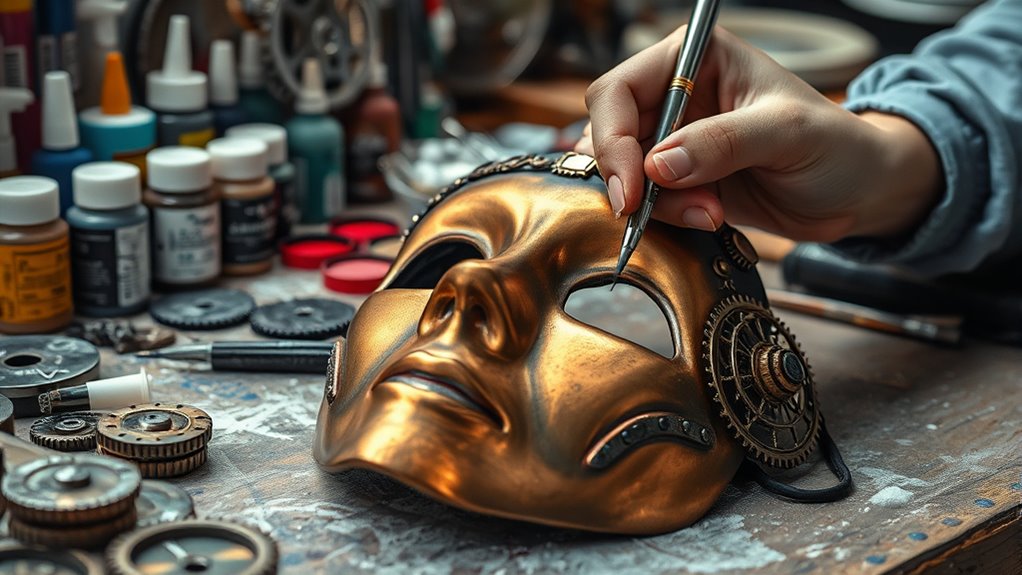
Once you've added your decorative embellishments, it's time to bring your steampunk mask to life with painting and finishing techniques.
Start by applying a gray primer as your base coat for a uniform surface. Next, use metallic paints to enhance the steampunk aesthetic; consider mixing shades to achieve that brass-like finish. To create a weathered look, incorporate rust pigments and layering techniques. Don't forget to paint edges carefully, ensuring all details shine.
Begin with a gray primer for a smooth base, then layer metallic paints for that signature brass steampunk look.
For texture, hot glue can mimic robotic look rivets, while mesh in the eye openings adds an industrial flair. Finally, seal your masterpiece with a clear coat to protect your hard work and enhance durability, ensuring your mask stands out at the masquerade.
Ensuring Safety and Comfort
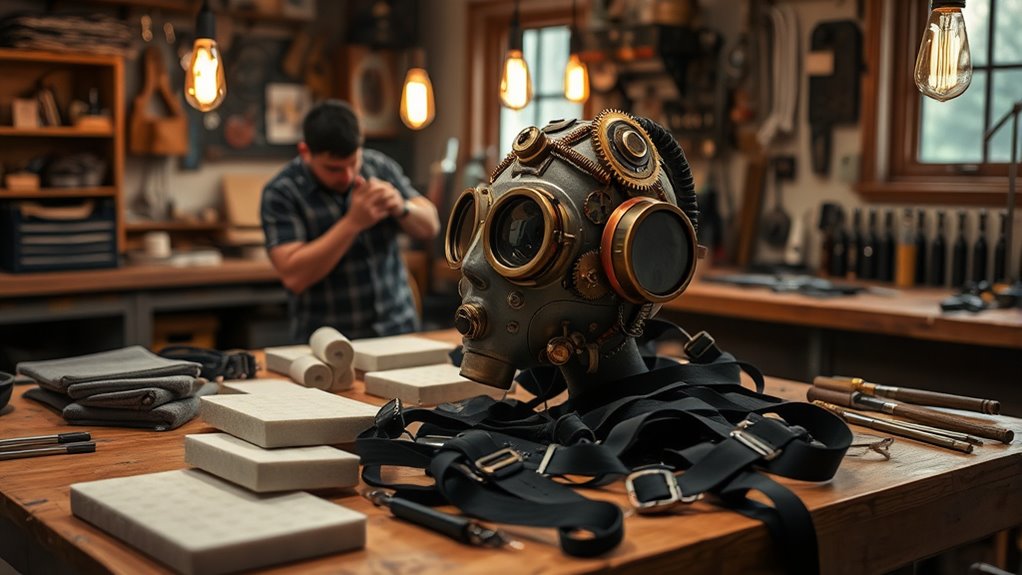
While crafting your steampunk mask, ensuring safety and comfort should be a top priority. Use non-toxic paints and hypoallergenic materials to avoid skin irritation. Conduct patch tests to minimize allergic reactions and opt for breathable designs to maintain airflow. A well-fitted mask is crucial, so adjust straps or use moldable materials to match your face shape. Balance the weight of the mask to prevent discomfort during wear. Incorporate features for visibility, and ensure the mask can be quickly removed in emergencies. Additionally, consider using a 3M safety mask as the base for your design, as it provides excellent coverage and comfort. Lastly, practice good hygiene by sterilizing reusable masks and offering disposable options for convenience. Prioritizing these factors will make your masquerade experience enjoyable and safe.
Coordinating With Your Costume
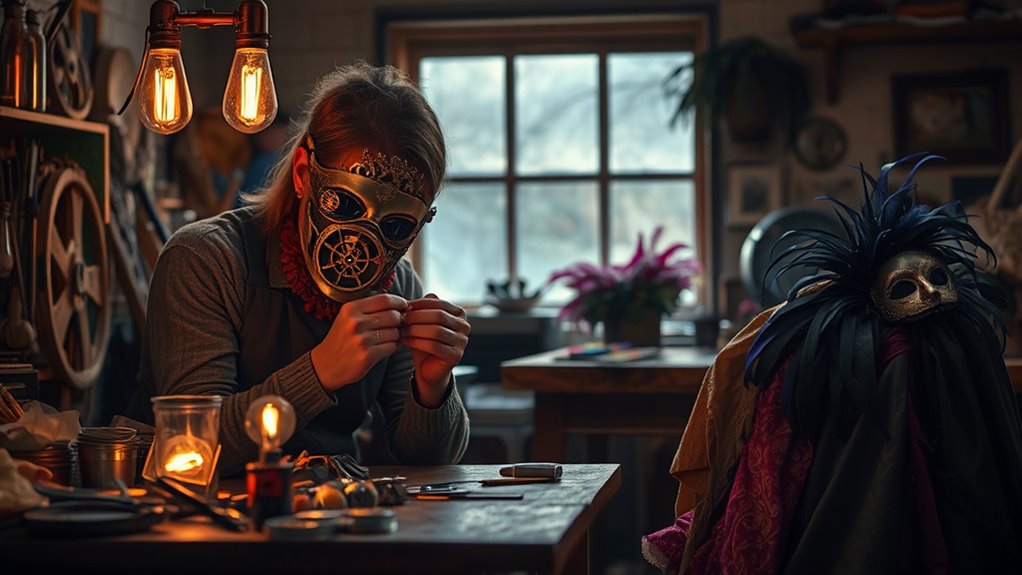
A well-crafted steampunk mask not only enhances your look but also needs to harmonize with your overall costume. Choose earthy tones like brown and gold if your outfit features similar colors. Metallic accents in copper or brass can perfectly complement industrial-themed attire. For formal steampunk looks, consider masks in deep blues or greens. Textured elements like leather or metalwork create a striking contrast with smooth fabrics. Incorporate vintage inspirations and industrial details into your mask design, ensuring it aligns with your steampunk theme. Creativity is encouraged when designing your mask, allowing for unique interpretations and personal flair. To express your love for the steampunk aesthetic, consider adding curated messages & wishes that resonate with your persona. Pair your mask with accessories like top hats or goggles to complete your silhouette. Ultimately, a well-coordinated mask enriches the cohesive aesthetic of your steampunk persona.
Tips for Wearing Your Steampunk Mask
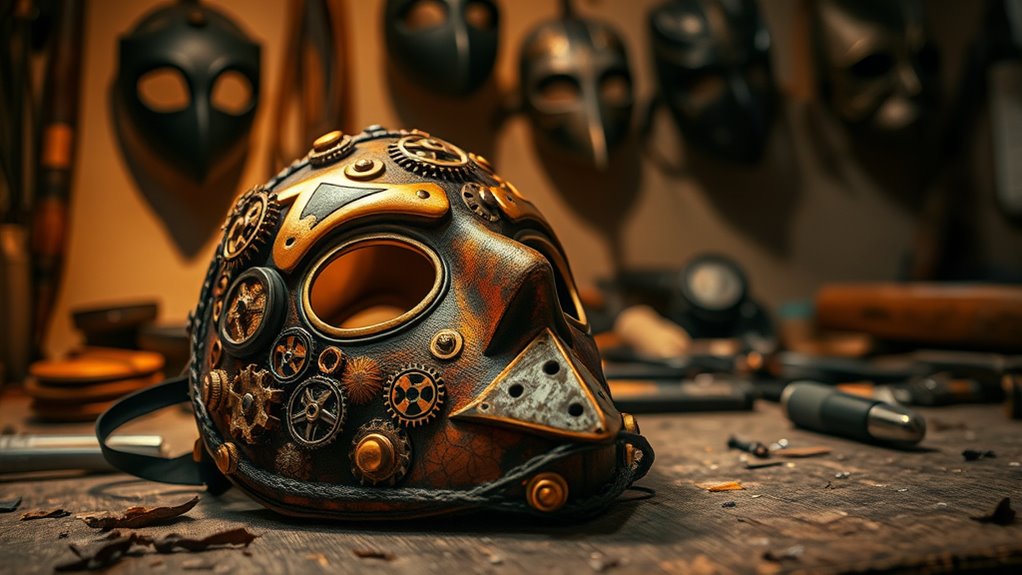
To ensure you wear your steampunk mask comfortably and stylishly, focus on fit and functionality before the event.
Choose a lightweight mask that won't weigh you down during long hours. Look for adjustable straps to find the perfect fit, and consider designs with eye pads for added comfort and visibility. Additionally, remember that plaster of Paris is often used as the base material for creating these masks, which can contribute to their overall weight.
Ensure your mask allows for easy breathing; this is crucial for enjoying the event fully. Match your mask with your personal style or the event theme for a cohesive look.
Ensure your mask provides easy breathing for maximum enjoyment, and coordinate it with your personal style or event theme for a seamless look.
Don't forget that your mask can be enhanced with additional accessories like goggles or hats.
Lastly, remember to care for your mask to maintain its appearance, ensuring it lasts for many masquerades to come.
Showcasing Your Creation at Masquerades
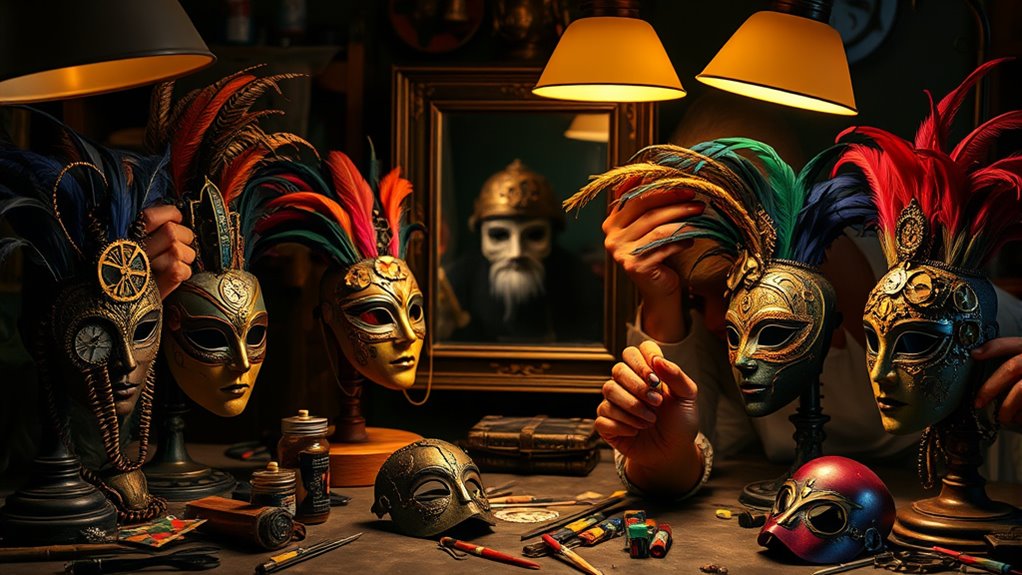
Showcasing your steampunk mask at a masquerade can be an exhilarating experience, drawing attention and admiration from fellow attendees. Choose events that embrace steampunk themes, like conventions, festivals, or costume parties, to ensure your creation fits right in. Incorporate intricate details such as gears and vintage materials like leather or brass to enhance your mask's aesthetic. Adding interactive elements like LED lights or moving parts can captivate onlookers, encouraging them to engage with your work. Don't forget to complement your mask with accessories like top hats or waistcoats for a complete look. Additionally, consider the Steampunk Masquerade Mask available in three colors to inspire your design choices. Sharing your creation on social media or joining steampunk communities can also help you connect with other enthusiasts and showcase your artistry.
Frequently Asked Questions
How Long Does It Typically Take to Make a Steampunk Mask?
Typically, making a detailed project like a mask can take anywhere from a day to several days.
You'll spend hours sketching and developing your design, and preparing materials might require additional drying time.
Once you start assembling, adding embellishments can also extend the timeframe.
If you're meticulous about details, expect to invest time layering, creating depth, and applying finishing touches.
Ultimately, your creativity and complexity of the design will dictate the duration.
Can I Use Recycled Materials for My Steampunk Mask?
Absolutely, you can use recycled materials for your steampunk mask!
Using items like plastic bottles, bottle caps, and craft foam not only reduces waste but also sparks creativity. Duct tape and old metal parts can add unique mechanical details.
Plus, it's cost-effective and allows for personalized designs. So, get creative with what you have, and turn those discarded items into a one-of-a-kind masterpiece that showcases your artistic flair!
What Are Some Common Mistakes to Avoid While Crafting?
When crafting, you wouldn't build a house without a solid foundation, would you?
Avoid common mistakes by choosing the right materials and tools; inadequate preparation can derail your project.
Sketch your design first to ensure clarity.
Take your time during assembly—rushing leads to uneven results.
Lastly, don't overlook safety precautions; they're just as important as the final touches.
Where Can I Find Inspiration for My Mask Design?
You can find inspiration for your mask design in various places.
Check out artist profiles showcasing unique styles, or explore online tutorials for step-by-step guidance.
Visit steampunk galleries or stores for hands-on ideas.
Leaf through art books like "The Steampunk Bible" for a deeper dive into aesthetics.
Don't forget to consider industrial elements, vintage accessories, and your own personal flair to make your design truly stand out!
How Should I Store My Mask After the Event?
Storing your mask is like tucking a treasure away for safekeeping.
After the event, place it in a cool, dry spot, ideally between 60°F to 75°F, away from sunlight and heat. Use a protective case made of acid-free materials to keep it safe from dust and damage.
Don't forget to check the materials; leather may need conditioning, while fabric should breathe occasionally.
Keep it organized for easy access next time you need it!
Conclusion
Now that you've crafted your stunning steampunk mask, you're not just ready for the masquerade—you're about to become the star of the show! With every gear and embellishment, you'll turn heads and spark curiosity like never before. Imagine the gasps of awe as you glide through the crowd, a true vision of creativity and mystery. So don your masterpiece, step into the spotlight, and let the world marvel at the extraordinary art you've brought to life!
