To create DIY steampunk wall art, gather vintage gears, cogs, and mechanical parts from thrift stores or old clocks, focusing on rusty and distressed finishes. Arrange them on a sturdy backing like wood, experimenting with layouts to achieve balance and visual interest. Secure each piece with a strong adhesive or welding, then add weathering effects or metallic paints for an aged look. Mount your finished piece securely on a prominent wall—if you want to discover more tips, you’re in the right place.
Key Takeaways
- Collect vintage gears, cogs, and mechanical parts from old clocks, thrift stores, or salvage yards for authentic steampunk aesthetics.
- Experiment with layout by arranging gears on a flat surface, balancing sizes and overlapping for dynamic visual interest.
- Secure gears using welding, heavy-duty glue, or epoxy onto a sturdy backing like wood or metal for stability.
- Enhance the vintage look with metallic paints, rust effects, and decorative accents to add depth and weathered charm.
- Mount the completed gear collage securely on a wall, choosing a prominent spot to showcase its industrial, steampunk style.
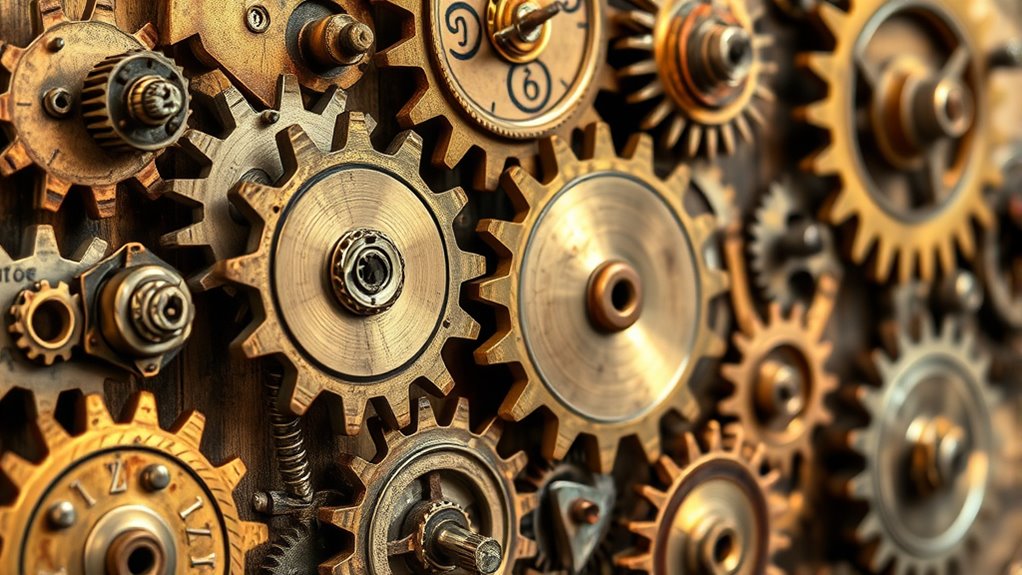
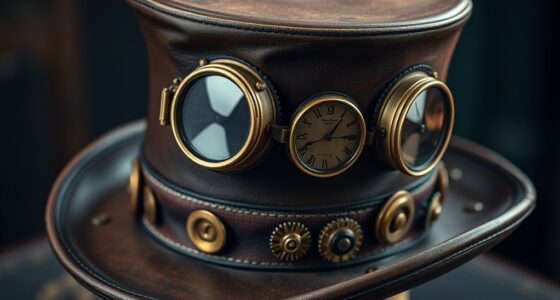
Ever wondered how to transform your living space into a steampunk-inspired haven? Creating a gear collage as wall art is a fantastic way to bring that vintage aesthetics and industrial charm into your home. It’s a project that combines creativity, craftsmanship, and a love for all things retro-futuristic. To get started, gather a variety of gears, cogs, and mechanical parts, either from old clocks, watches, or thrift stores. You’ll want a mix of sizes, shapes, and finishes to give your piece depth and visual interest. The key is to make it look authentic, so focusing on vintage aesthetics will help you achieve that aged, industrial look. Think rusted metals, patinas, and distressed finishes that evoke a sense of history and craftsmanship.
Once you have your materials, it’s time to think about your layout. Lay out your gears on a flat surface first, experimenting with arrangements until you find a composition that feels balanced and dynamic. You can cluster larger gears in the center with smaller ones radiating outward, or create a more chaotic, overlapping design—whatever best suits your style. When you’re happy with the arrangement, it’s time to secure everything in place. Using metalworking techniques, like welding or strong adhesive, ensures the gears stay fixed. If welding isn’t an option, heavy-duty glue or epoxy works well too. Be sure to handle all tools carefully, especially if you’re working with sharp or hot materials. Additionally, understanding the importance of secure attachment helps prevent theft or damage, especially if displayed in high-traffic areas.
Arrange gears on a flat surface, experiment with layouts, then secure with welding or strong adhesive.
Painting or finishing your gears can further enhance the vintage aesthetics. Consider using metallic paints, rust effects, or patinas to give your collage an aged, weathered look. This step allows you to customize the piece, adding depth and dimension that mimic real antique machinery. If you’re comfortable with metalworking techniques, you might even add small details like rivets, screws, or decorative accents to emphasize the industrial vibe. Mounting your gear collage on a sturdy backing, such as a wooden panel or metal sheet, will provide stability and make hanging easier. Position your art in a prominent spot where its intricate details can truly shine.
This DIY steampunk wall art isn’t just a decoration; it’s a statement piece that showcases your craftsmanship and appreciation for vintage aesthetics. Every gear and metal detail tells a story of industrial innovation and artistic ingenuity. Plus, it’s a rewarding project—you get to shape a unique piece of art from scratch, blending creativity with metalworking techniques. As you step back and admire your finished gear collage, you’ll see how perfectly it captures the essence of steampunk style—rustic, mechanical, and undeniably captivating. Remember, paying attention to payment data security during any online shopping for supplies can help keep your project safe and enjoyable.

Steampunk Gothic Eye Decals Womens Perfect For Steampunk Clothing Accessories Dress Up Clock Parts Steampunk Gears 6pcs
STEAMPUNK EYE DECALS: The perfect steampunk eye decals for your make up - we are providing 6 small...
As an affiliate, we earn on qualifying purchases.
Frequently Asked Questions
What Are the Best Adhesives for Metal Gears?
For metal bonding in your steampunk gear collage, the best adhesives are epoxy and super glue. Epoxy offers strong, durable bonds ideal for metal-to-metal contact, while super glue (cyanoacrylate) works well for quick fixes and small pieces. Both adhesive types provide reliable adhesion, but verify surfaces are clean and dry before applying. This way, your metal gears stay securely in place, creating a stunning and lasting wall art piece.
How Do I Create a Vintage Patina on Metal Parts?
A stitch in time saves nine, so start early with your vintage patina. To create a vintage look on metal parts, use metal finishing and patina techniques like applying a solution of vinegar, salt, and hydrogen peroxide. You can also experiment with liver of sulfur for darker tones. Always test on small areas first, and seal your work with clear wax or sealant to preserve the aged effect.
Can I Incorporate LED Lights Into My Gear Collage?
Yes, you can incorporate LED lighting into your gear collage for striking gear illumination. Use small, battery-powered LED strips or individual LEDs to highlight specific gears or create ambient effects. Secure the lights with hot glue or wiring, ensuring they don’t interfere with the collage’s aesthetic. LED lighting adds a modern touch while enhancing the vintage steampunk look, making your wall art more dynamic and eye-catching.
What Are Eco-Friendly Materials for Steampunk Art?
You can use repurposed materials like old metal parts, scrap wood, and vintage clock gears to create eco-friendly steampunk art. Incorporating sustainable crafts, such as recycled plastics or biodegradable glues, helps reduce environmental impact. Opt for natural or non-toxic paints, and consider upcycling items you already own. This approach not only makes your gear collage more eco-conscious but also adds unique, authentic touches to your steampunk masterpiece.
How Do I Securely Hang Heavy Gear Artwork?
Imagine your gear artwork as a ship ready to sail on your wall. To keep it steady, choose strong hanging techniques like heavy-duty anchors or toggle bolts. Consider weight considerations carefully, ensuring your hooks can handle the load. Distribute the weight evenly across multiple points, like spreading sails on a ship, to prevent tilting or falling. With these steps, your steampunk masterpiece stays securely in place, ready to impress.

Dreuyet Gear Steampunk Earrings Necklace Jewelry Set Vintage Handmade Punk Clockwork Dangle Drop Earrings Clock Gear Antique Necklace for Women Men Halloween Accessories (Stud Set)
VINTAGE DESIGN: Handcrafted steampunk jewelry set featuring intricate clock gear motifs in antique finish, perfect for gothic and...
As an affiliate, we earn on qualifying purchases.
Conclusion
Now that you’ve crafted your own steampunk wall art, you’ve transformed ordinary space into a masterpiece of gears and grit. Each piece tells a story, a proof to your creativity and ingenuity. Remember, this art isn’t just decoration—it’s an extension of your imagination, a ticking heartbeat of your unique style. So hang it proudly, and let your wall become a steampunk symphony, where every gear sings a song of craftsmanship and passion.

Juland Steampunk Gears Pendant Statement Necklace Vintage Bronze & Silver Watch Clock Clockwork Hand Gear Cog Handmade Kinetic Winged Gear Necklace and Earring Set - Y503
Made of eco friendly material, nickel and lead free, which will be safe to wear.
As an affiliate, we earn on qualifying purchases.
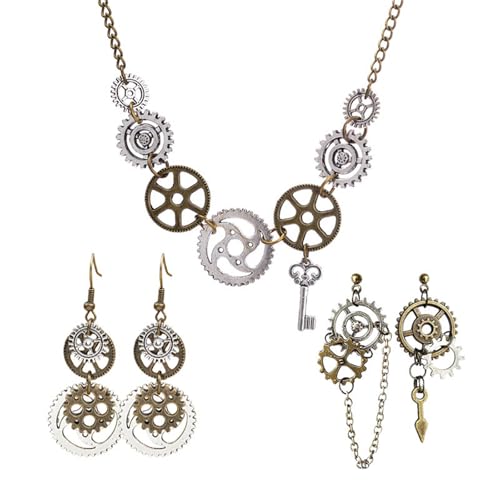
coadipress 5 Pcs Steampunk Gear Earrings and Necklace Set for Women Antique Handmade Vintage Bronze Gothic Clockwork Tool Earrings Halloween Jewelry Gifts (Unique)
VINTAGE DESIGN: Handcrafted steampunk jewelry set featuring intricate gear and clockwork motifs in antique bronze finish for a...
As an affiliate, we earn on qualifying purchases.