
To craft a DIY steampunk jetpack prop, gather lightweight materials like foam, cardboard, and plastic to build the main body and exhaust nozzles. Customize with vintage-looking metallic paints, faux gauges, and cogs for authentic detail. Attach sturdy straps with rivets or buckles for comfort, and consider adding LED lights or reflective elements for glowing engine effects. Focusing on weathered finishes and creative details can make your jetpack stand out—keep exploring for more tips on perfecting your design.
Key Takeaways
- Use lightweight materials like foam, cardboard, and plastic, then customize size and vintage finishes for an authentic steampunk look.
- Repurpose cones or tubes for exhaust nozzles, adding LED lights and detailing to mimic glowing engines.
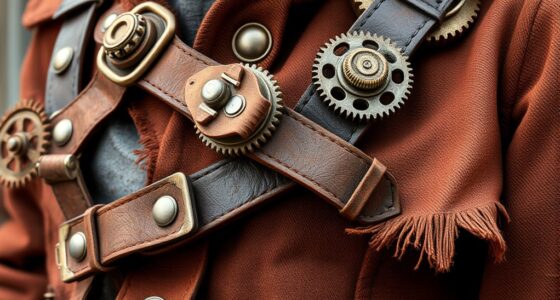
- Craft sturdy straps with faux leather and metallic buckles for comfortable wear and vintage aesthetic.
- Apply metallic paints and dry brushing techniques to create weathered, aged brass and copper finishes.
- Assemble all parts carefully, adding gear accents and faux leather straps to enhance steampunk style and realism.
Creating a DIY steampunk jetpack prop can be a rewarding project that combines creativity with craftsmanship. As you start, keep in mind that this piece is more than just a costume accessory; it’s a statement that embodies vintage aesthetics and inventive design. Your goal is to craft a prop that looks both functional and stylish, capturing the essence of steampunk’s retro-futuristic vibe. With a few simple materials and a steady hand, you can transform everyday objects into a captivating piece that will make your costume stand out.
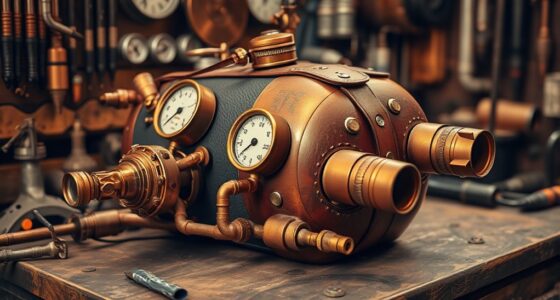
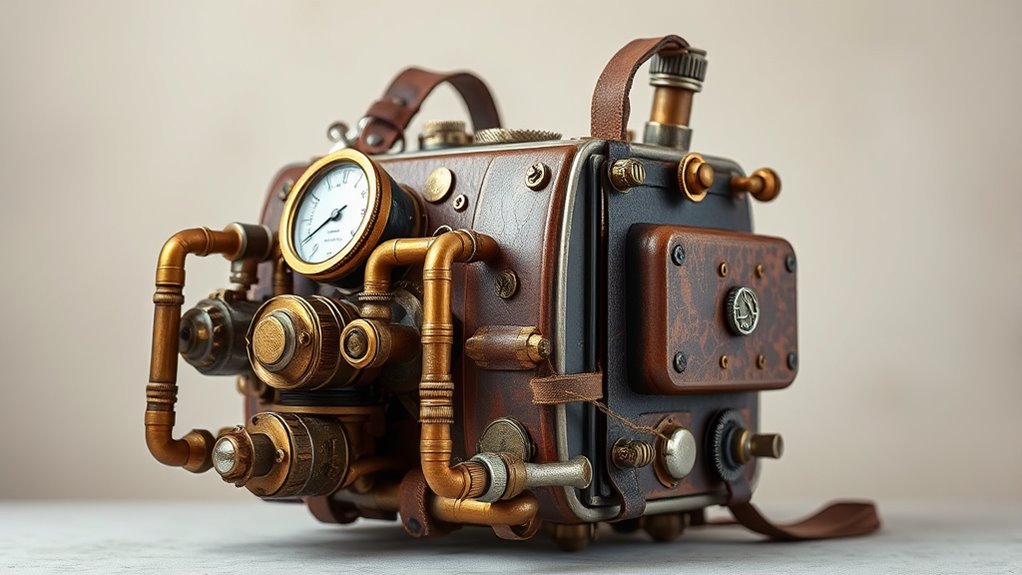
Begin by gathering the core components. Think about using lightweight materials like foam, cardboard, or plastic for the main body. These are easy to cut and shape, allowing you to customize the size and style to fit your vision. Metal-looking paints and finishes help achieve that vintage feel, giving your jetpack an aged, industrial look. Incorporate small details such as faux gauges, dials, and pipes to enhance the vintage aesthetics. You can find these items at craft stores or salvage parts from old electronic devices for a more authentic appearance. Attach these accents with hot glue or strong adhesive, making sure they’re securely fixed for durability.
Gather lightweight materials like foam, cardboard, or plastic and add vintage details for an authentic steampunk jetpack look.
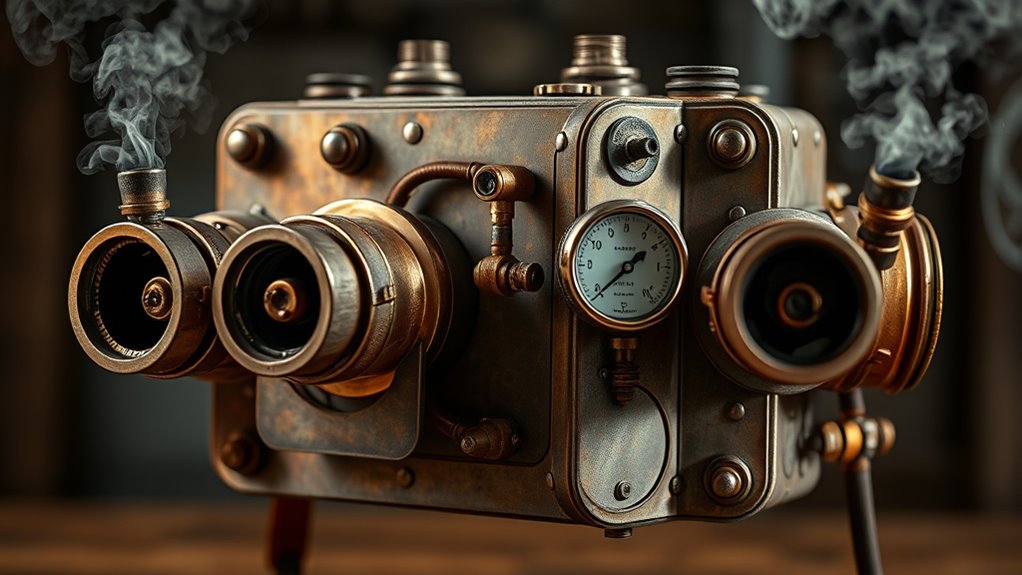
When designing the exhaust nozzles, consider using spray-painted cones or repurposed tubes. Position them at the bottom of your jetpack to give the impression of propulsion. To add more realism, you might include LED lights or reflective elements to mimic glowing engines—just make sure to keep the wiring hidden for a clean look. Straps or harnesses are essential to wear your prop comfortably; opt for faux leather or sturdy fabric and attach them firmly to the main body. Customizing these with metallic buckles or rivets further emphasizes the vintage aesthetic, tying the entire look together seamlessly.
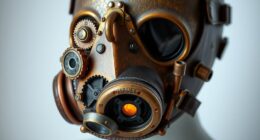
Painting your jetpack is a critical step for achieving that authentic steampunk feel. Use metallic shades like bronze, copper, or aged brass, and consider dry brushing techniques to add weathered details. This creates a sense of history and use, indispensable to vintage aesthetics. Adding small rivets or cogs as embellishments enhances the mechanical theme, making the prop look as if it’s been assembled from an intricate, steampunk machine. Take your time to refine the finish, ensuring each detail contributes to the overall aesthetic.
Finally, step back and assess your creation. Adjust any parts for comfort and balance, and add finishing touches like faux leather straps or gear accents. Your DIY steampunk jetpack prop will now serve as a striking costume accessory, perfectly capturing the vintage aesthetics that define steampunk style. Not only will it elevate your costume, but it’ll also showcase your craftsmanship and love for this imaginative genre. With patience and creativity, you’ve built a unique piece that combines form and function—ready to inspire awe at any event or cosplay gathering.
Frequently Asked Questions
What Safety Precautions Are Necessary for Building This Prop?
When constructing your steampunk jetpack prop, you need to prioritize safety. Keep flammable hazards away from heat sources and guarantee proper ventilation to prevent fires. Always follow electrical safety protocols, such as disconnecting power when working on wiring and using insulated tools. Wear protective gear like gloves and goggles, and work in a well-ventilated area to minimize risks. These precautions help keep your project safe and enjoyable.
Can the Jetpack Be Made to Actually Fly?
You can’t make a steampunk jetpack actually fly without understanding aviation safety and flight mechanics. Attempting to build a real, functioning jetpack involves complex engineering, high-powered engines, and safety protocols. If you’re serious, consult aerospace experts and licensed engineers. Remember, unauthorized flight risks serious injury or legal issues. Focus on creating a visually impressive prop rather than risking your safety by trying to turn it into a real flying device.
What Materials Are Best for Authentic Steampunk Aesthetics?
You’ll find Victorian brass and reclaimed wood are your best bets for authentic steampunk aesthetics. These materials naturally evoke the industrial Victorian era, adding a touch of history and craftsmanship to your prop. Coincidentally, you might stumble upon vintage brass fittings at a local antique shop, making your project even more authentic. Combining these with gears, leather, and rivets will give your steampunk look that perfect, aged, and mechanical charm.
How Long Does It Typically Take to Complete the Project?
You can expect your steampunk jetpack project to take anywhere from a few weekends to several weeks, depending on your skill level and how detailed you want it. Proper project planning helps you stay organized, but if you’re a beginner, it might take longer as you learn new techniques. Skilled builders finish faster, while beginners should allow extra time for troubleshooting and refining their work.
Are There Budget-Friendly Alternatives for Expensive Parts?
Yes, you can find budget-friendly alternatives by using replica components or alternative materials. For example, instead of costly metal parts, consider lightweight plastic or foam that can be painted to look authentic. Thrift stores or online marketplaces often have replica components at lower prices. You might also repurpose household items or craft supplies to mimic expensive parts, saving money while still achieving a convincing steampunk aesthetic.
Conclusion
Now that you’ve built your DIY steampunk jetpack prop, you can truly embrace the creative spirit of steampunk design. While it won’t lift you off the ground, it sparks imagination and craftsmanship. Many enthusiasts believe that combining vintage aesthetics with modern ingenuity creates a unique artistic expression. So, enjoy your project, showcase it proudly, and remember—sometimes, the best adventures happen in your mind, fueled by your own inventive spirit.