To convert your standard keyboard into a steampunk masterpiece, start by selecting vintage or industrial materials like brass gears, leather accents, and aged metal components. Incorporate decorative elements such as gauges, cogs, and steam valves, then carefully modify the housing with drills and adhesive for a cohesive look. Finish with weathered paint and faux rust to evoke that aged, industrial feel. Keep exploring these steps, and you’ll discover more ways to craft a truly unique steampunk keyboard.
Key Takeaways
- Select authentic materials like vintage switches, gears, and aged metal parts to enhance the steampunk aesthetic.
- Plan your design with sketches, incorporating exposed gears, rivets, gauges, and decorative steam gadgets.
- Modify the keyboard housing by drilling for mechanical embellishments and securely attaching gears, gauges, and pipes.
- Apply metallic paints, weathering, and faux rust effects to achieve an aged industrial look.
- Assemble all parts carefully, balancing functionality with artistic details for a unique steampunk style.
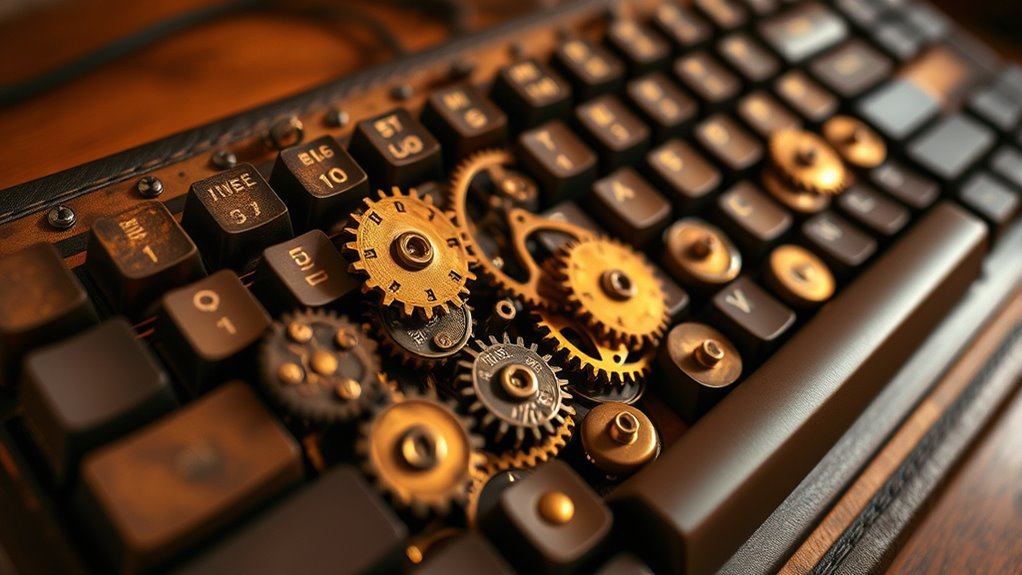
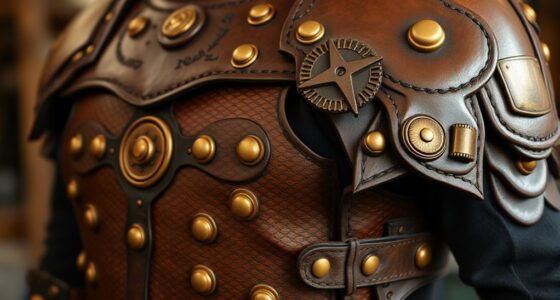
Transforming a standard keyboard into a steampunk masterpiece is a rewarding project that combines creativity with technical skill. To begin, you’ll want to assess the keyboard materials you plan to work with. Most modern keyboards are made from plastics, which are lightweight and easy to modify, but for a truly authentic steampunk look, consider incorporating metal components like brass or copper accents. These materials give your keyboard an industrial feel, perfectly suited for the steampunk aesthetic. You might also find old mechanical parts—gears, cogs, and vintage switches—that can be repurposed as decorative elements or functional enhancements. Gathering these authentic keyboard materials ensures your project has the right blend of form and function.
Transform your keyboard with brass accents, vintage gears, and industrial finishes for a stunning steampunk transformation.
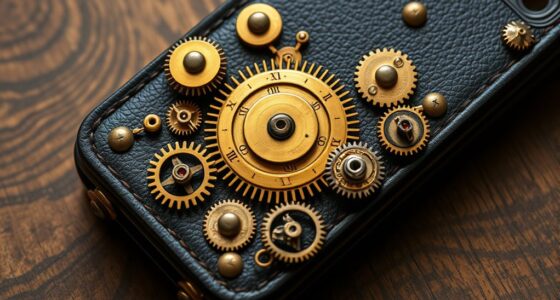
Once you’ve selected your materials, it’s time to plan your design. Think about how you want your keyboard to look—do you want exposed gears, rivets, or perhaps a polished leather pad? Sketching your ideas helps visualize the final product and guides your assembly process. Incorporate steam powered gadgets by adding small, vintage-style pressure gauges or miniature steam valves as decorative features. These elements immediately evoke that steampunk vibe and set your keyboard apart from typical customizations. Embellishing the surface with metallic paint or patina can also lend an aged, industrial appearance. Remember, the key is to balance the technological with the artistic, so don’t overdo the gadgets—use them to enhance, not overwhelm.
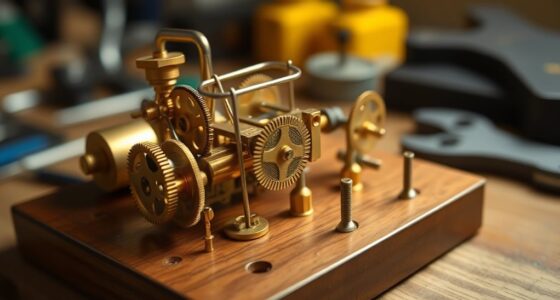
Next, focus on modifying the keyboard housing. If you’re comfortable with tools, you can carefully drill holes for gears and gauges, or you might glue decorative pieces onto the case. When attaching these elements, use strong adhesives suited for metal and plastic to ensure durability. If you’re adding mechanical parts like cogs or vintage switches, make sure they are securely affixed and aligned with your design. Incorporate small steam powered gadgets by installing miniature turbines or pipes, which can be purely ornamental or functional if you have the skills. The goal is to create a cohesive, mechanical look that feels both retro and futuristic.
Finally, don’t forget the finishing touches. Use metallic paints, weathering techniques, or even faux rust to give your keyboard an aged, industrial appearance. Wrap some parts in leather or add faux leather wrist rests to enhance the vintage feel. With patience and creativity, your customized steampunk keyboard will not only function as a device but will also serve as a striking piece of art. This project challenges you to blend craftsmanship with imagination, transforming everyday materials into a unique, steam-powered marvel that truly stands out.

Yemwot Tree of Life Metal Wall Art, Metal Tree Wall Art, Industrial Decor, Branch Silhouette, Living Room Bedroom Decor (18"x 25"| 48x66cm, Black)
Metal Tree of Life Wall Art: Metal tree wall decor uses tree patterns as iron decorations. Its unique...
As an affiliate, we earn on qualifying purchases.
Frequently Asked Questions
What Tools Are Essential for Steampunk Keyboard Modifications?
You’ll need essential tools like a soldering iron, screwdrivers, and pliers for steampunk keyboard modifications. To add vintage fabrics and brass fittings, keep scissors and clamps handy. A rotary tool helps carve and shape parts, while glue or epoxy secures vintage fabrics and brass fittings. Don’t forget measuring tape and tweezers for precision. These tools make it easier to customize your keyboard with authentic steampunk elements, ensuring a professional finish.
How Do I Ensure Compatibility With Existing Keyboard Switches?
To guarantee switch compatibility, check the switch types your keyboard supports, such as MX or Alps. Verify that the switches you choose match the socket and mounting style of your existing keyboard. You can also test or compare switch sizes and pin configurations before installation. By confirming switch compatibility, you prevent fitting issues and ensure smooth functionality for your steampunk keyboard project.
Can I Customize Lighting Effects in a Steampunk Build?
Yes, you can customize lighting effects in a steampunk build. Investigate steampunk lighting techniques like vintage filament bulbs, warm LED strips, or Edison-style bulbs to create unique light effects. Light effects customization is definitely possible with programmable RGB LEDs and dedicated software. You’ll love experimenting to achieve the perfect steampunk aesthetic, blending warm, nostalgic glow with modern lighting control for a truly personalized keyboard.
What Are Common Mistakes to Avoid During Conversion?
You should avoid common mistakes like incorrect soldering and poor wiring, which can cause connectivity issues or damage your components. Double-check all connections before powering up, and use the right tools to guarantee secure joints. Take your time during the conversion process, and follow detailed guides closely. Testing each step helps prevent mistakes, so don’t rush—precision ensures your steampunk keyboard functions perfectly and looks fantastic.
How Long Does a Typical DIY Steampunk Keyboard Project Take?
A typical DIY steampunk keyboard project takes about one to three weekends, depending on your dedication and complexity. During this time, you’ll focus on battery management and aesthetic design, ensuring each piece fits seamlessly. While it might seem like a lengthy process, pacing yourself lets you enjoy every step, from sourcing vintage parts to perfecting the final look. Patience and attention to detail make your creation truly unique.
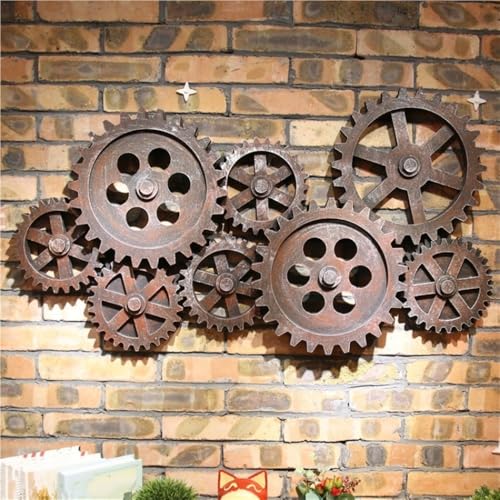
Vintage Industrial Gear Wall Decor, Large Gear Accent Wall Panels for Room Decor, Wooden Abstract Wall Art, Rustic Steampunk Wall Decor for Bar, Garage or Home Office(Metallic)
Premium Wooden Gear Art Panels for Accent Walls: Crafted from high-density engineered wood, these Large Wooden Gear Art...
As an affiliate, we earn on qualifying purchases.
Conclusion
As you power on your steampunk keyboard, metal gears gleam alongside vintage leather. The blend of modern functionality and Victorian charm creates a unique harmony, like a clockwork masterpiece brought to life. It’s a striking contrast—technology rooted in history—reminding you that innovation can be beautifully nostalgic. Every keystroke echoes with craftsmanship and creativity, turning an ordinary device into a personal artifact. You’ve transformed a simple keyboard into a steampunk wonder, where past and future seamlessly collide.

Yulejo 4 Pieces Wooden Industrial Steampunk Style Gear Wheel Wall Decoration 10 Inch Vintage Wooden Gear Combination Farmhouse Hanging Wall Decor for Home Wall Bar Decor Art Craft Wall Decor (Silver)
What You Will Receive: what you will receive are 4 pieces of steampunk style gear wheel wall decorations,...
As an affiliate, we earn on qualifying purchases.
Amazon Product B06XRXPKTN
As an affiliate, we earn on qualifying purchases.